
Amigurumi & Toys · Mini Animal
Mini Cow Crochet Pattern: 15 cm Amigurumi Guide
Make a compact cow with one-piece head, body and legs, softly shaped arms, a stuffed snout, layered ears, horns, and a bell collar.
About 15 cm3 mm hookUS terms
Start step reader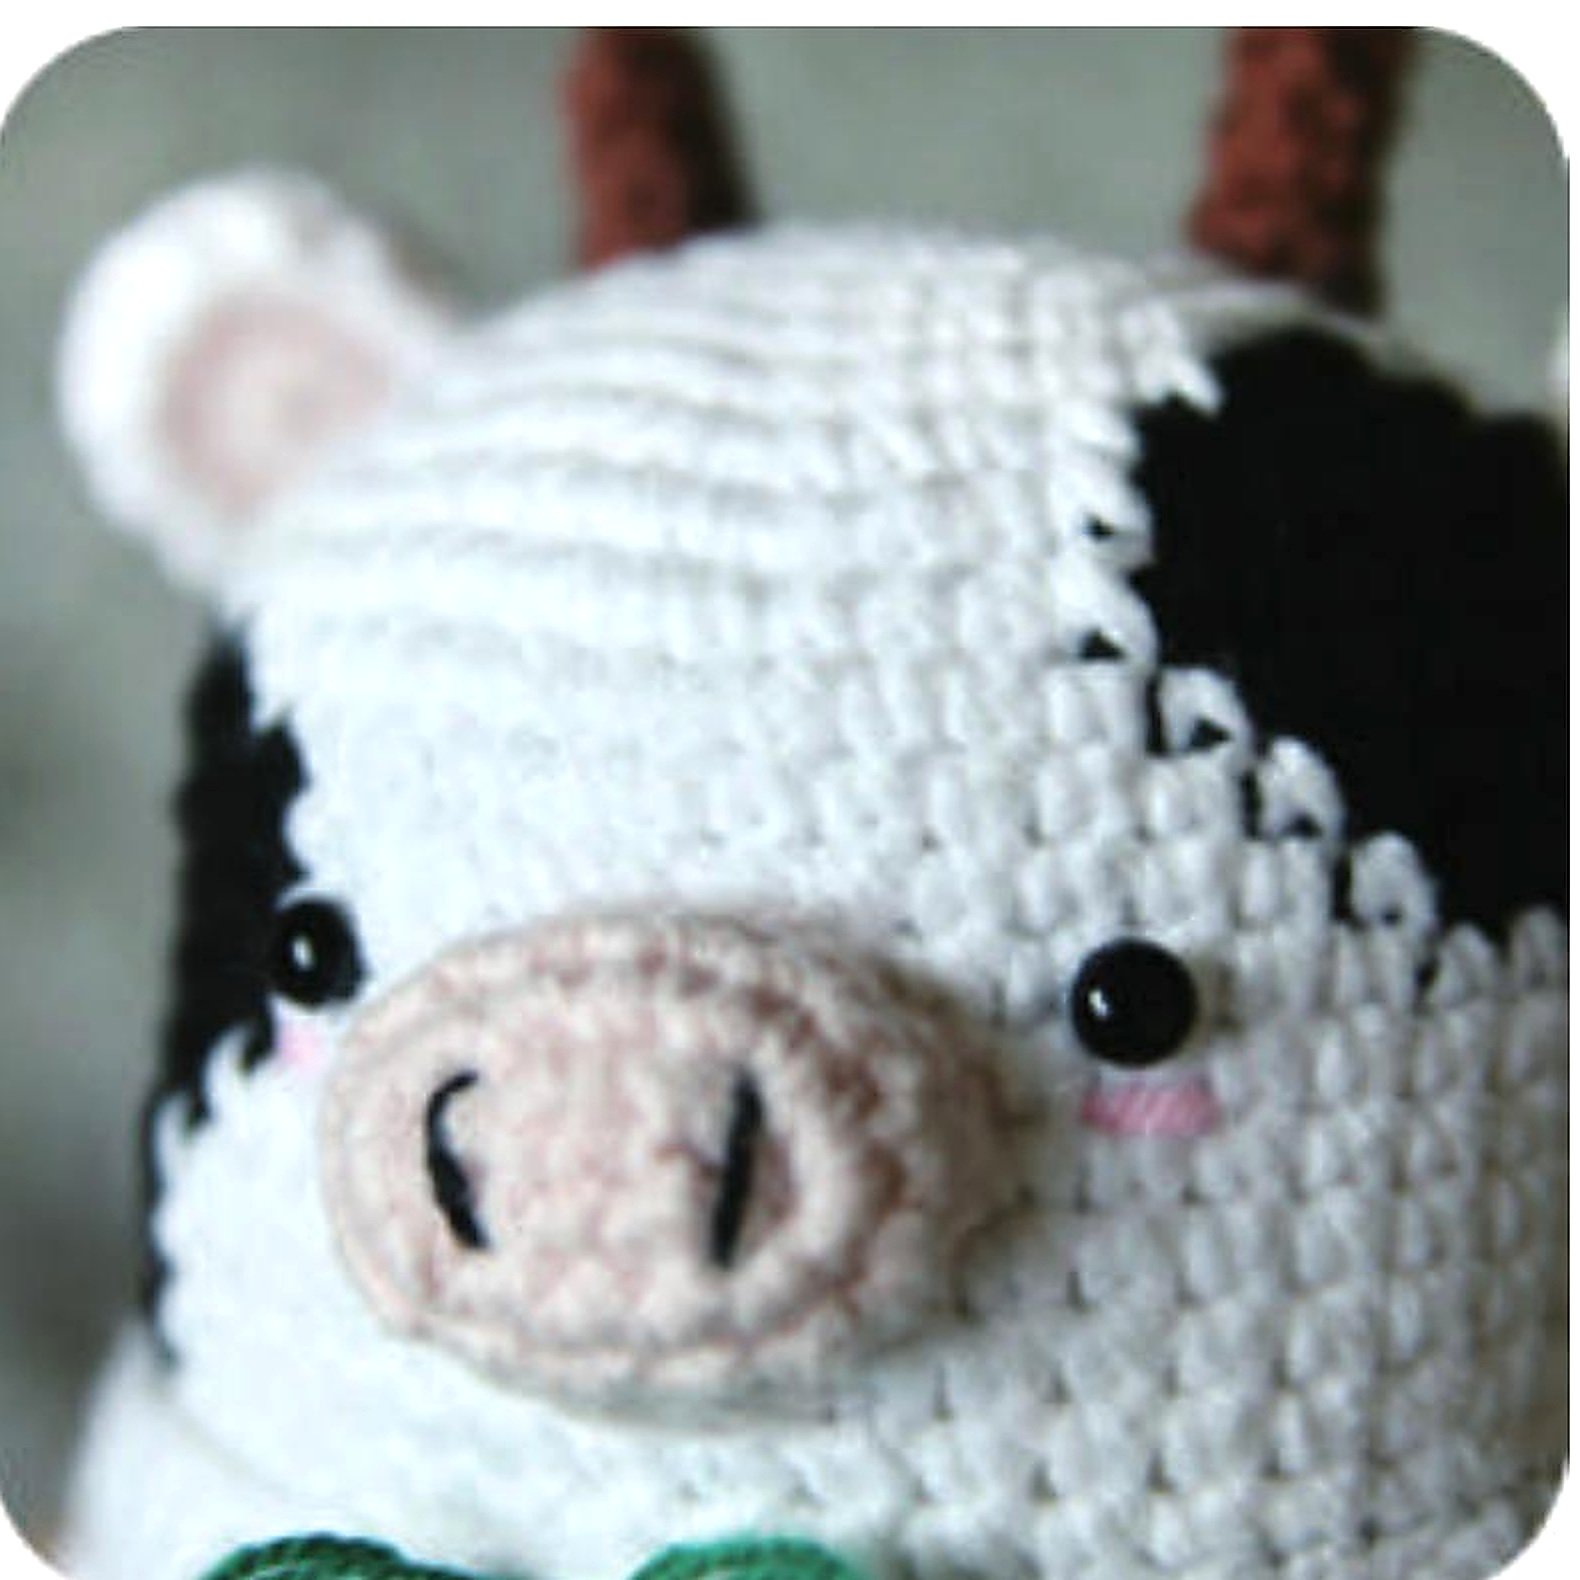
Materials
- Worsted yarn in white, black, light peach, green, light yellow, beige and sky blue
- 3 mm crochet hook
- Fiberfill, yarn needle and scissors
- Two 5 mm black safety eyes
- Optional 6 mm bell and a small amount of adhesive suitable for the eyes
Finished size & construction
Approximately 15 cm / 5.9 in. The source notes this size with fingering-weight yarn and a 3 mm hook; yarn thickness and tension will change the result.
The head, body and legs are worked as one continuous piece. Make the arms, snout, horns, ears and collar separately, then assemble them.
Important: the black, white, blue and yellow color changes follow the source chart. Carry or join colors neatly and secure every float before stuffing.
Abbreviations
ch chain · sl st slip stitch · sc single crochet · inc 2 sc in one stitch · 3-sc inc 3 sc in one stitch · sc2tog single crochet 2 together · BLO sc single crochet in back loop only · hdc half double crochet · dc2tog/dc3tog double crochet 2/3 stitches together.
Step 1 of 8
Prepare the colors and markers
Gather all yarn colors before starting because the cow patches and clothing change within the main piece. Mark the first stitch of every round.
The main piece starts at the top of the head and continues down through the body before dividing into two legs.
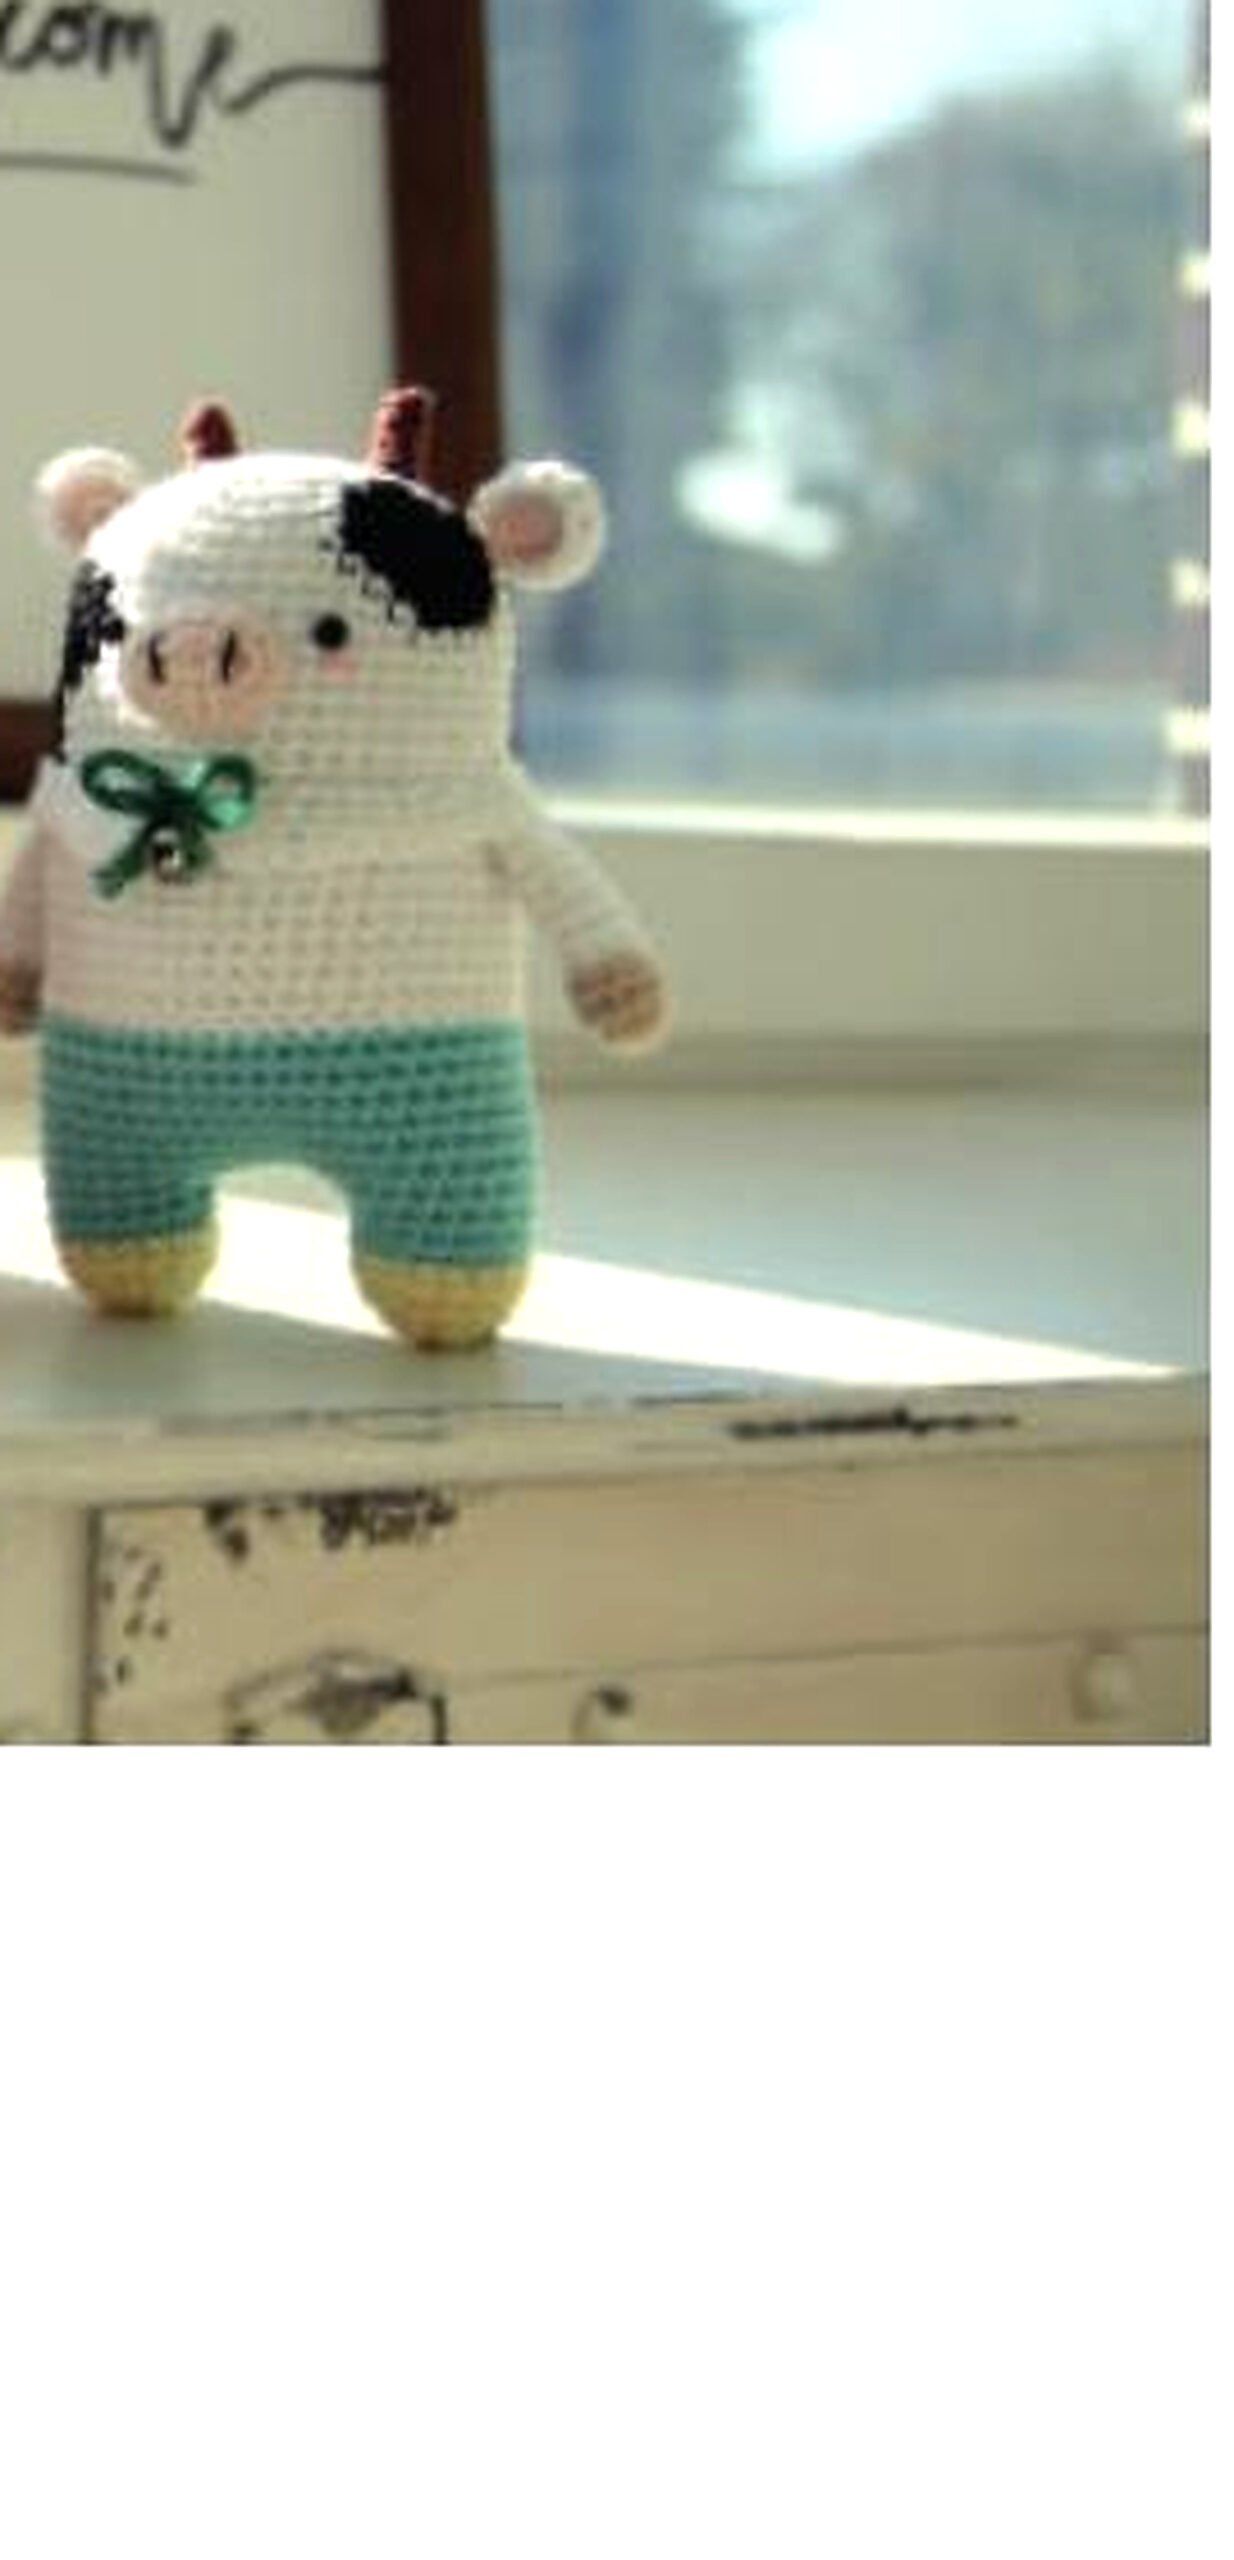
Main-piece count checks
- Rounds 1-8 increase: 6, 12, 18, 24, 30, 36, 42, 48 stitches.
- Rounds 9-19: 48 stitches per round.
- Round 20: 48 BLO single crochets.
- Rounds 21-36: 48 stitches per round.
- Each leg: 18 stitches for rounds 37-40, 12 after round 41, and 6 after round 42.
Assembly map
- Place the eyes between rounds 13 and 14.
- Sew the snout to the lower front of the face, lightly stuffed, and embroider the nostrils and mouth before closing.
- Place the cheeks between rounds 14 and 15.
- Attach the arms between rounds 20 and 21.
- Sew the collar at round 20 and center the bow and optional bell.
- Use the original guide photos to mirror the horn, ear and face placement on both sides.
Child-safety note: embroidered eyes are safer than plastic eyes for a toy intended for a child under three.
Leave a Reply