Explore crochet flowers, bouquets, leaves, and decorative plants. Follow the project guides for materials, individual pieces, and assembly photographs. Review each pattern for any wire, support, or container needed to complete the display.
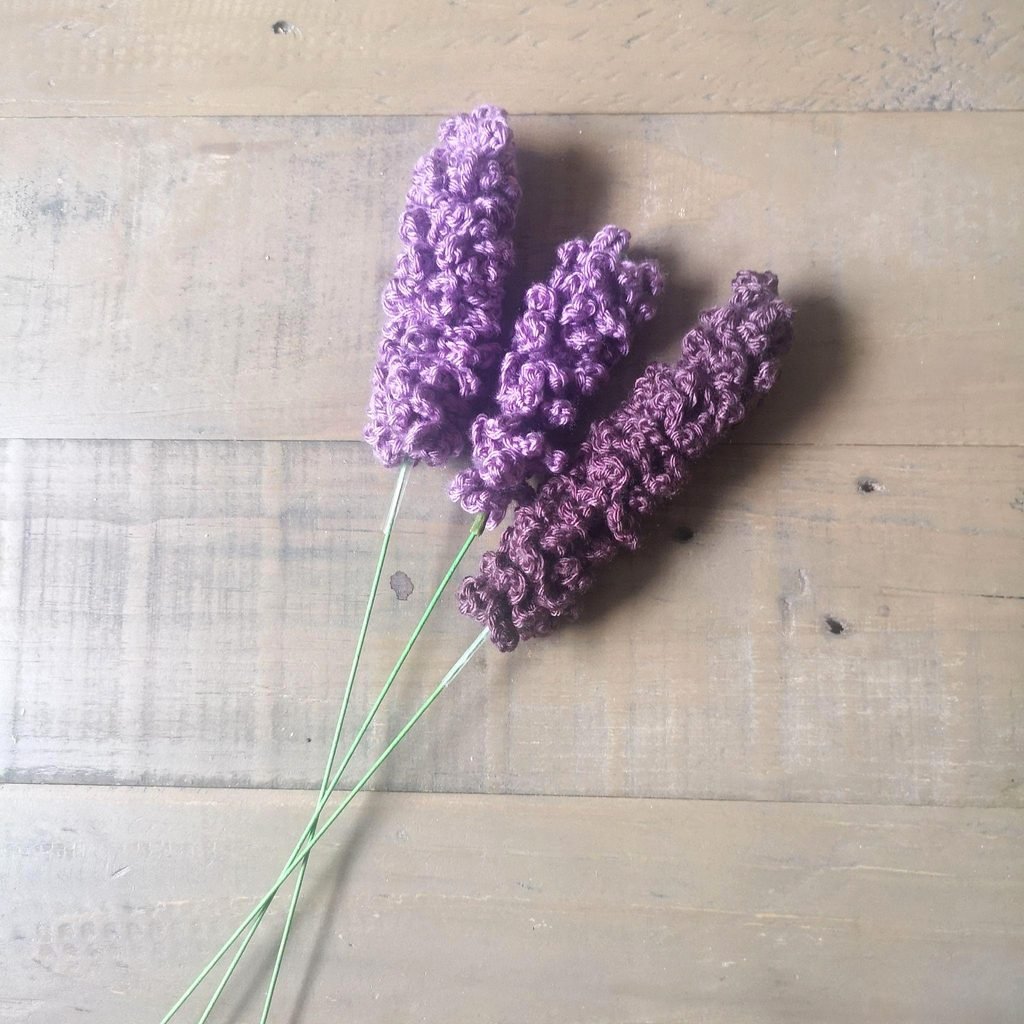
Create a textured lavender flower with simple chains, single crochet, and a flexible wire stem. This page keeps the original construction sequence visible from the first chain to the final wrapped stem.
Gauge is not important, but the stitches should be firm with no large gaps. If your fabric feels loose, use a slightly smaller hook.
Abbreviation
Meaning
ch
chain
sc
single crochet
sl st
slip stitch
Step 1 of 9
Interactive lavender reader
1. Make the foundation chain
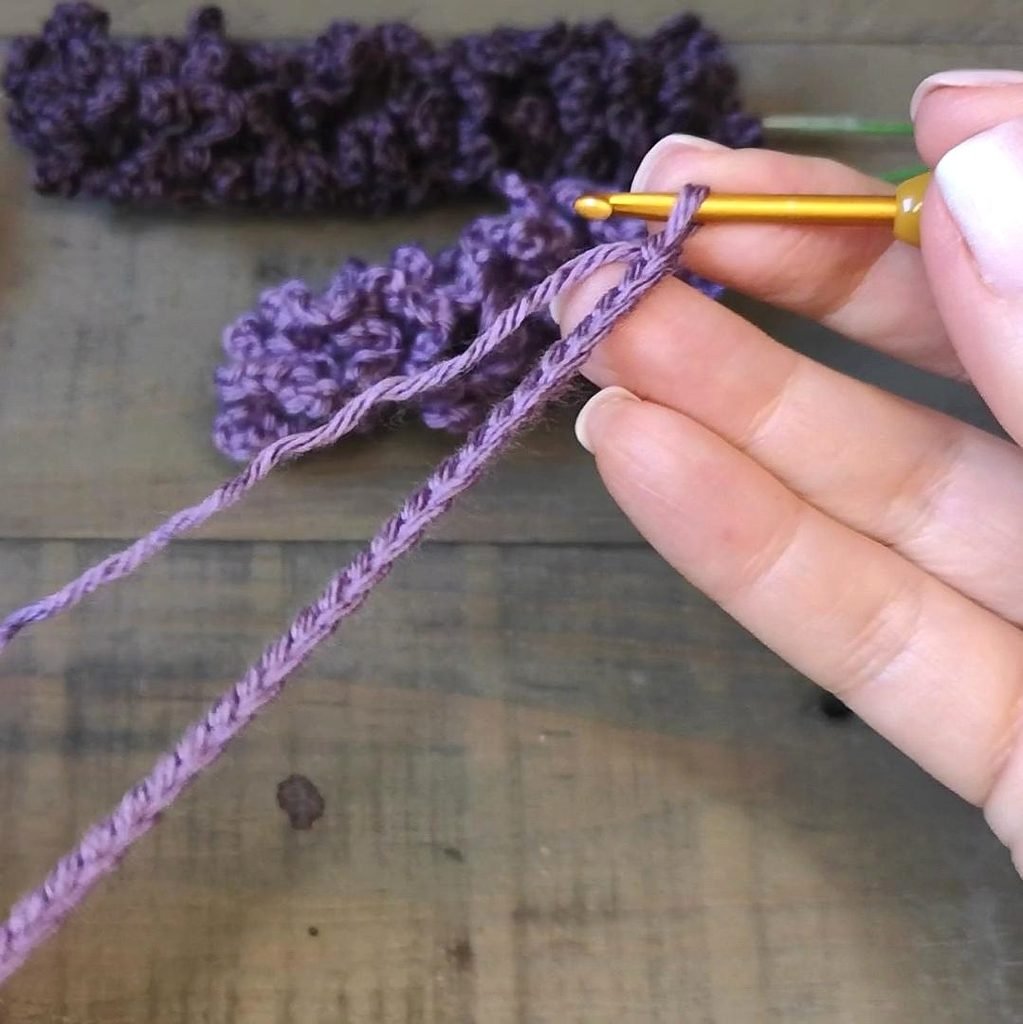
With purple yarn, make a slip knot and chain 50.
2. Work the first side
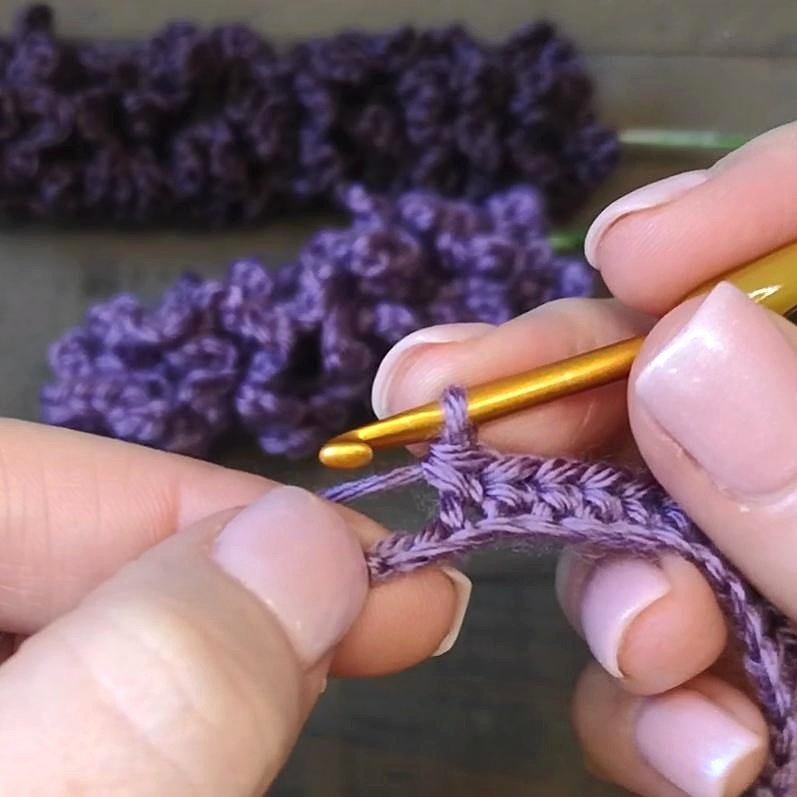
Skip the first chain from the hook. Single crochet in each chain until one chain remains.
3. Shape the turning end
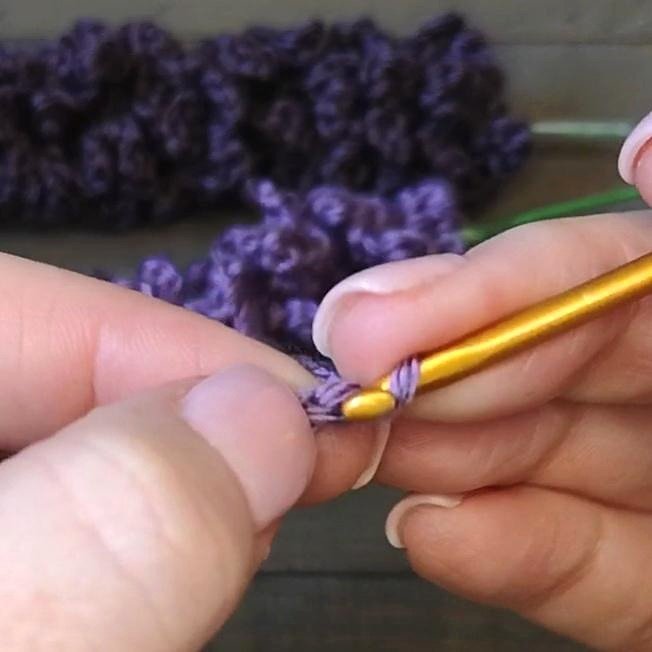
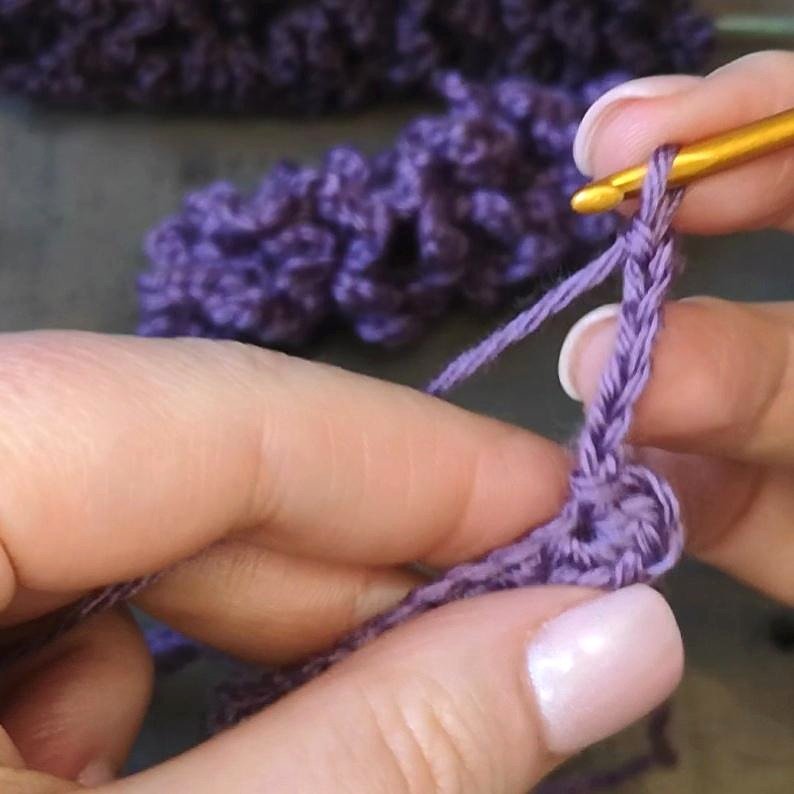
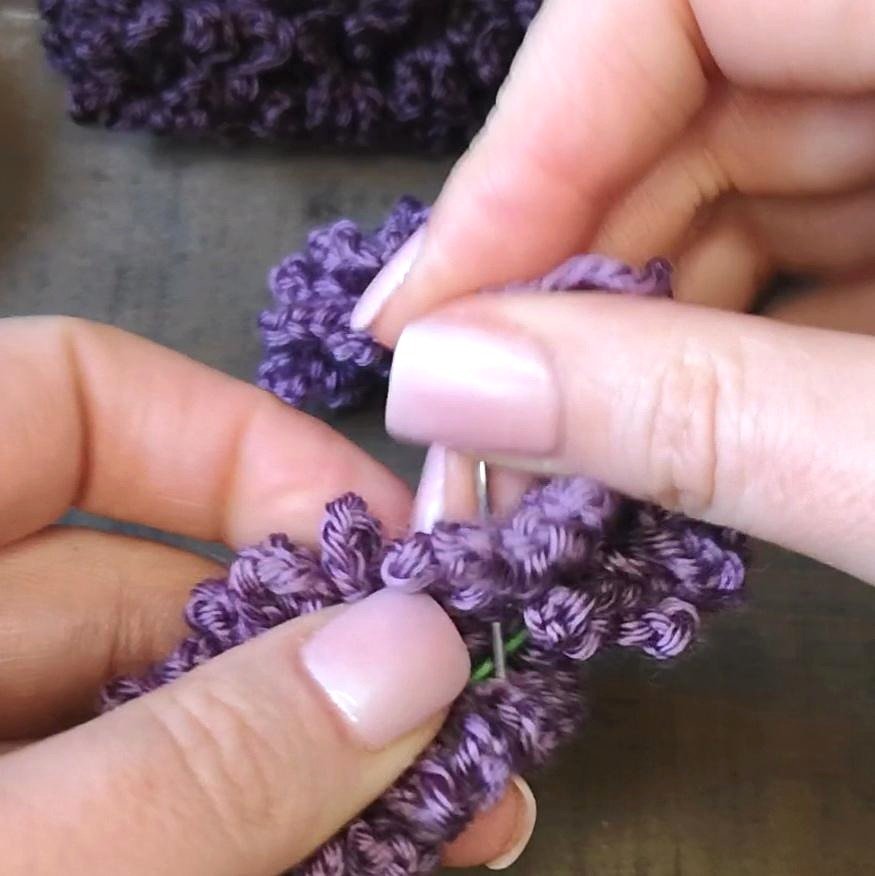
Work 5 single crochet stitches into the final chain, then slip stitch into the final chain as shown. This turns the work so you can continue along the opposite side.
4. Begin the lavender loops
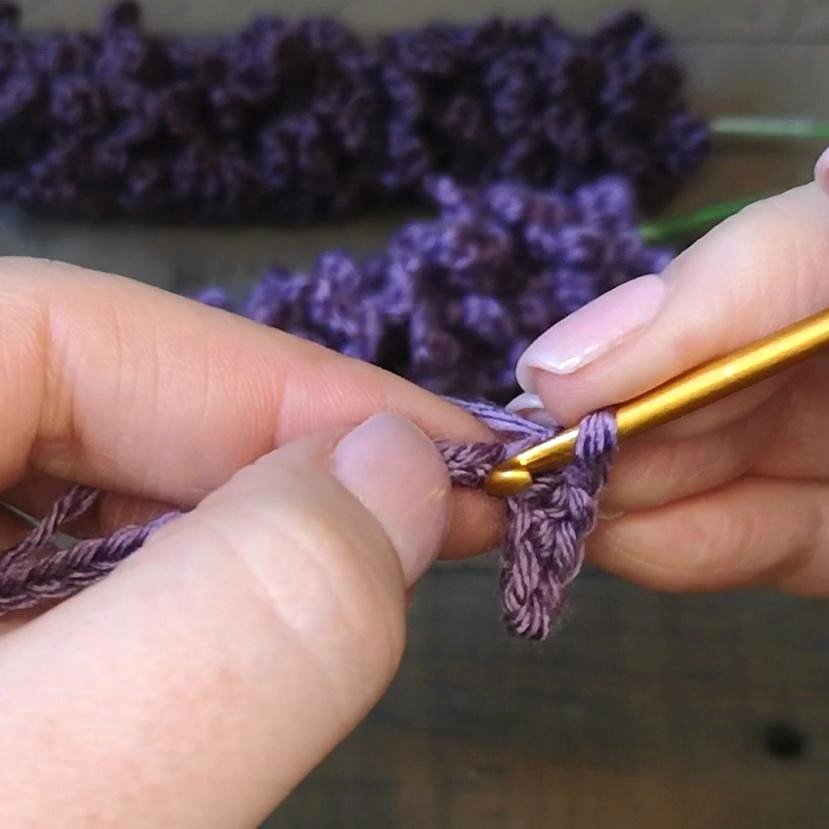
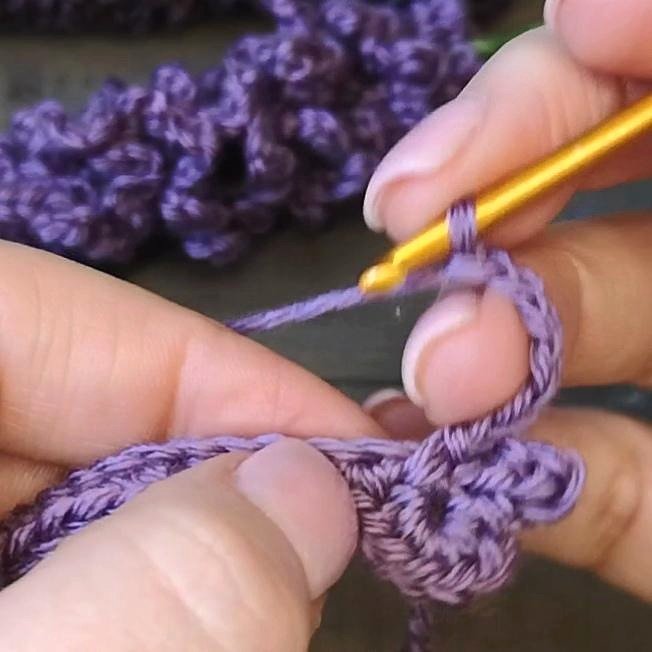
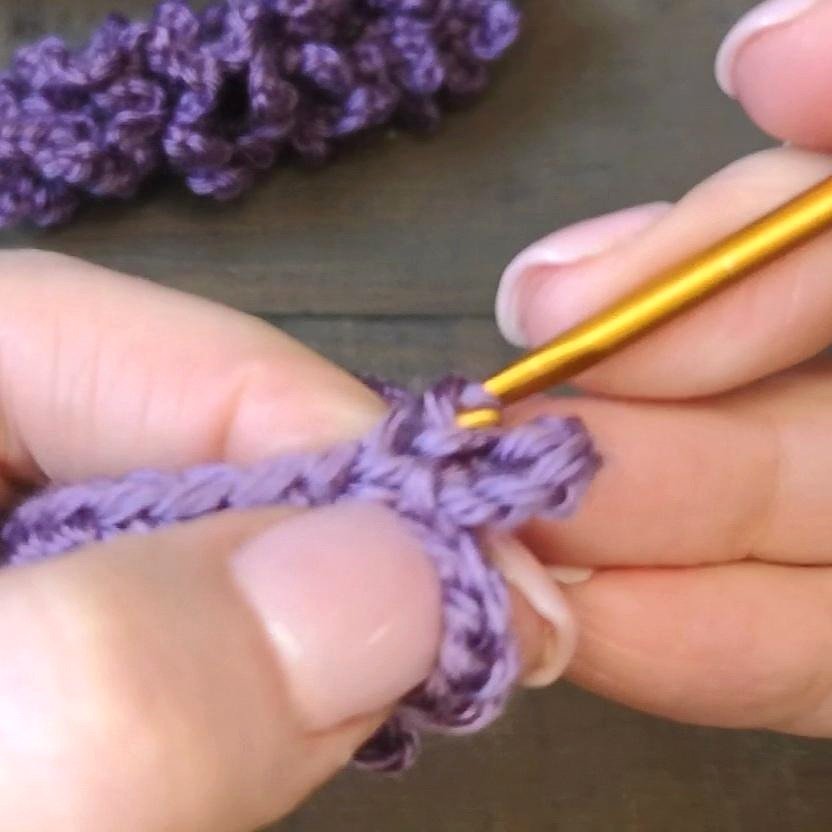
For Row 2, repeat: chain 6, then single crochet in the next stitch.
5. Continue around both sides
Repeat the chain-6 loop sequence to the end. Chain 6, single crochet into the opposite side, then repeat along that side to the first loop.
6. Finish the crochet section
Slip stitch to finish. Fasten off and leave a long yarn tail for securing the wire.
7. Insert the flower wire
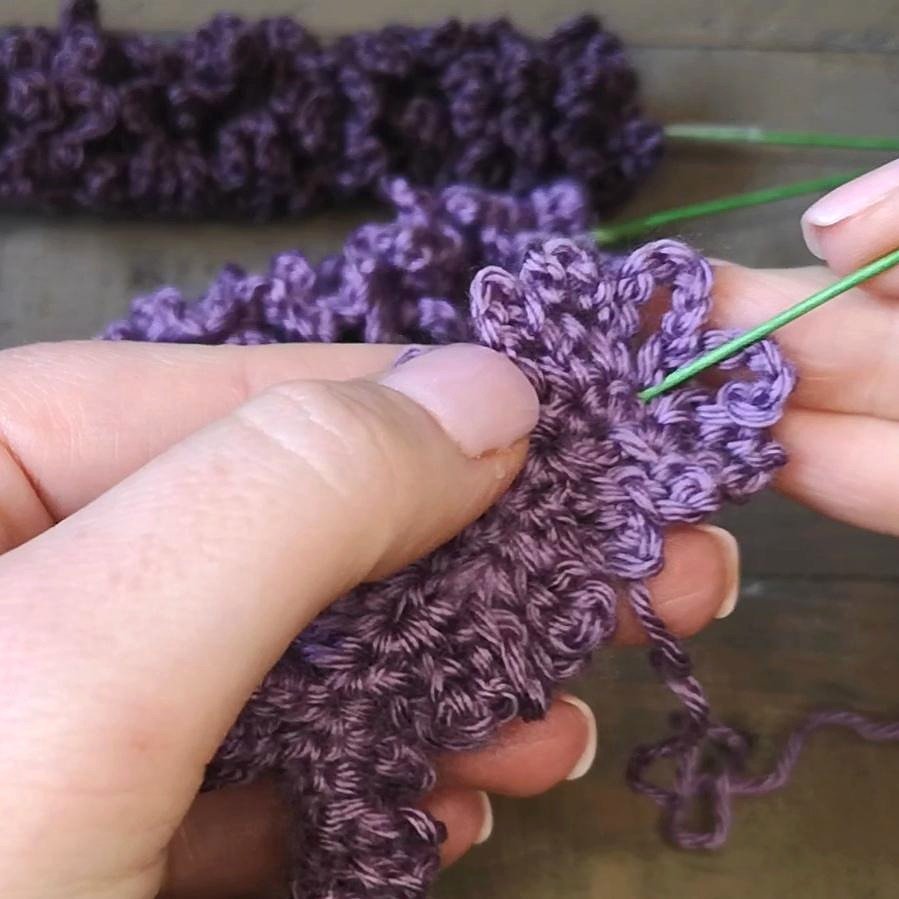
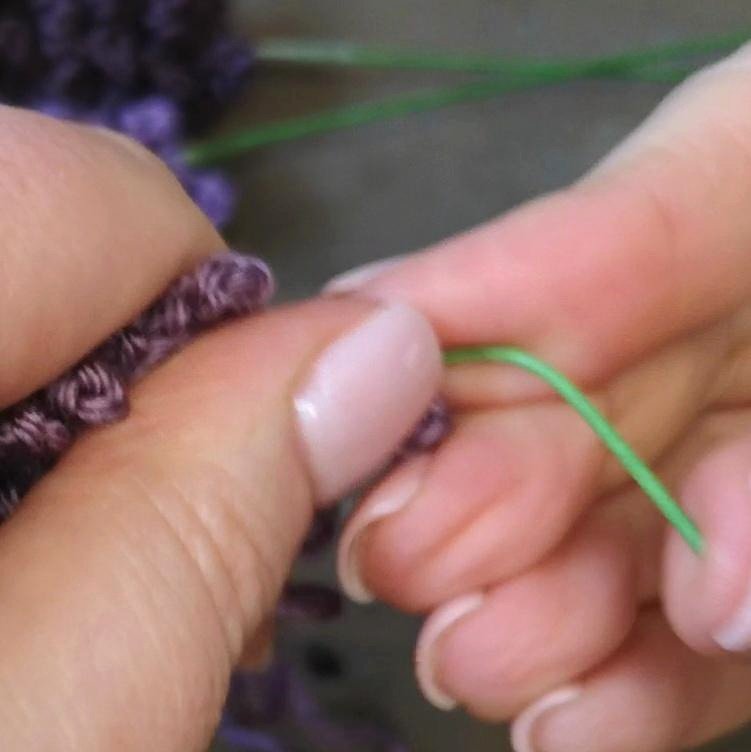
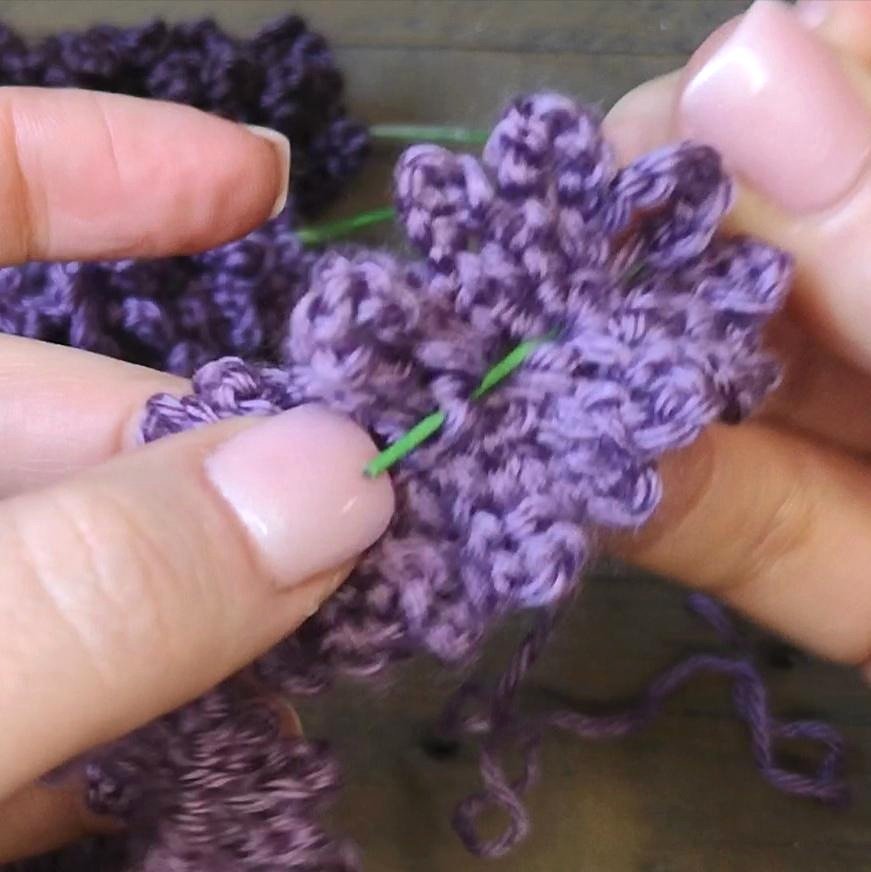
Starting at the finishing end, weave the flower wire through the Row 1 single crochets—into one stitch and out through the next.
8. Secure the top
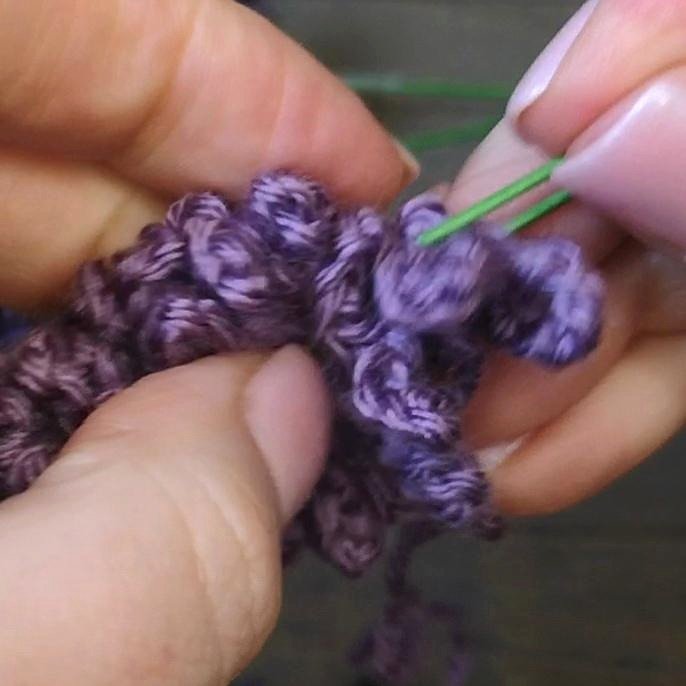
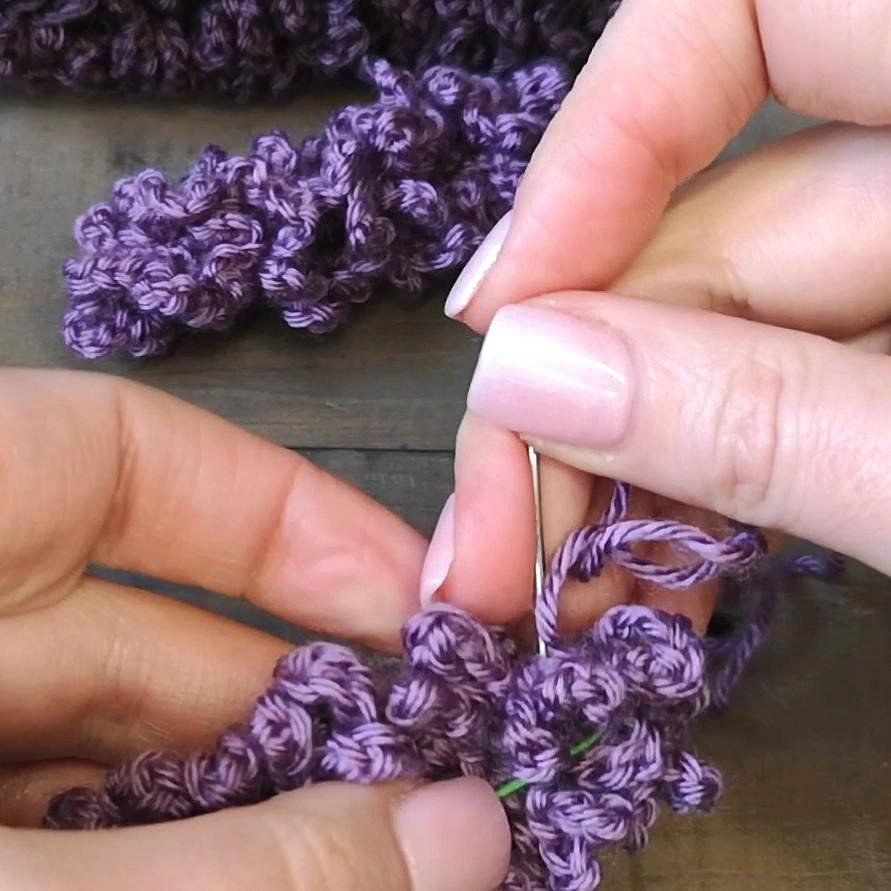
Bend the top of the wire so the crochet cannot slide off. Sew over the bent end with the yarn tail until it is firmly covered.
9. Twist into shape
Push and gently twist the flower head upward along the stem. Add a small piece of tape directly below the flower head to hold the final shape.
Complete written pattern
Lavender flower
Make a slip knot and ch 50.
Row 1: Skip the first ch from the hook. Sc in every ch until one ch remains. Work 5 sc in the final ch, then sl st into the final ch to turn to the opposite side.
Row 2: *Ch 6, sc in next stitch.* Repeat to the end. Ch 6 and sc into the opposite side. Repeat the same sequence along the second side until you reach the first ch-6 loop.
Sl st, fasten off, and leave a long tail.
Count check: the starting chain has 50 chains. After skipping the first chain, work across 49 chain positions; the last chain carries the five shaping stitches. Keep every chain-6 loop relaxed and similar in size.
Original crochet sequence
Use these source images to compare your stitch placement and loop shape.
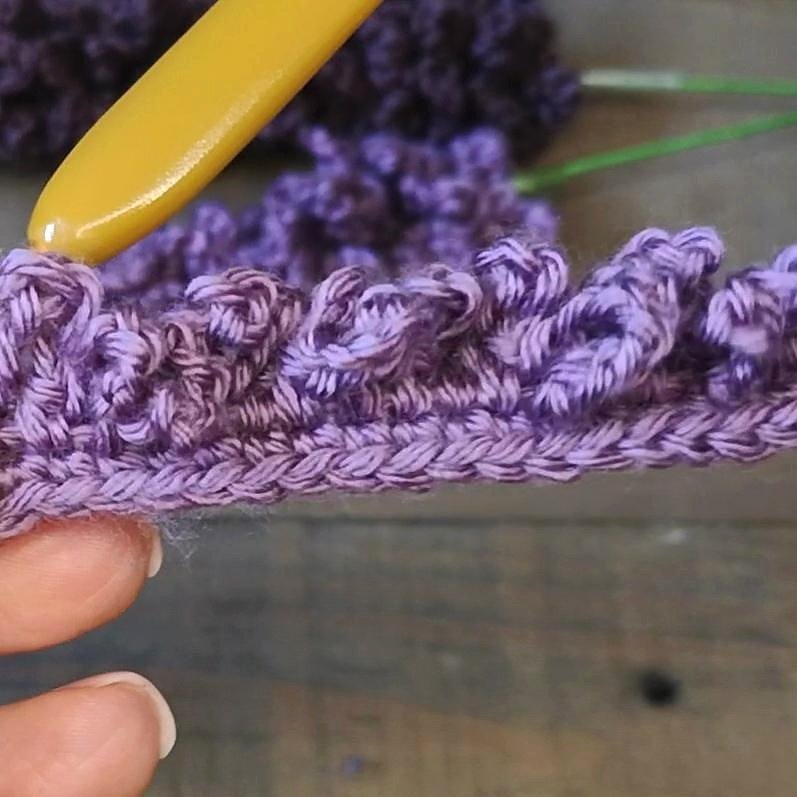
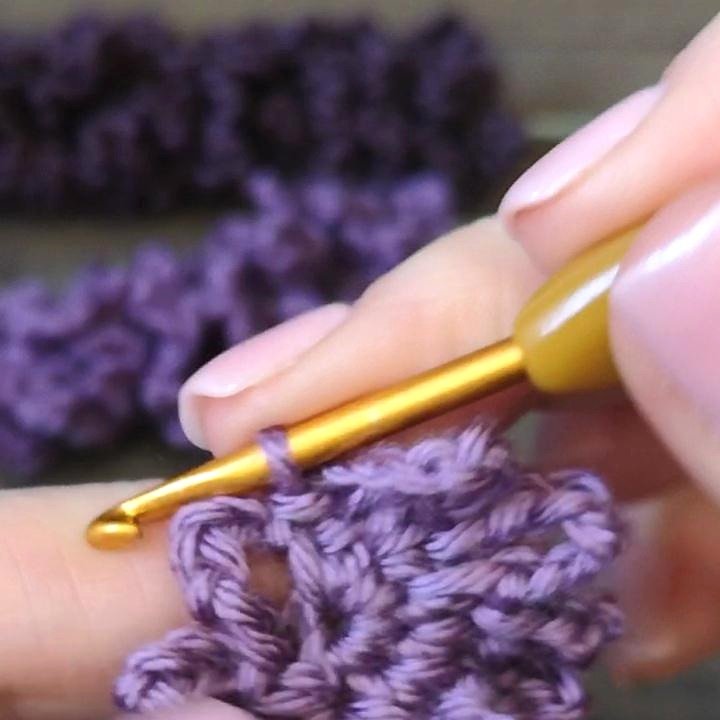
Check that the loops remain open and even.Completed crochet strip before the wire is inserted.Place the wire at the finishing end.Weave through the firm center row, not through the loops.
Wire and finishing details
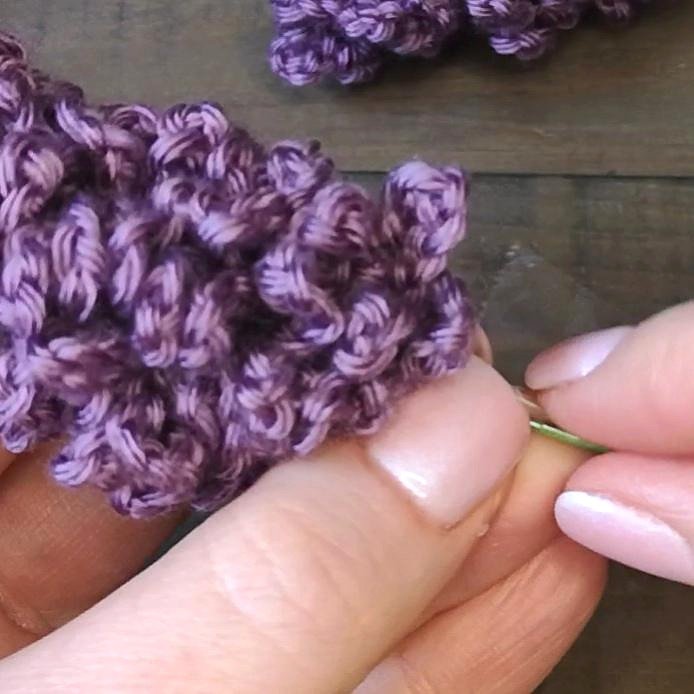
Cover the folded wire end securely.Push the loops upward while twisting.Wrap a small support just below the flower head.Finished lavender shape.
Wire safety: flower-wire ends can be sharp. Fold and cover every end securely. This decorative stem is not intended as a toy or for unsupervised use by children.
Shape checks
The center row should stay firm while the loops remain flexible.
If the flower looks sparse, slide the loops closer together.
If it looks bulky, spread the spiral slightly down the wire.
Do not pull the yarn tail so tightly that it distorts the top.
Troubleshooting
Loops vary in size: keep the chain tension relaxed and count all six chains.
Wire shows: weave through the center stitches and compress the spiral gently.
Flower slips: recheck the folded top and add a firmer wrap below the head.
Questions
Can I use another yarn weight?
Yes. Match it with a suitable hook and expect the finished flower to become larger or smaller.
Is exact gauge required?
No. Firm stitches and consistent loop tension matter more than a measured gauge.
Can I make a bouquet?
Yes. Repeat the flower in several lavender shades and vary the stem lengths slightly.
Why is wire used?
The wire supports the long flower head and lets you adjust the stem position.
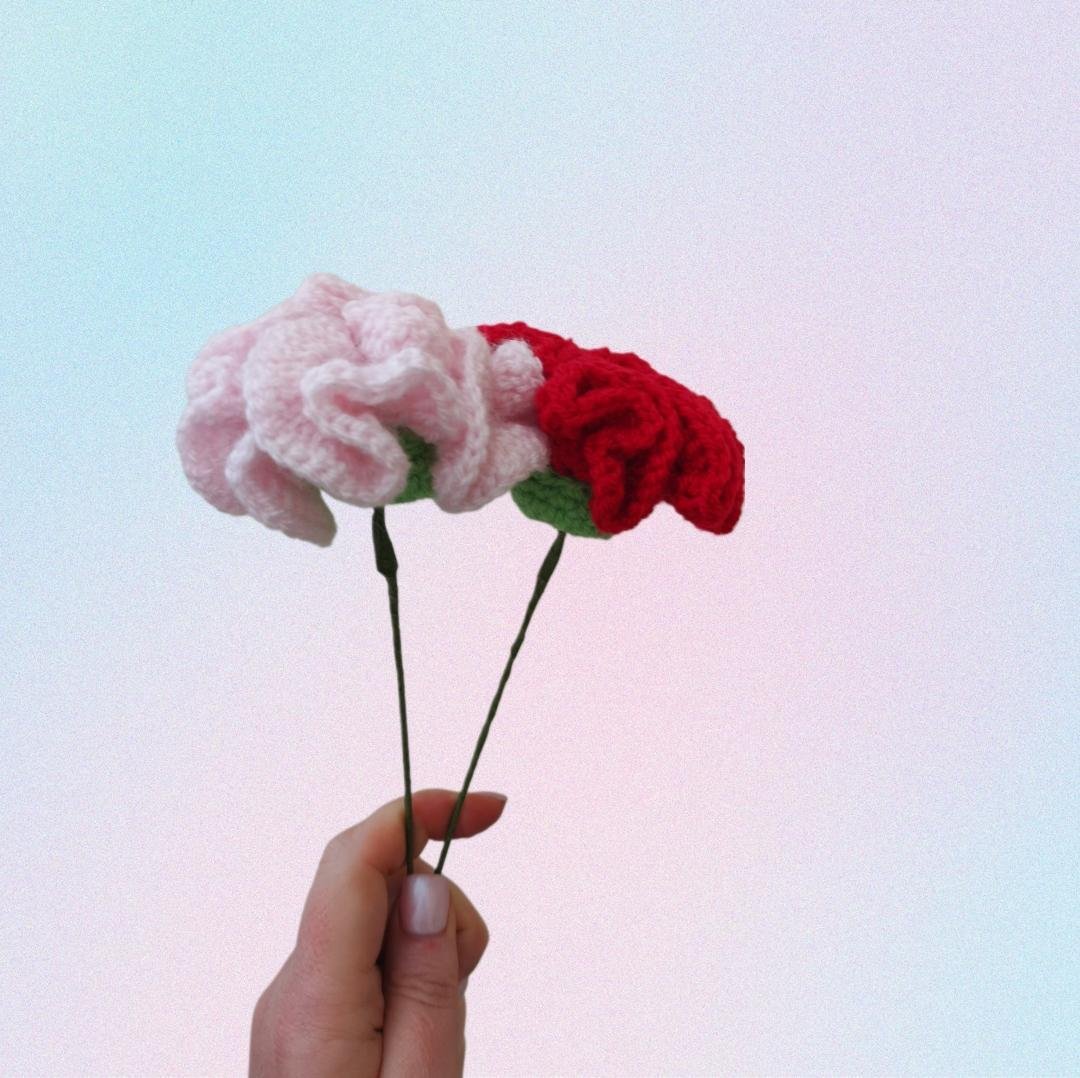
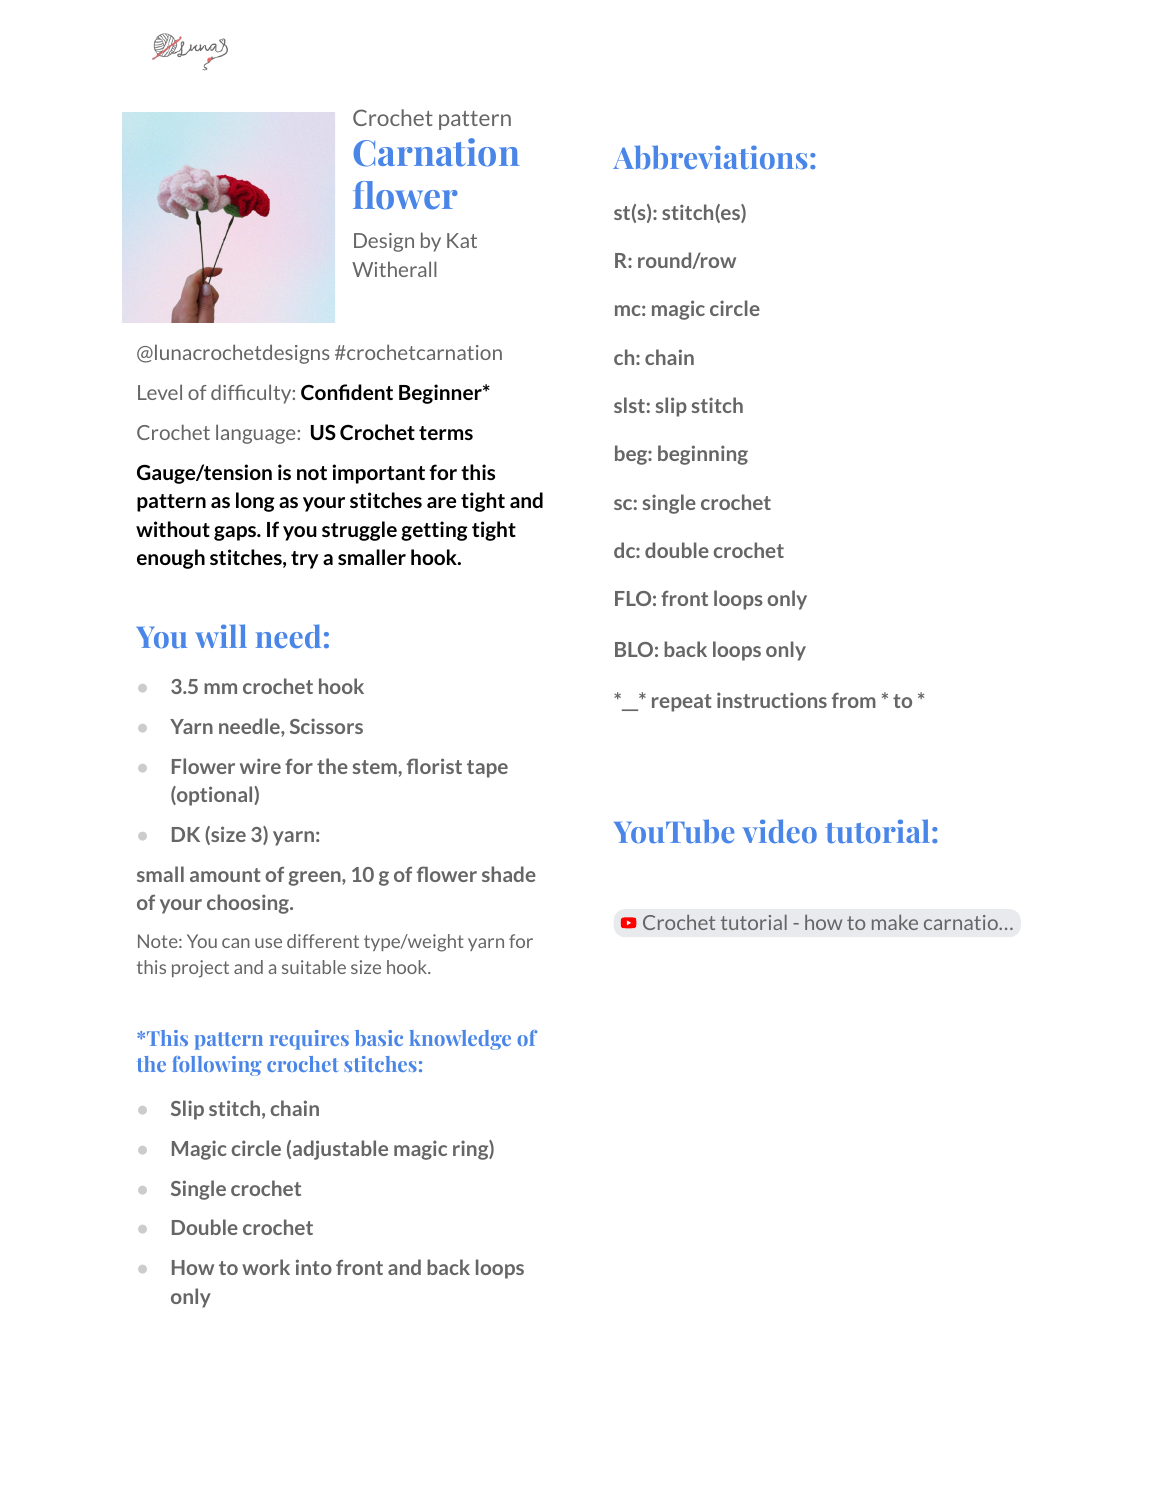
This carnation flower crochet pattern creates a full, ruffled flower with a green base and a wire stem. Follow the separate green and flower rounds, then use the original photos to shape and assemble the bloom.
Confident beginner3.5 mm hookDK yarnUS terms
Before Starting the Carnation Flower Crochet Pattern
The supplied pattern rates this project as confident beginner. It assumes you can make a magic circle, chain, slip stitch, single crochet, and double crochet, and work through front or back loops only. The green base is worked continuously; the flower head uses joined rounds.
The green base has six rounds. The flower head has five separate rounds, beginning again at round 1 in the flower color. Keep the two numbering sequences separate. The final three flower rounds each triple the stitch count, creating the dense ruffle.
Key detail: Green round 3 is worked through front loops only. Keep the remaining back loops available: the flower starts in those 12 reserved loops, not in the 18 stitches at the top of the green cup.
No finished flower diameter, stem length, or gauge measurement is provided. This guide has not been independently test-crocheted. The original source pages remain available below for checking every instruction.
Materials for the Carnation Flower Crochet Pattern
3.5 mm crochet hook.
DK / size 3 yarn: a small amount of green and 10 g of the chosen flower color.
Yarn needle and scissors.
Flower wire for the stem.
Florist tape, optional.
The PDF also suggests marking the first stitch of the continuous green rounds with a stitch marker. It allows a different yarn type or weight with a suitable hook. Changing yarn and hook can change the flower size and the amount of yarn needed.
The source gives no exact amount of green yarn and no wire thickness or length. Choose the stem length for your arrangement and check the assembly photos before cutting or bending wire.
Stitches and Loop Placement
Term
Meaning in this guide
mc
Magic circle / adjustable ring
sc
Single crochet
inc
Increase: 2 sc in one stitch, used in the green base
The initial flower ch 1 and the later ch 2 starts do not count as stitches. Flower round 1 joins to its beginning ch 1; rounds 2–5 join to the first actual dc. This differs from patterns where the starting chain counts as a stitch.
Move through eight working stages with Previous and Next. Each stage includes the relevant original PDF page. Your place and completed stages are saved in this browser when storage is available. Select the page image to open it at full size.
Step 1 of 8
Carnation Flower Crochet Pattern: Written Rounds
Green base — continuous rounds
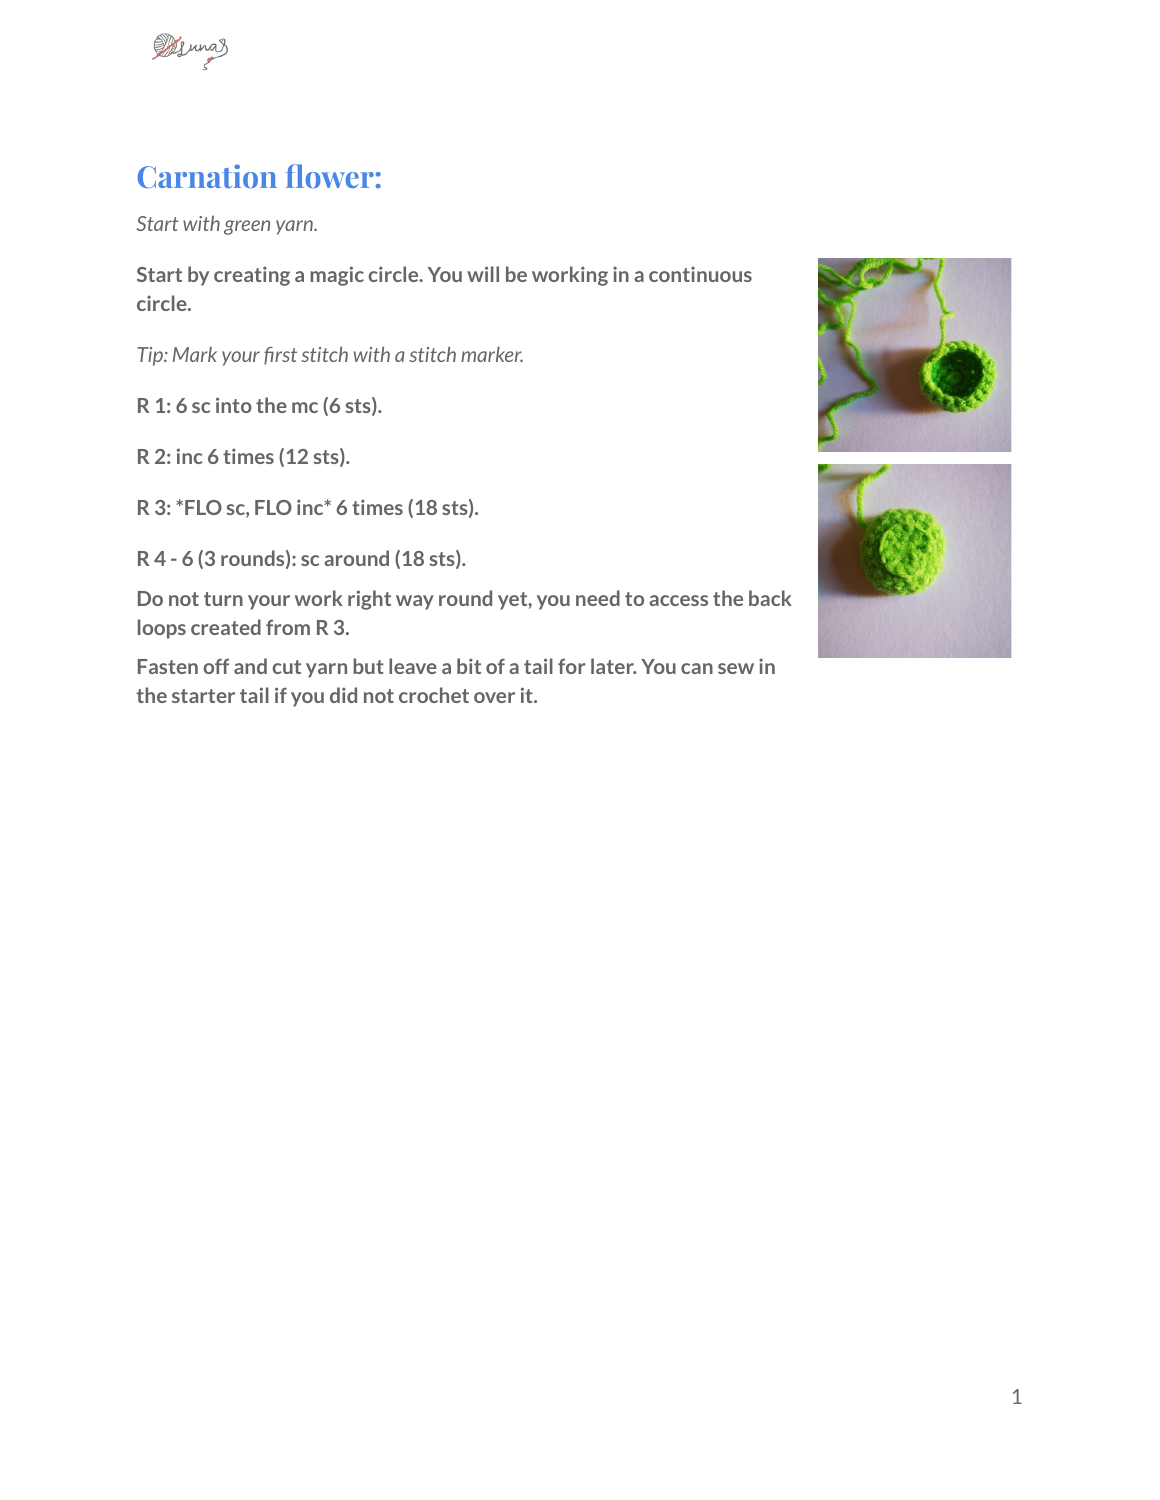
Start with green yarn in a magic circle. Mark the first stitch and keep working continuously, rather than joining each green round.
Round
Work
Count
1
6 sc into the magic circle
6
2
inc in every stitch, six times
12
3
(FLO sc, FLO inc) six times
18
4–6
sc around for three rounds
18 each
Do not turn the green work right side out yet: you need access to the back loops left behind when working round 3. Fasten off with a tail for later. Secure the starting tail if you did not crochet over it.
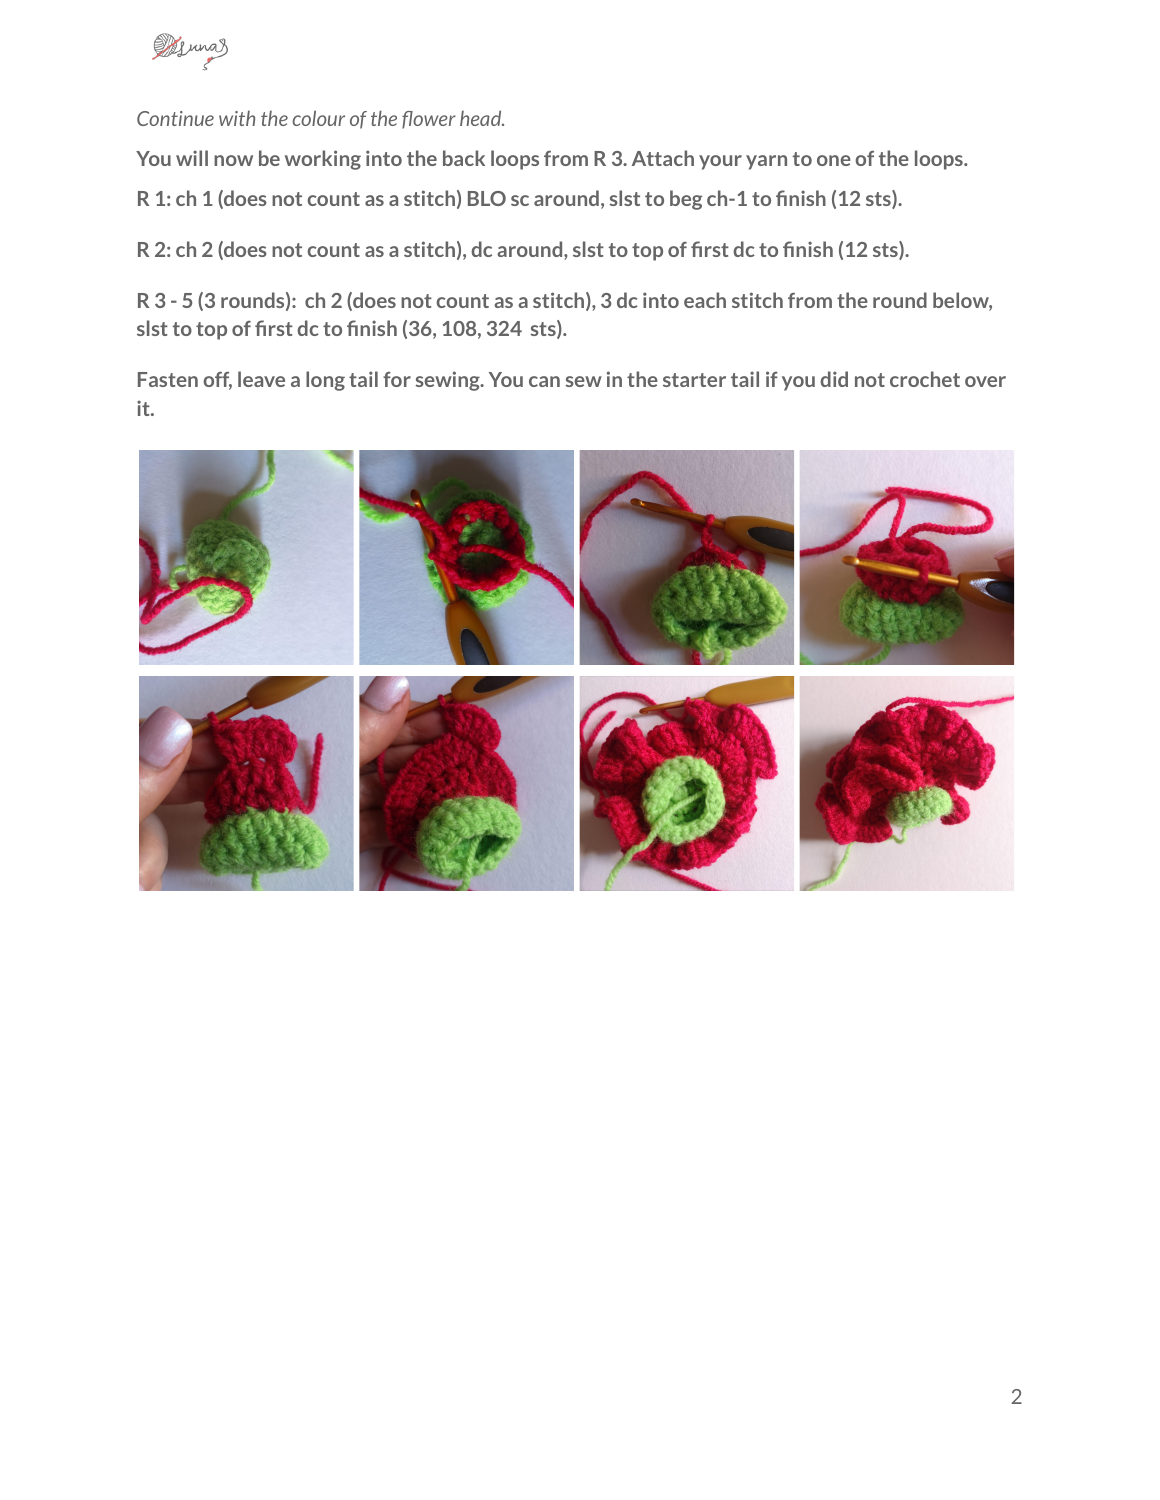
Flower head — joined rounds
Attach the flower color to one reserved back loop at green round 3. The first flower round uses all 12 of those loops. The green base’s 18-stitch upper edge is not the attachment round.
Round
Work
Count
1
Ch 1 (not counted), sc into each reserved back loop; sl st to beginning ch 1
12 sc
2
Ch 2 (not counted), dc in every stitch; sl st to first dc
12 dc
3
Ch 2 (not counted), 3 dc in every stitch; sl st to first dc
36 dc
4
Repeat the 3-dc-in-each-stitch round; ch 2 is not counted
108 dc
5
Repeat again; ch 2 is not counted; sl st to first dc
324 dc
After flower round 5, fasten off with a long tail for sewing. Secure the starting flower-color tail if it was not crocheted over. The original eight-photo sequence on PDF page 3 shows the attachment point and ruffle developing.
Carnation Flower Crochet Pattern: Count Checks
The flower should have 12 stitches after its first and second rounds. Each remaining round works three double crochets into every stitch, so the totals are 12 × 3 = 36, 36 × 3 = 108, and 108 × 3 = 324. These totals agree with the written source.
If a ruffle round has the wrong total, check that every stitch received three dc and that you did not count or crochet into the starting ch 2 as an extra stitch. It is easier to check at the end of each round before beginning the next increase.
The green base increases from 6 to 12 to 18 stitches, then stays at 18 for three rounds. The 12 reserved back loops belong to the stitches you worked into when making green round 3; they are not an error in the 18-stitch count.
Shape the Bloom and Add the Stem
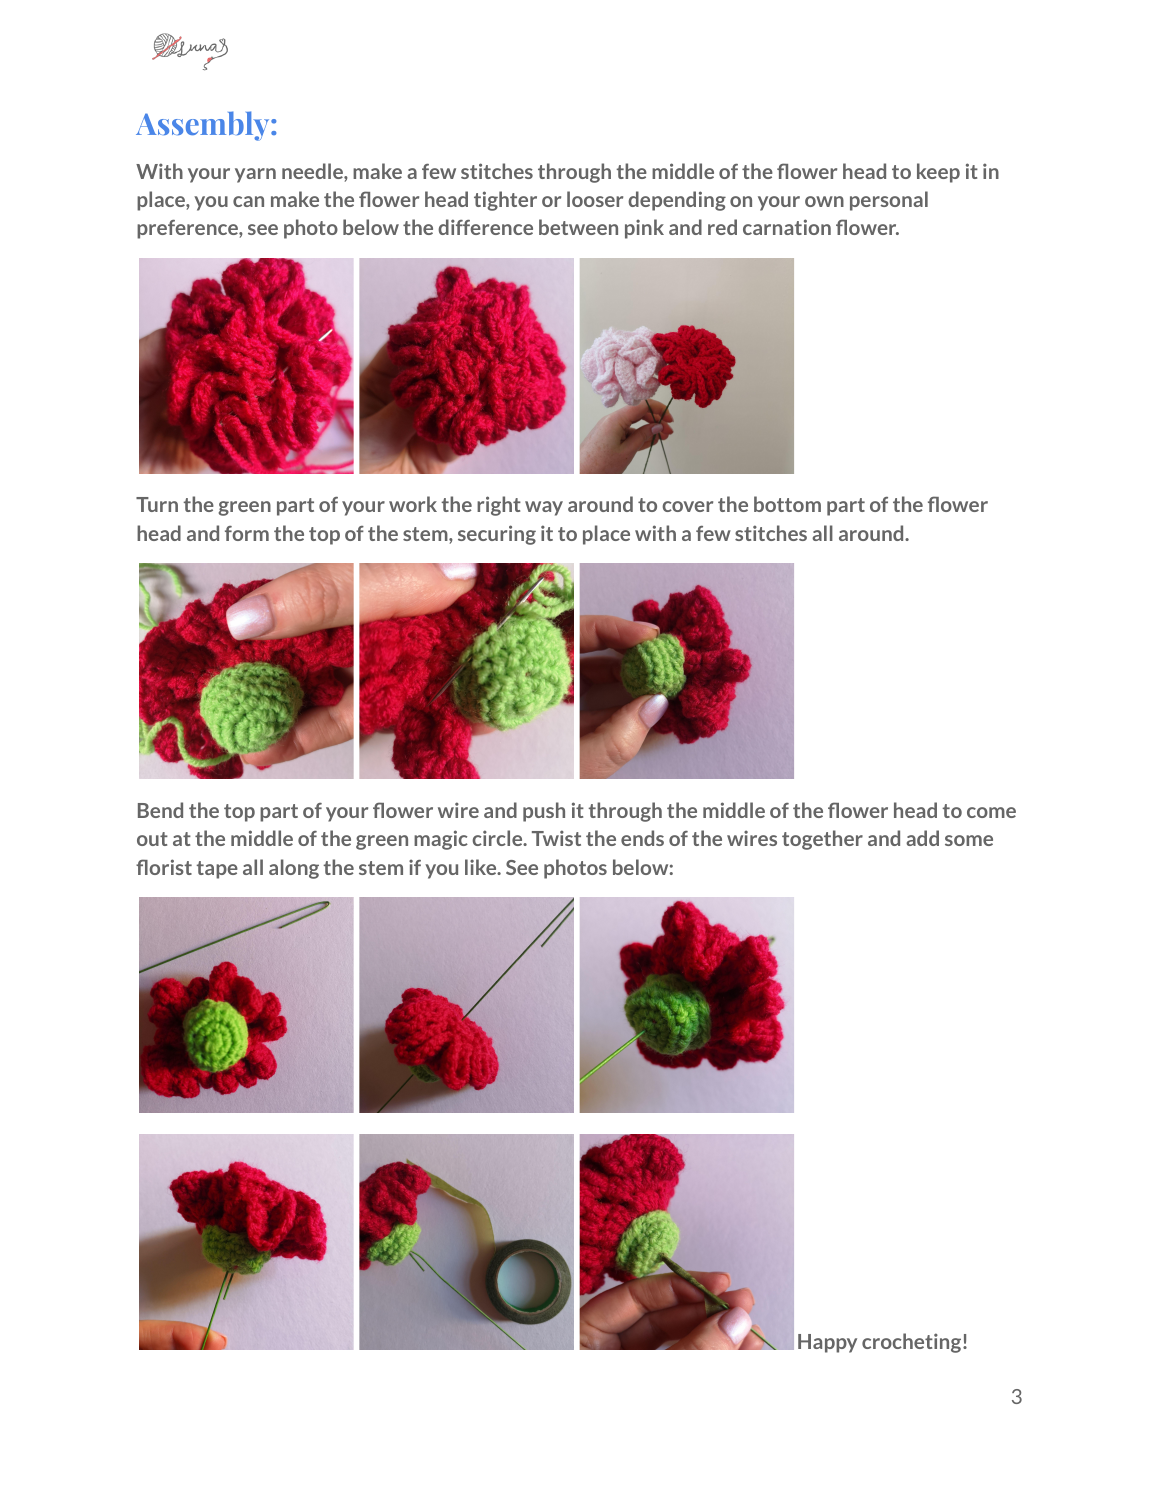
Thread the long flower tail onto the yarn needle. Make a few stitches through the middle of the head to hold the ruffles together. The original pink and red examples show different tightness.
Turn the green cup right side out to cover the lower flower head. Secure it with a few stitches around the base.
Bend the top of the flower wire and insert it through the center of the head, bringing it out through the center of the green magic circle, as photographed.
Twist the wire ends together. Add florist tape along the stem if desired. Check the attachment and cover any sharp wire ends before displaying the finished flower.
This carnation flower crochet pattern is a decorative wired project. Keep the wire in mind when choosing where to display it and when handling the finished stem.
Carnation Flower Crochet Pattern: Questions
Why does the flower start with 12 stitches when the base has 18?
The flower attaches to the unused back loops left by green round 3. That round was worked into 12 stitches and increased to 18 through their front loops, leaving 12 back loops available.
Do the starting chains count?
No. The flower’s starting ch 1 and ch 2 do not count as stitches. Follow the specified join: beginning ch 1 for flower round 1, then the top of the first actual dc for rounds 2–5.
Is it normal for the flower to become very ruffled?
Yes. The final three rounds triple the count each time, ending with 324 dc. The excess fabric produces the ruffle; assembly stitches then hold its center in place.
Can I use a different yarn?
The PDF allows other yarn types and weights with a suitable hook. Its listed materials are DK yarn, a 3.5 mm hook, and 10 g of flower-colored yarn. These quantities and the finished appearance may change with substitutions.
What gauge and finished size should I expect?
The source gives no numerical gauge or finished measurement. It asks for tight stitches without gaps and suggests a smaller hook if necessary. Check the appearance of your base rather than assuming a fixed flower size.
Must I use florist tape?
No. Florist tape is optional in the source. The flower wire is the listed stem material; the PDF does not specify an alternative stem construction.
All Five Original PDF Pages
All construction and finished-flower photographs are preserved in these complete page images, along with the original instructions and final source information. Open any page at full size. Printed source branding remains unchanged.
PDF page 1 — Materials, skill level, and stitch keyPDF page 2 — Green base rounds and photosPDF page 3 — Flower rounds and eight-photo sequencePDF page 4 — Shaping and wire-stem assembly photosPDF page 5 — Original source information