
Stella Crochet · Amigurumi & Toys
Hammerhead Shark Crochet Pattern
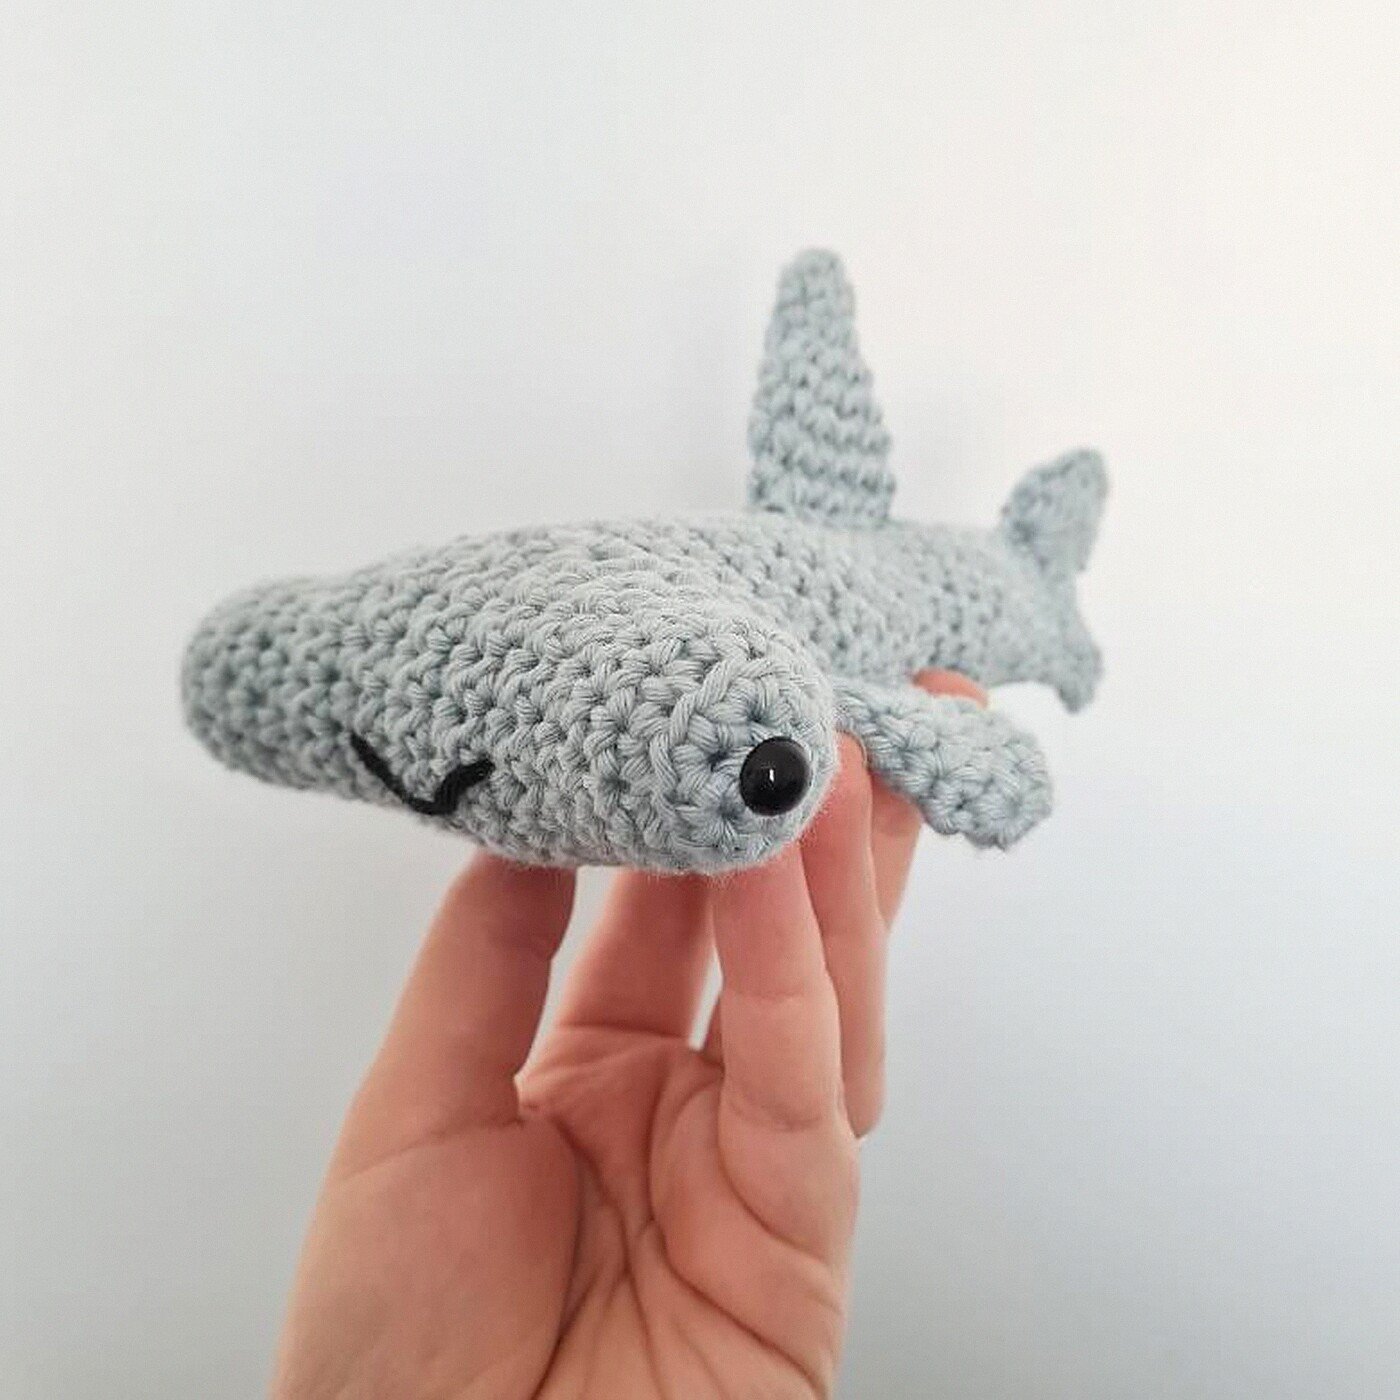
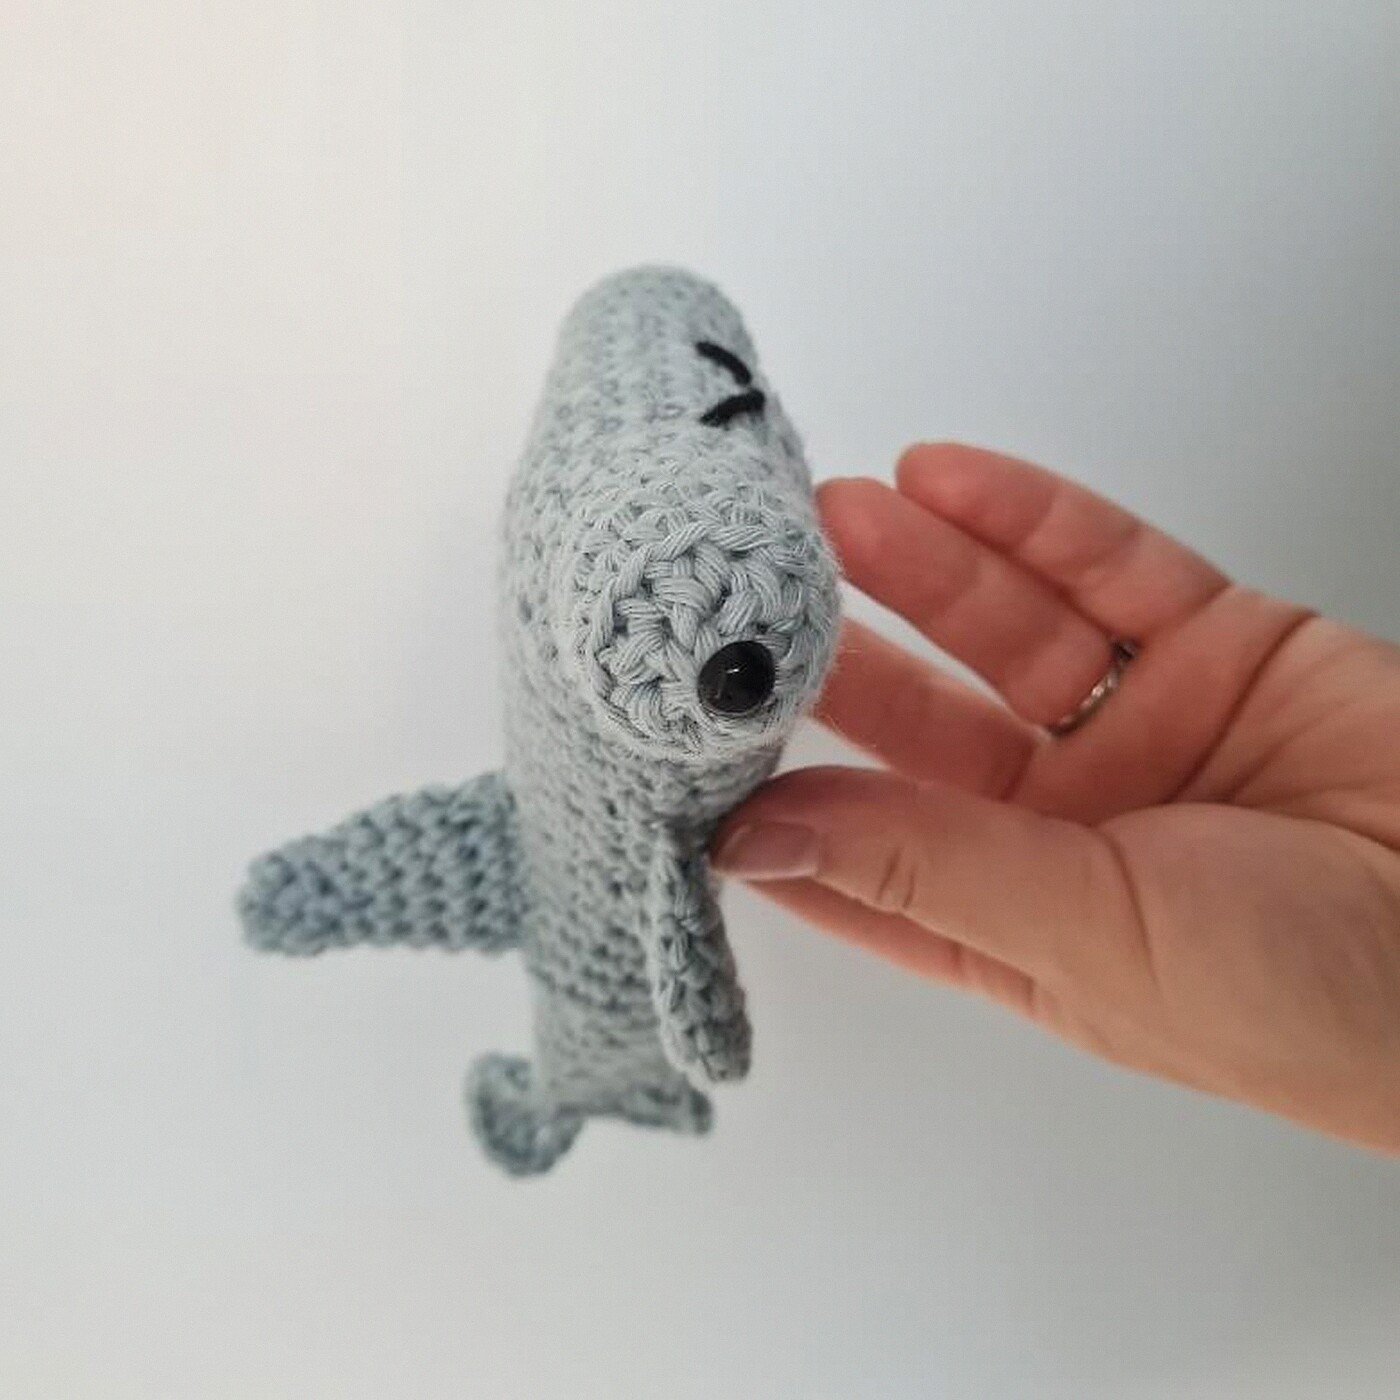
Crochet a friendly hammerhead shark with a wide shaped head, tapered body, sculpted tail, dorsal fin, and optional side fins. This complete guide preserves every verified stitch count from the original five-page pattern.
Project Overview
Construction
The head begins in continuous rounds, changes to short rows to create the hammer shape, and closes back into rounds. The body is joined directly around the head opening, then decreases toward a five-stitch tail edge.
Finishing
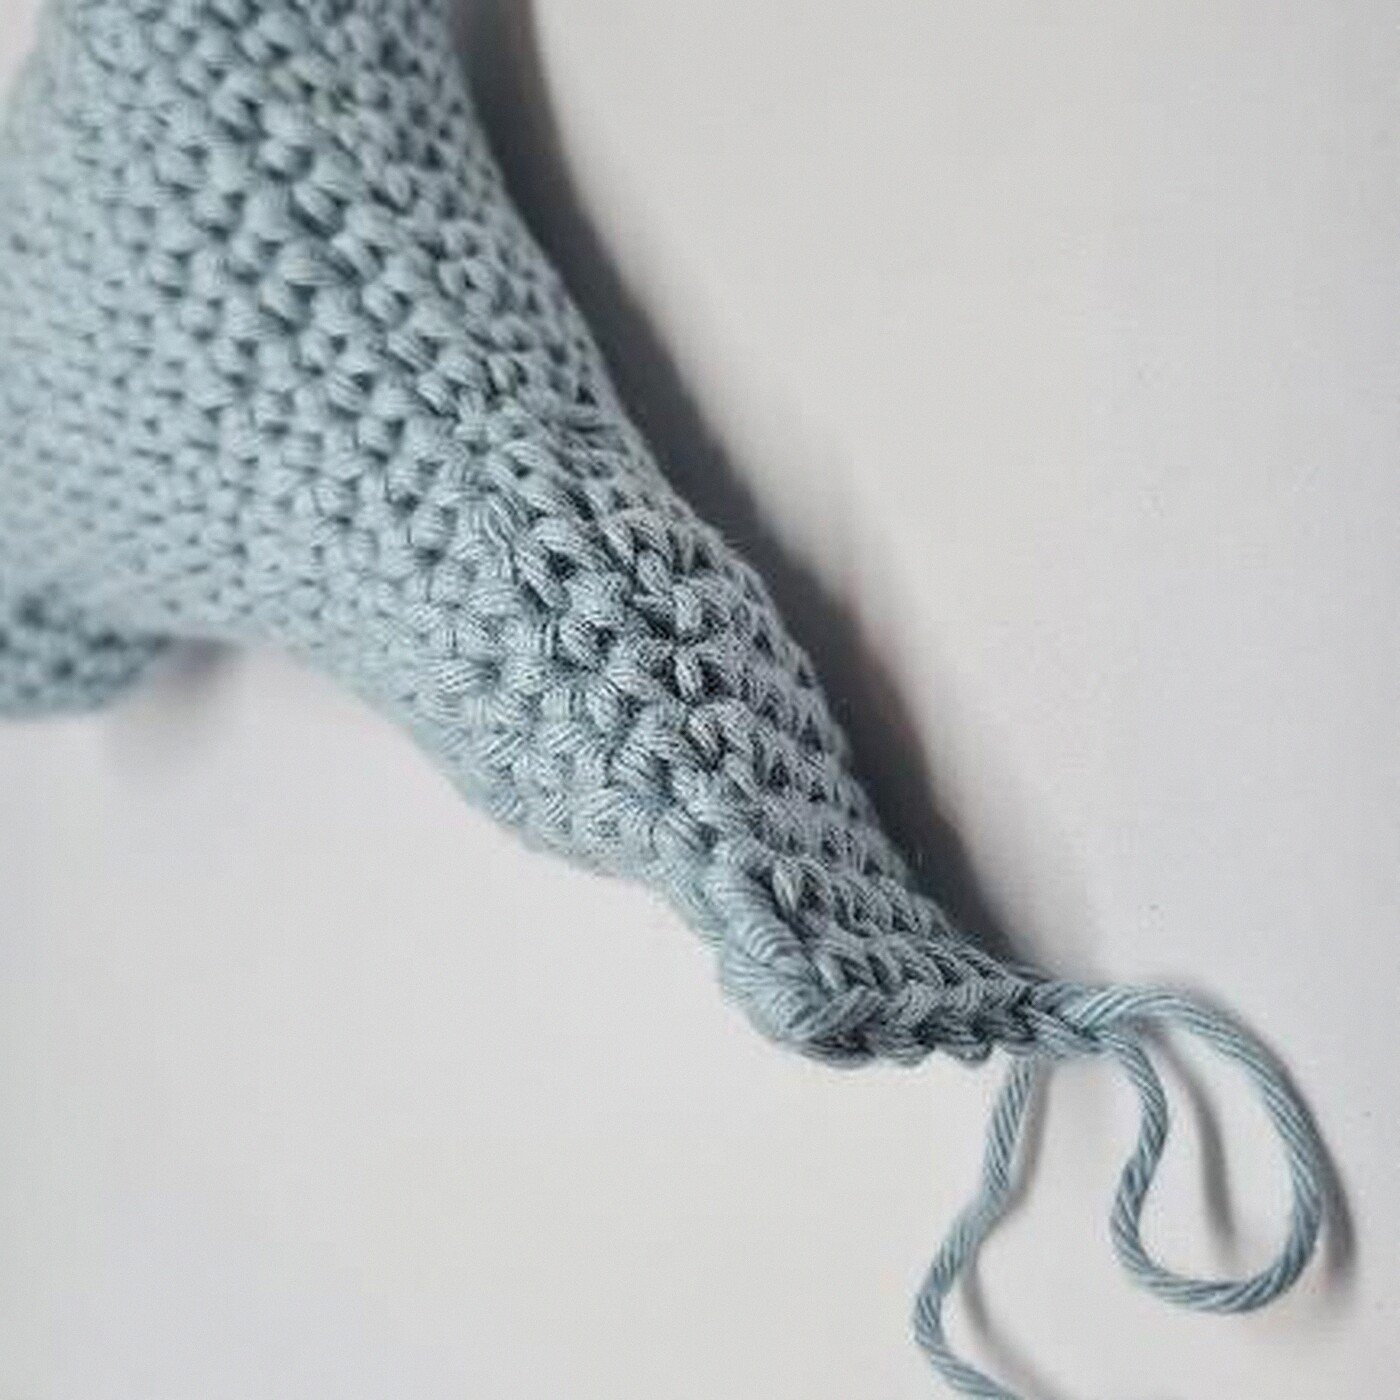
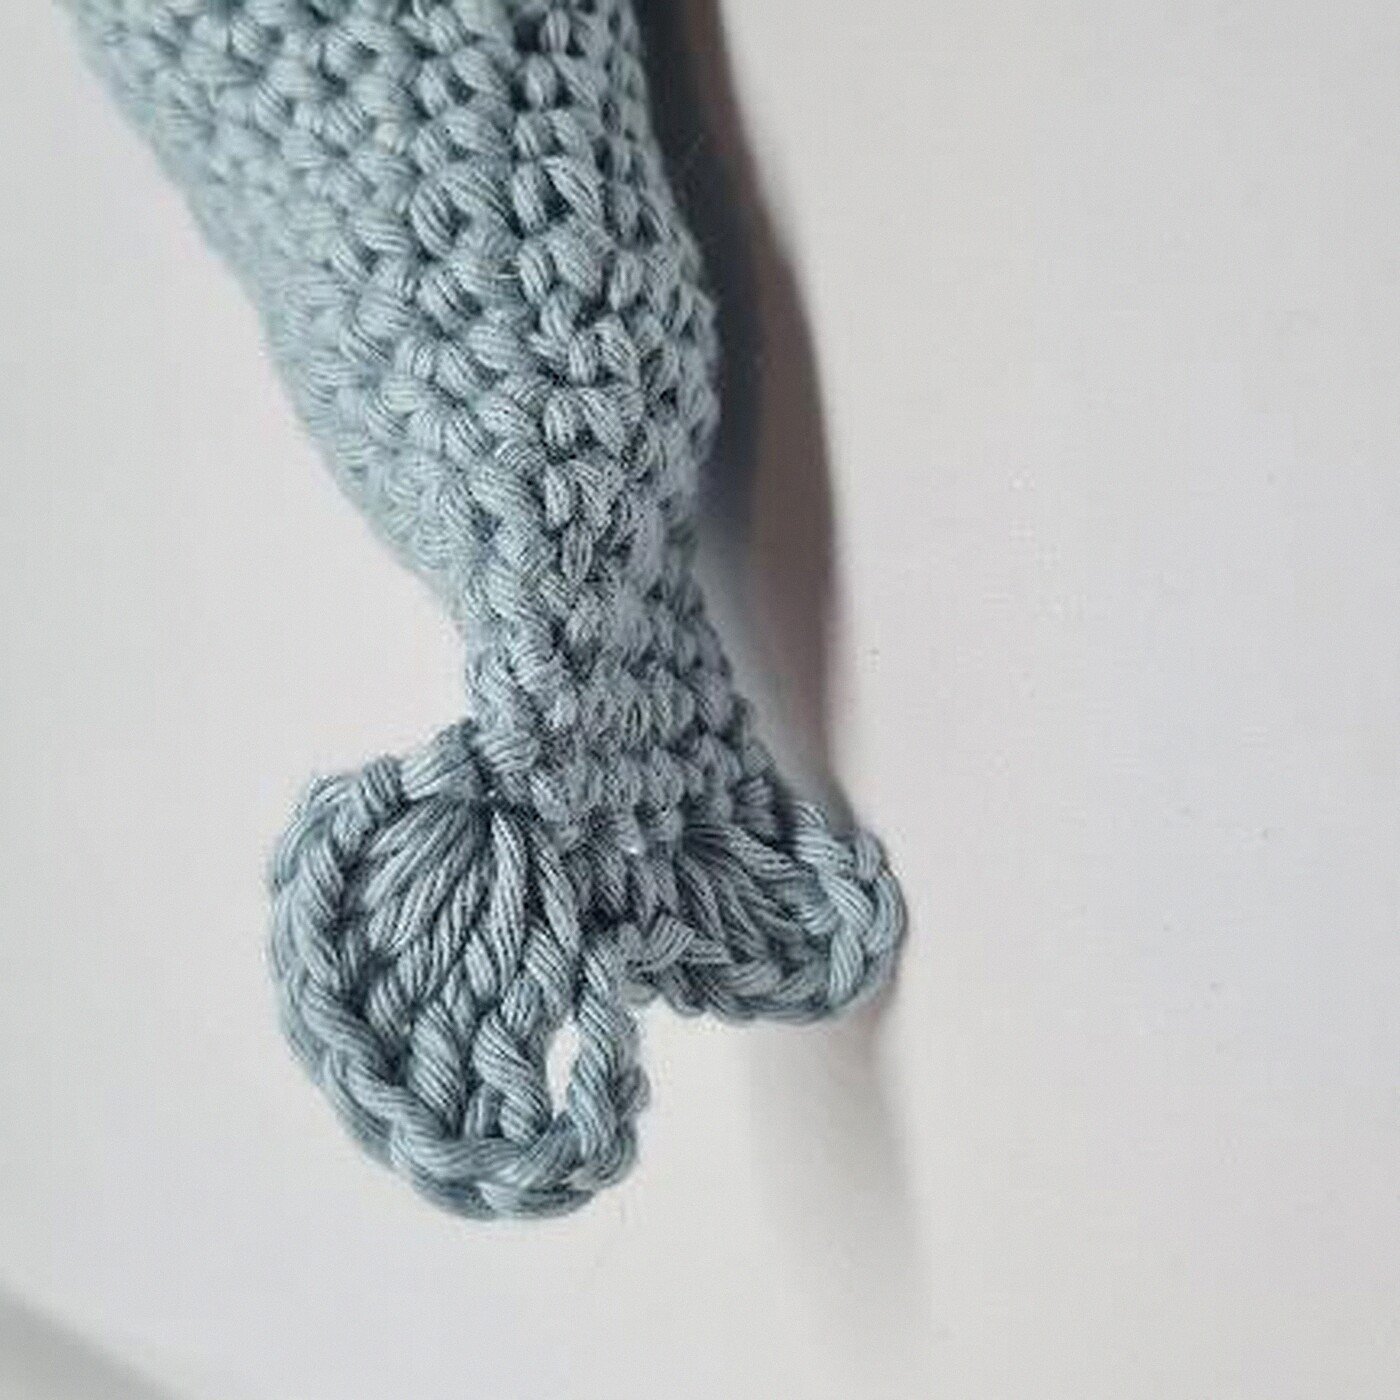
The tail lobes are crocheted directly across the closed body. One large fin and two to five small fins are made separately and sewn in place using the original photographs as placement guides.
Materials
- Gray DK-weight yarn
- 4 mm crochet hook
- Two safety eyes
- Polyester stuffing
- Black yarn and yarn needle for the smile
- Scissors and removable stitch marker
Abbreviations
| ch | chain | sc | single crochet |
|---|---|---|---|
| inc | 2 sc in the next stitch | dec | single crochet the next 2 stitches together |
| BLO | back loop only | sl st | slip stitch |
| hdc | half double crochet | dc | double crochet |
| tr | treble crochet | FO | fasten off |
Need a terminology refresher? Review this general crochet reference, then return to the verified instructions below.
Head: Rounds and Shaping Rows
Start: ch 2 and work 6 sc in the second chain from the hook.
| Round or row | Instructions | Count |
|---|---|---|
| 1 | Inc in every stitch. | 12 |
| 2 | Sc in BLO around. | 12 |
| 3-5 | Sc around. | 12 |
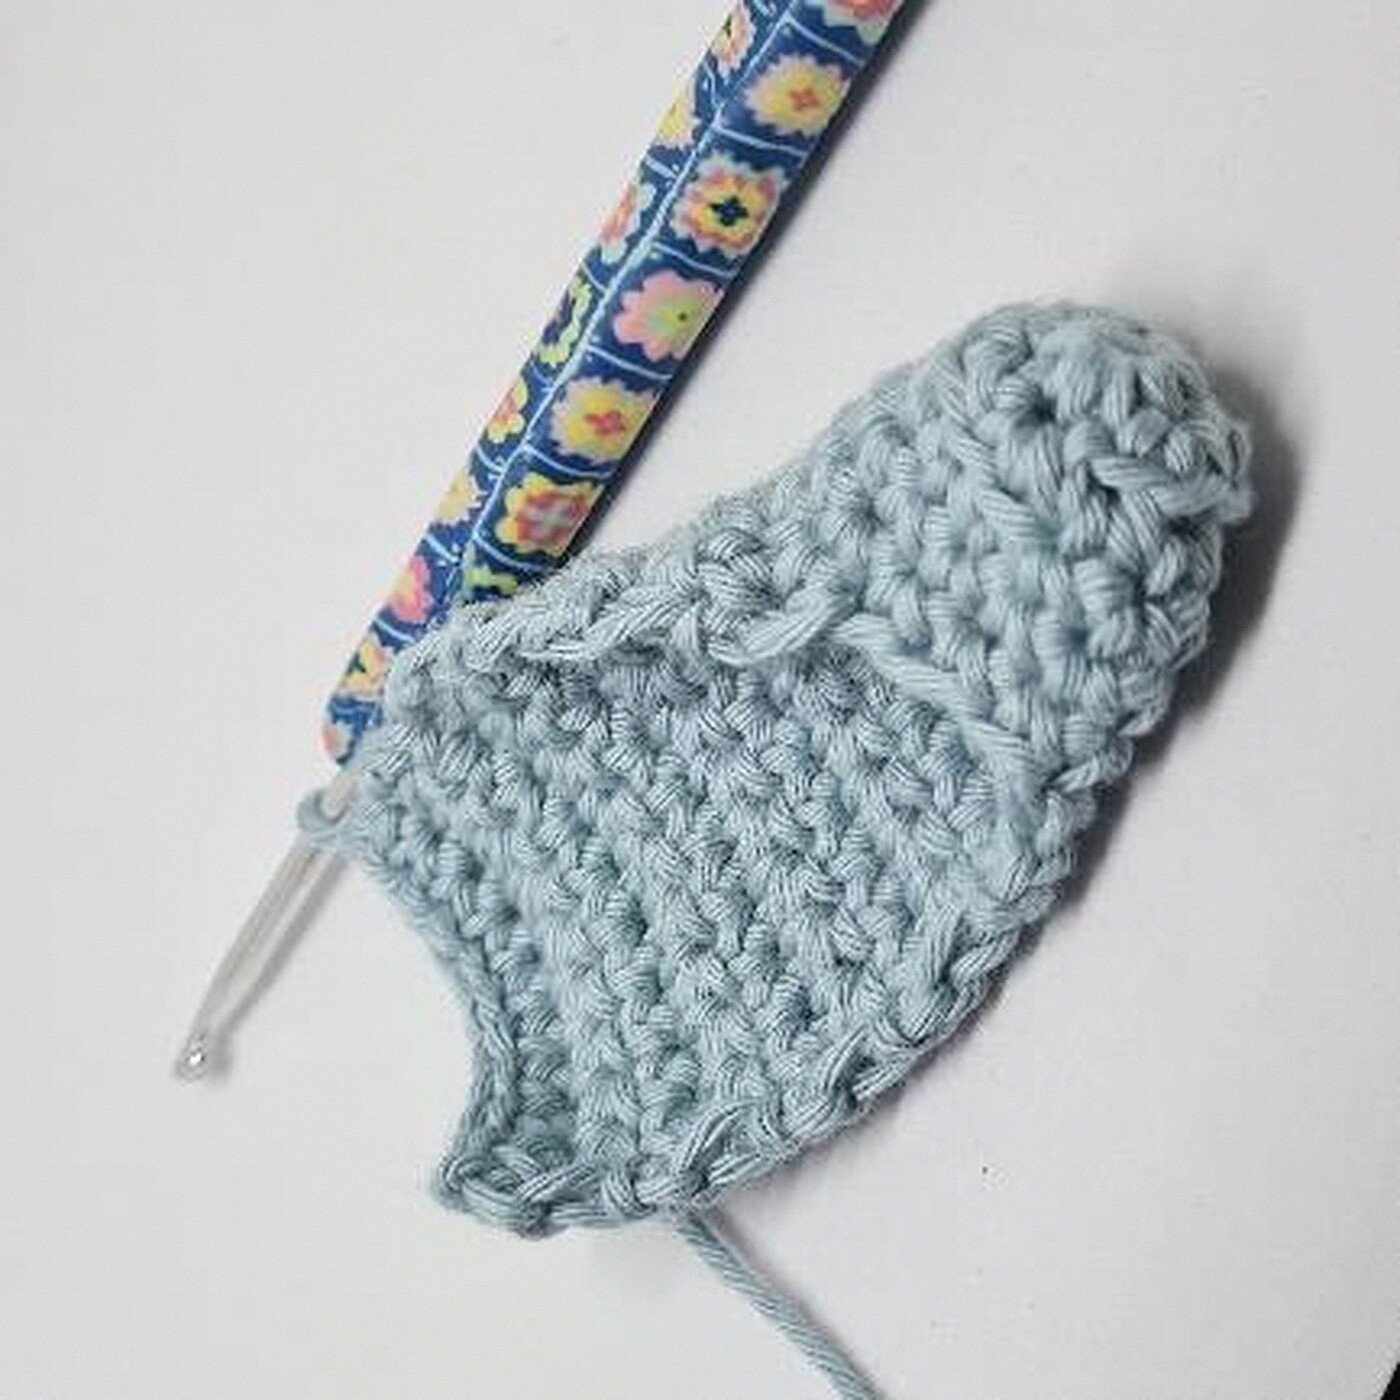
| 6-14 | Begin working in rows: ch 1, turn, and sc in the next 10 stitches. Ch 1 and turn after each row. | 10 per row |
| 15 | Sc in the next 10 stitches, ch 2, do not turn, and continue into the first stitch of Row 15. | 10 + ch-2 bridge |
| 16 | Sc in the 10 row stitches and in both chain spaces. | 12 |
| 17-18 | Sc around. | 12 |
| 19 | BLO dec 6 times. Fasten off. | 6 |
Insert the eyes in the beginning and ending spaces of the hammer-shaped head before the body is stuffed.

Join and Crochet the Body
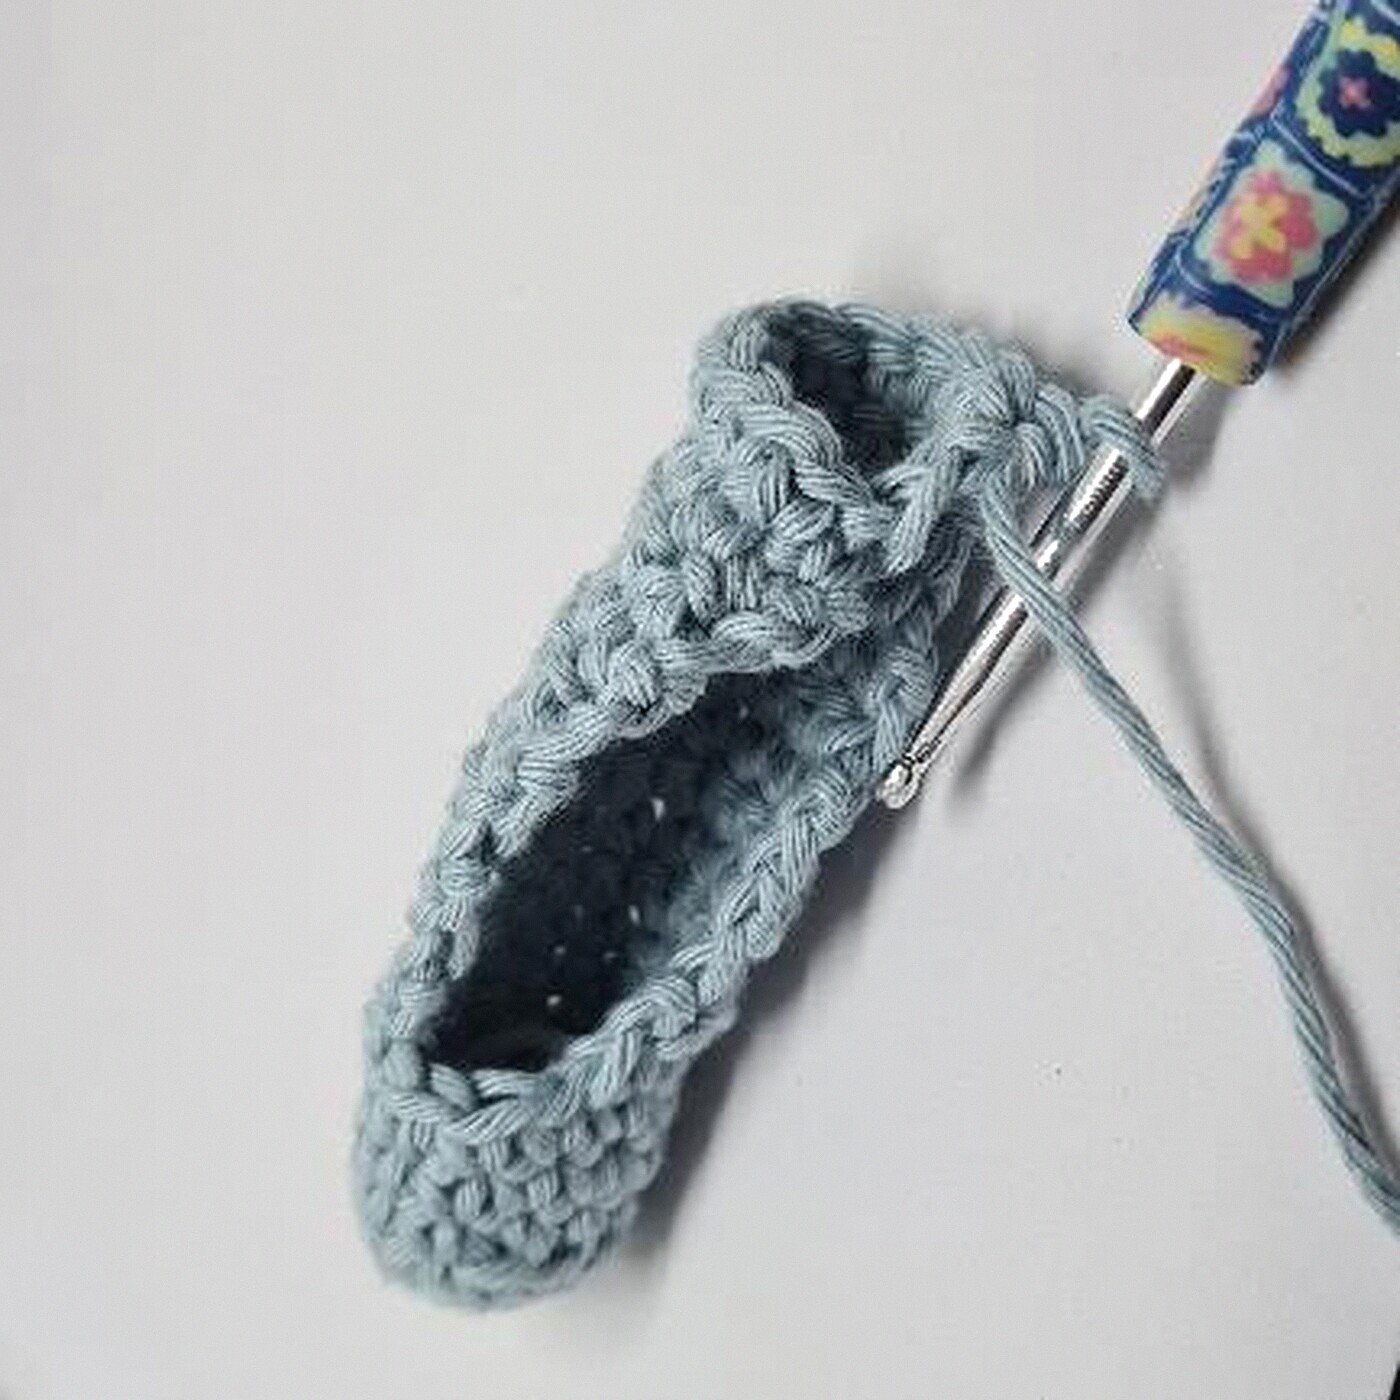
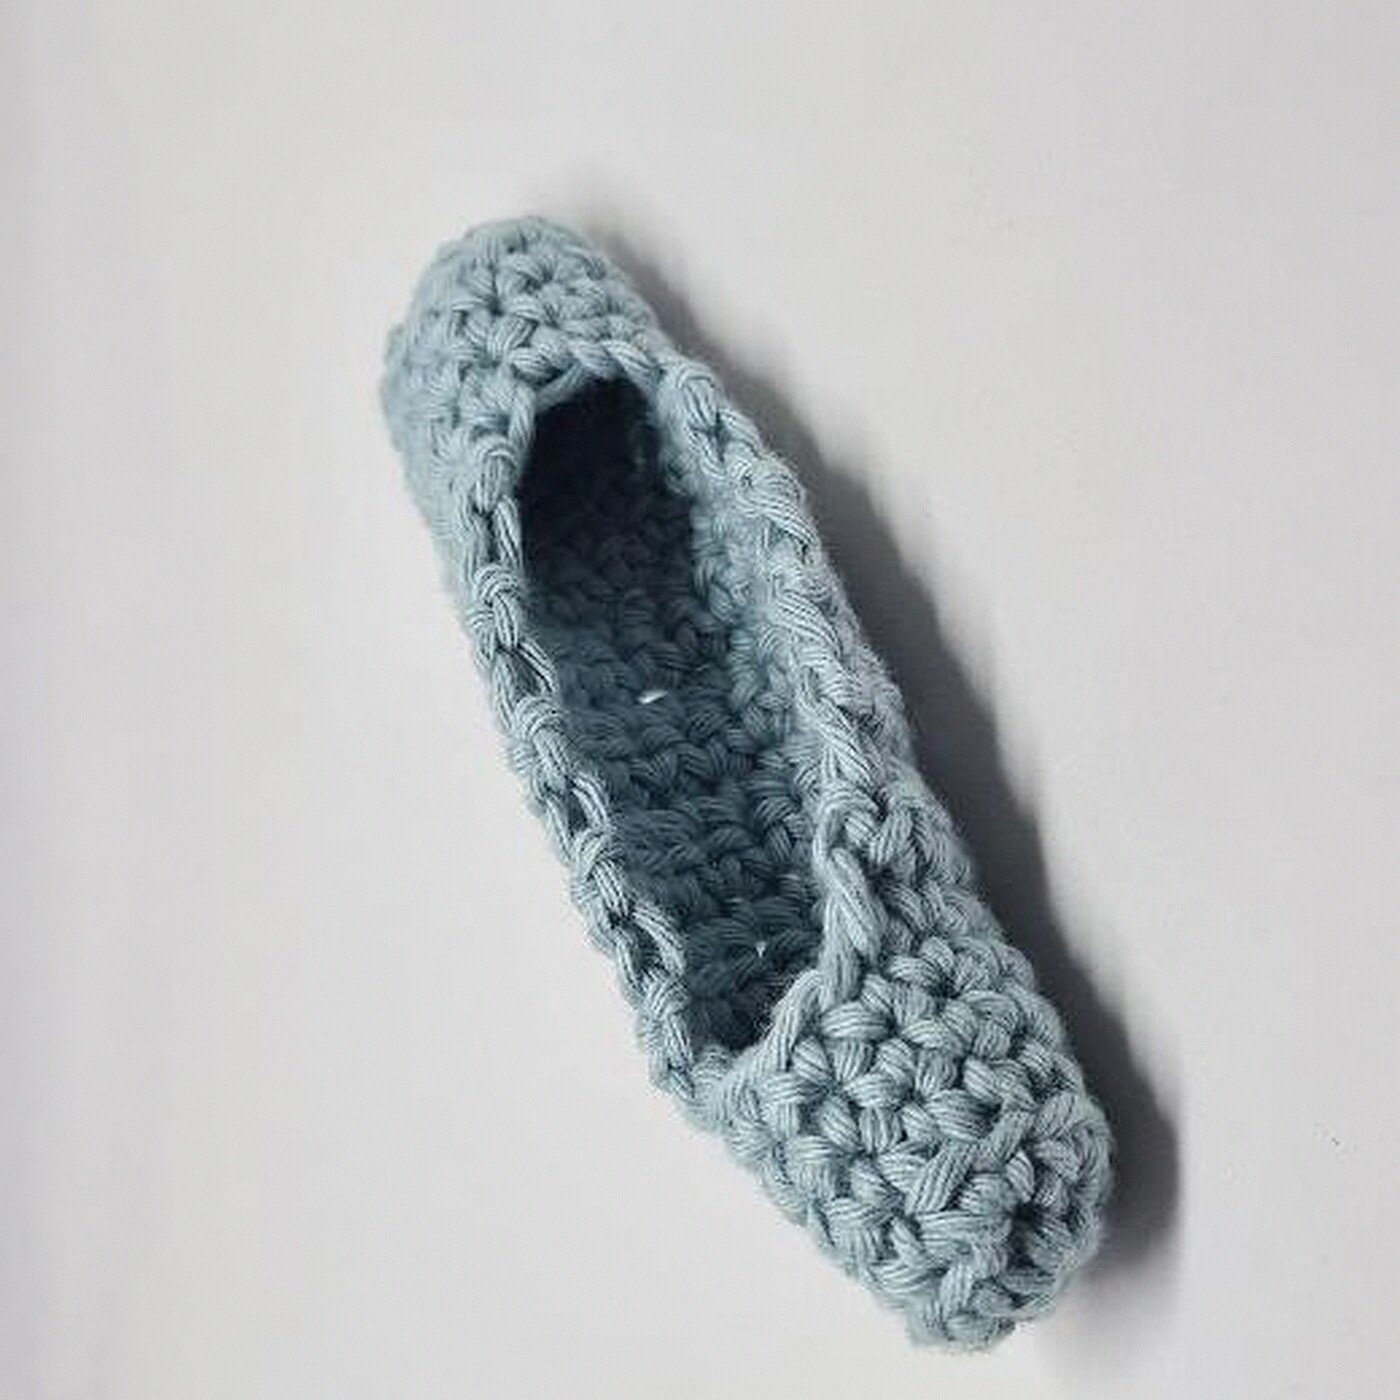
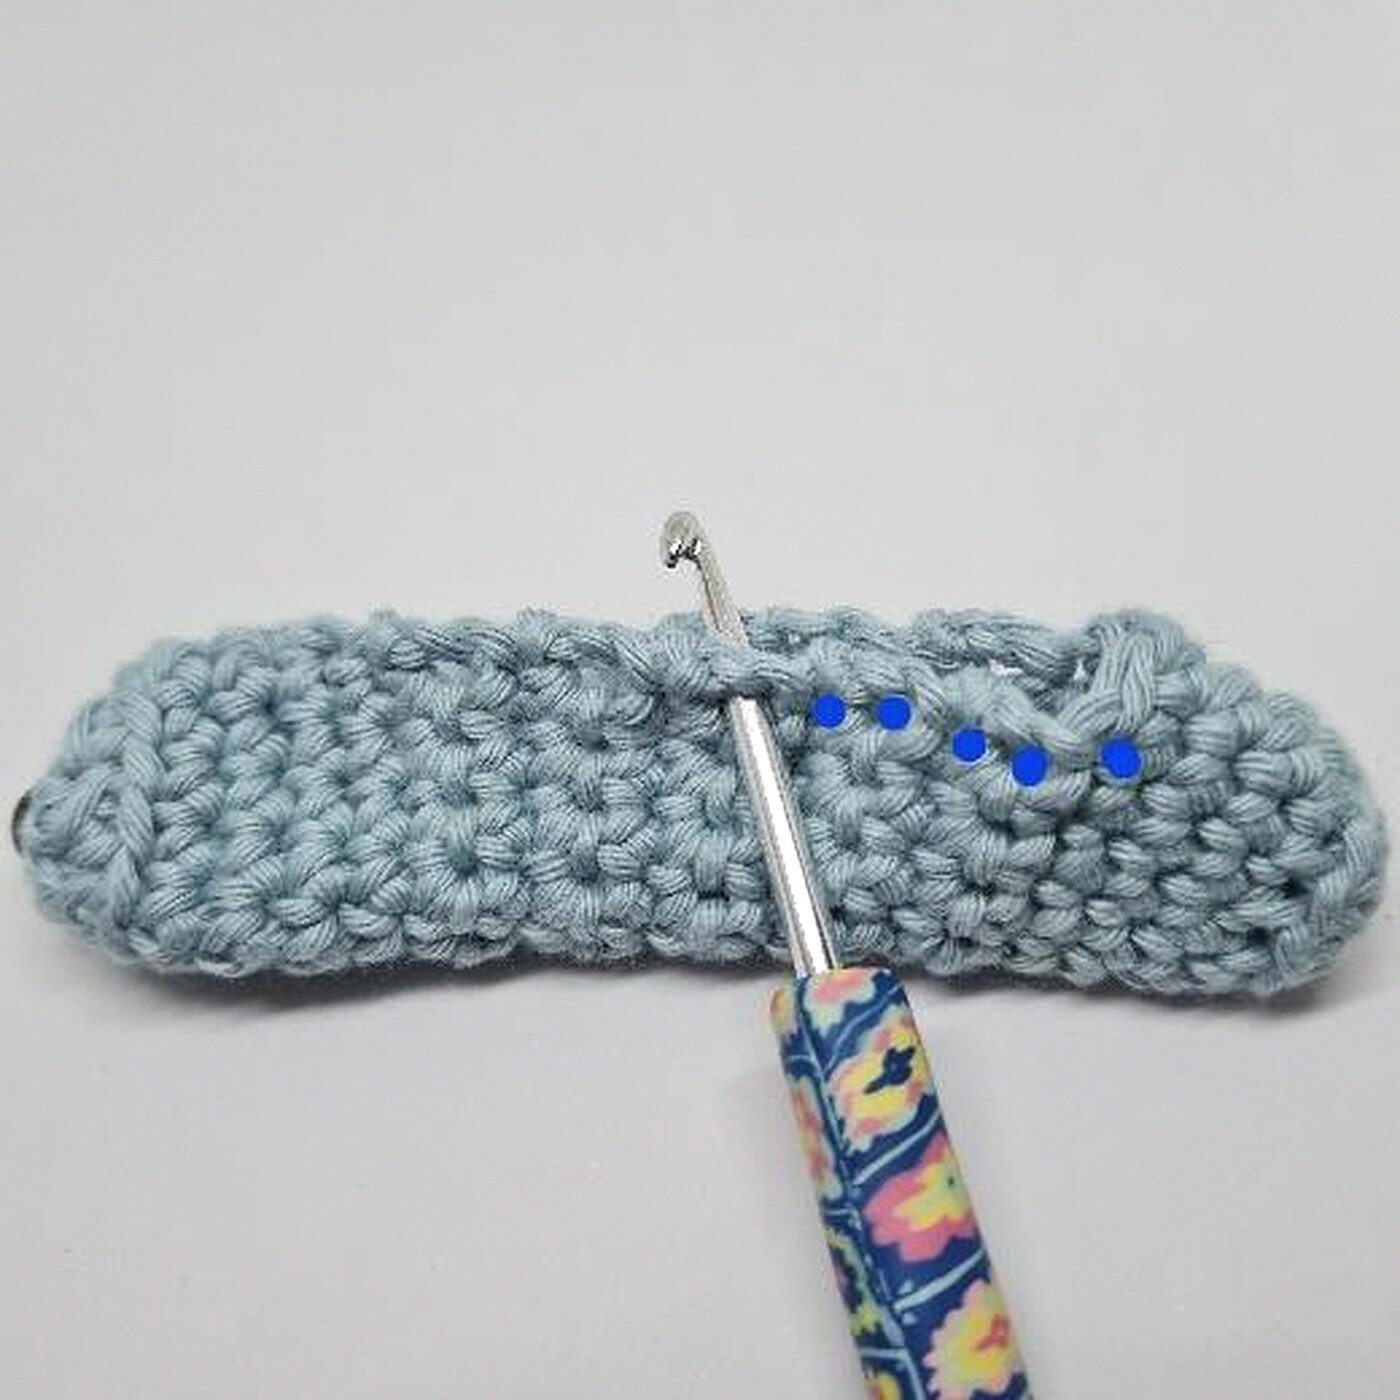
Join the yarn in the fifth stitch from a head corner. Work Round 1 into every row edge, corner, and chain space around. Keep the two decreases near the outer edges of the head shape on every shaping round.

| Round | Instructions | Count |
|---|---|---|
| 1 | Sc in every row edge, corner, and chain space around. | 28 |
| 2 | Sc around. | 28 |
| 3 | 8 sc, dec, 12 sc, dec, 4 sc. | 26 |
| 4 | 8 sc, dec, 11 sc, dec, 3 sc. | 24 |
| 5 | 7 sc, dec, 10 sc, dec, 3 sc. | 22 |
| 6 | 7 sc, dec, 9 sc, dec, 2 sc. | 20 |
| 7 | 7 sc, dec, 8 sc, dec, 1 sc. Begin stuffing. | 18 |
| 8 | Sc around. | 18 |
| 9 | 6 sc, dec, 8 sc, dec. | 16 |
| 10 | Sc around. | 16 |
| 11 | 6 sc, dec, 6 sc, dec. | 14 |
| 12-15 | Sc around. | 14 |
| 16 | Dec, 5 sc, dec, 5 sc. | 12 |
| 17-18 | Sc around. | 12 |
| 19 | Dec, 4 sc, dec, 4 sc. | 10 |
| 20 | Sc around. Stuff firmly. | 10 |
| 21 | Flatten the opening and sc through both layers to close. | 5 |
Crochet the Tail
Ch 1 and turn across the five closed stitches. In the next stitch work (sc, hdc, dc, dc, tr, tr). Ch 4, sc in the next 2 stitches, then work (sc, hdc, dc, dc) in the next stitch. Ch 2 and sc in the final stitch.
Large and Small Fins
Large fin – make 1
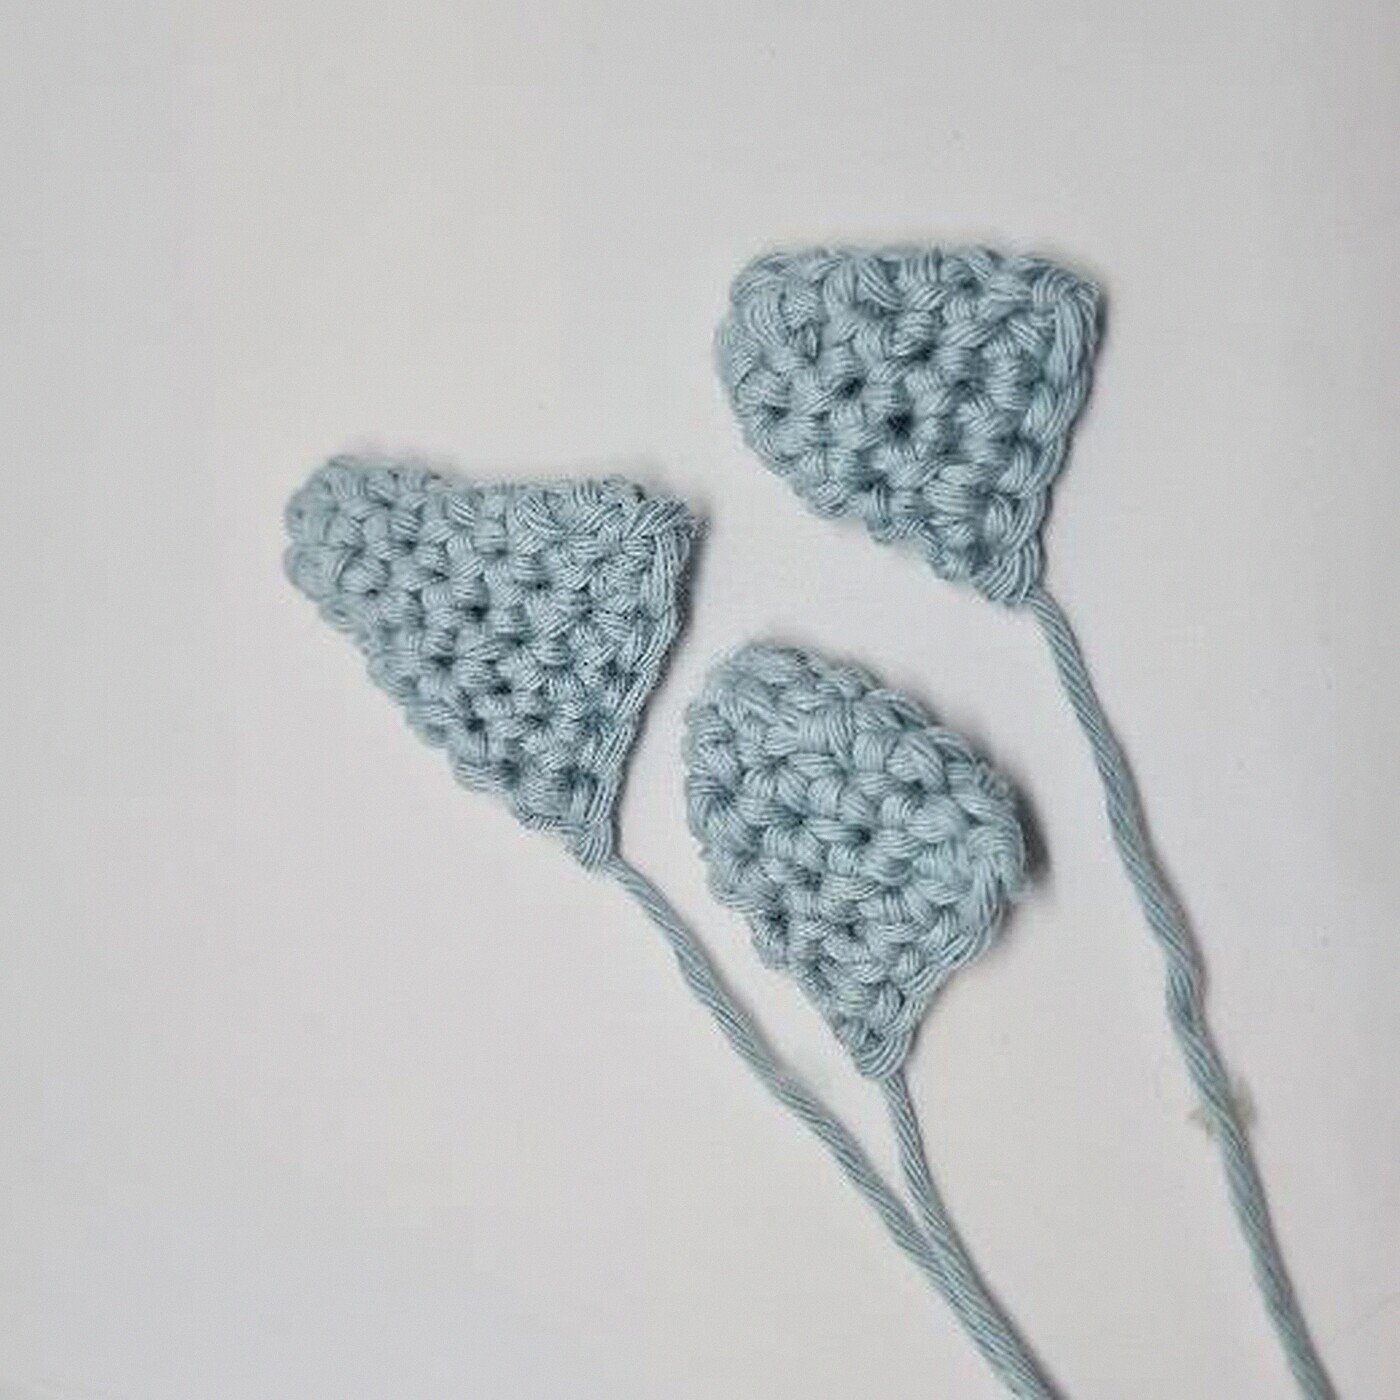
Ch 2 and work 6 sc in the second chain from the hook. Rounds 1-2: sc around (6). Round 3: repeat (sc, inc) 3 times (9). Round 4: sc around (9). Round 5: repeat (2 sc, inc) 3 times (12). Round 6: sc around (12). Flatten, sc closed, and fasten off.
Small fin – make 2 to 5
Ch 2 and work 6 sc in the second chain from the hook. Rounds 1-2: sc around (6). Round 3: repeat (sc, inc) 3 times (9). Rounds 4-5: sc around (9). Flatten, sc closed, and fasten off.
Assembly and Face
- Sew the large fin along the top center of the body.
- Sew one small fin to each side, matching their height and angle.
- Add extra small fins only if desired; the verified source allows two to five.
- Use black yarn to embroider a small curved smile.
- Weave in all ends and shape the stuffing evenly through the head and body.
Interactive 10-Step Reader
Step 1 of 10
Prepare
Gather DK yarn, a 4 mm hook, stuffing, eyes, black yarn, and a stitch marker.
Step 2 of 10
First head end
Start with six stitches, increase to twelve, and work through Round 5.
Step 3 of 10
Shape the hammer
Work Rows 6-15 across ten stitches to extend the center section.
Step 4 of 10
Close the head
Use the chain bridge to return to twelve stitches, finish the rounds, and decrease to six.
Step 5 of 10
Join the body
Join at the fifth stitch from a corner and work 28 stitches around the opening.
Step 6 of 10
Shape and stuff
Follow Rounds 3-20, keeping decreases near both outer edges and adding stuffing gradually.
Step 7 of 10
Close the tail edge
Flatten the ten-stitch opening and sc through both layers to make five stitches.
Step 8 of 10
Crochet the tail lobes
Work the two shaped stitch groups and center chains across the five-stitch edge.
Step 9 of 10
Make the fins
Crochet one large fin and two to five small fins, then flatten and close each piece.
Step 10 of 10
Assemble
Sew the fins securely, embroider the smile, weave in the ends, and shape the finished shark.
Count Checks and Troubleshooting
- Head will not close to 12: Row 15 must end with a two-chain bridge, and Round 16 uses the 10 row stitches plus both chain spaces.
- Body decreases twist: shift the plain stitches while preserving one decrease near each outer edge and the stated final count.
- Body looks lumpy: add small pieces of stuffing gradually and keep the head ends firmly shaped.
- Tail curls: relax the tall stitches and do not tighten the center chains.
- Fins flop: sew through the closed base of each fin with several small, even stitches.
Hammerhead Shark Crochet Pattern FAQs
Can I use a different yarn weight?
Yes. Keep the hook approximately 0.5-1 mm smaller than the yarn label recommendation so the stuffing does not show. A different weight changes the finished size.
How many small fins should I make?
Make at least two side fins. You may make up to five for a more detailed shark.
Why does the head switch from rounds to rows?
The short rows extend the center while keeping rounded ends, creating the recognizable hammerhead silhouette.
Where do the body decreases go?
Keep one decrease near each outer edge of the head shape. You may shift the surrounding plain stitches without changing the round’s total count.
Can I embroider the eyes?
Yes. Embroidered eyes are the safer choice for a toy intended for a baby or young child.
Why This Hammerhead Shark Crochet Pattern Works
This hammerhead shark crochet pattern keeps every shaping count visible and pairs the written instructions with enhanced original guide photographs. The hammerhead shark crochet pattern uses a direct head-to-body join, so the central form requires very little sewing. Save this hammerhead shark crochet pattern as your working reference for the head, body, tail, fins, and assembly.
Leave a Reply