
STELLA CROCHET · FLOWERS & PLANTS
Crochet Lily Flower Pattern
Use this crochet lily flower pattern to make a wired full bloom, closed buds, leaves, stigma, stamens, and a complete floral arrangement. The guide preserves every original construction stage with 95 clean source photos.
Intermediate 1.5 mm hook DK yarn US terms
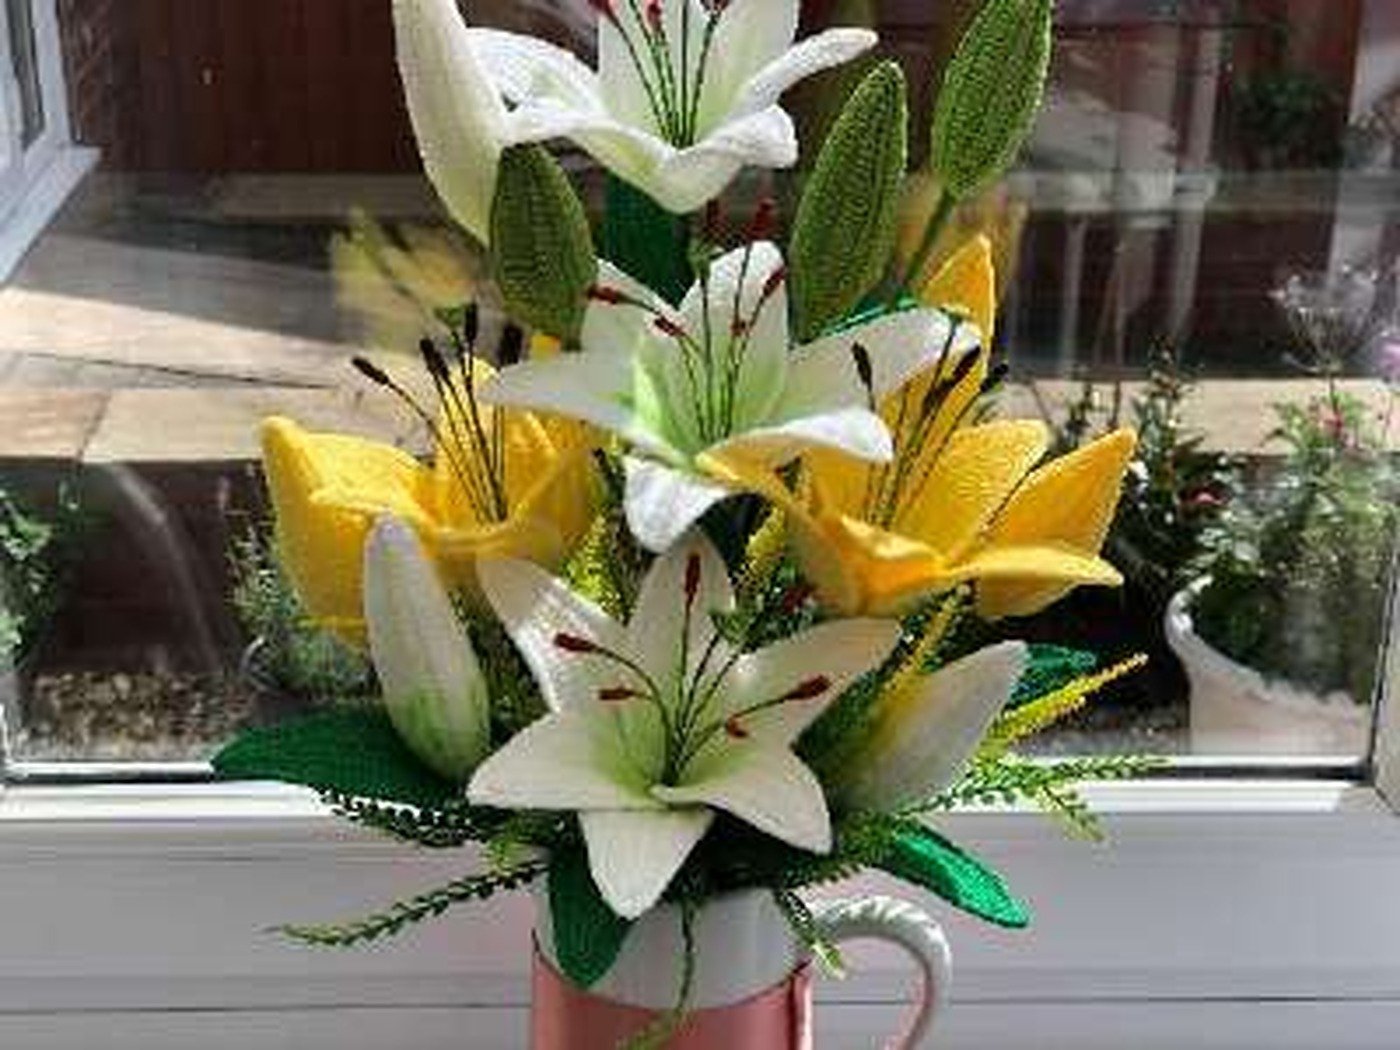
Crochet Lily Flower Pattern: Before You Start
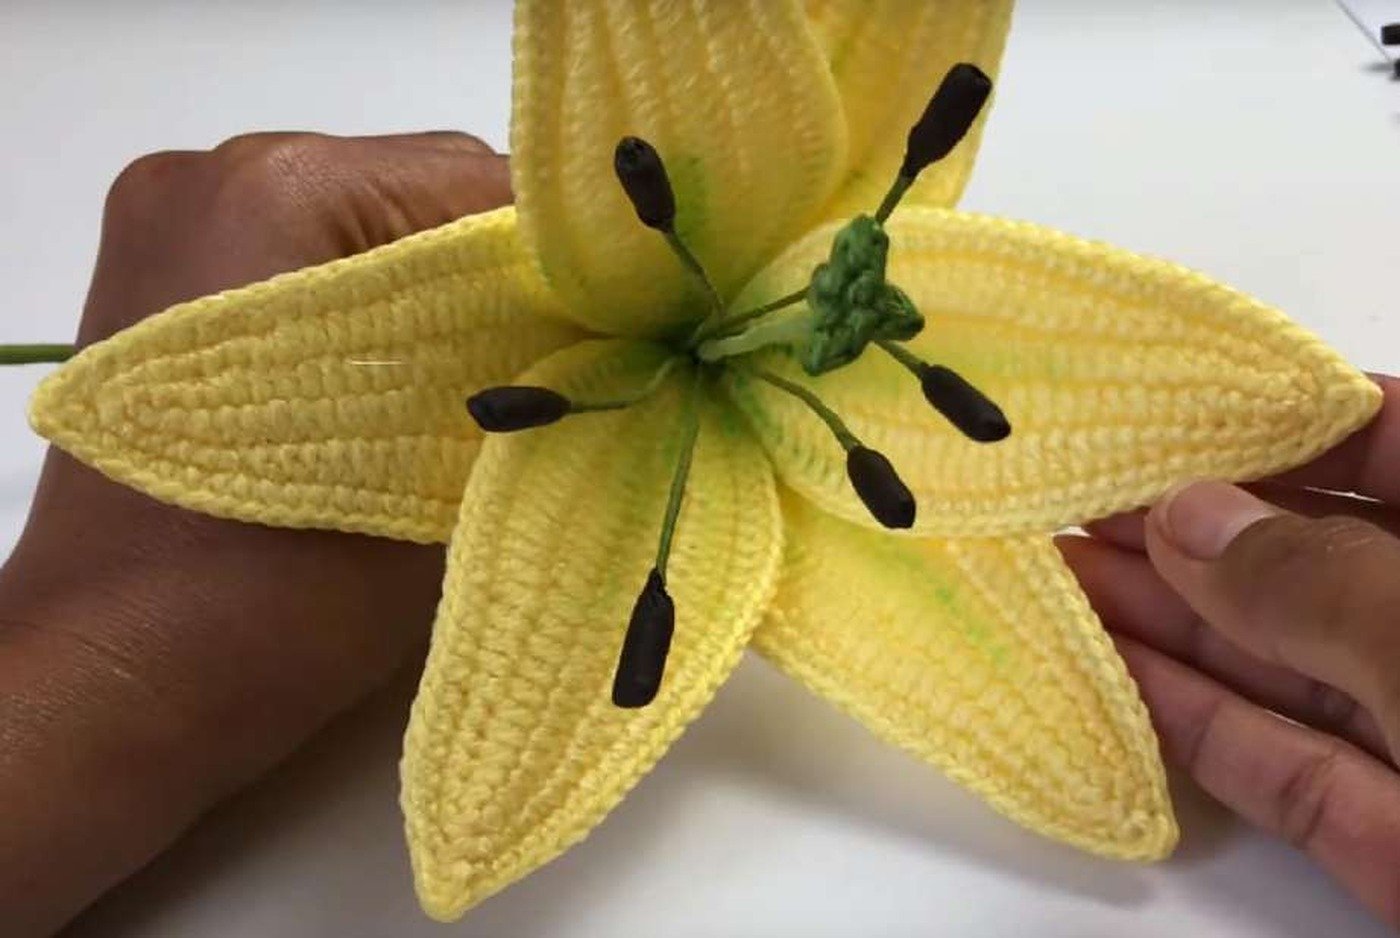
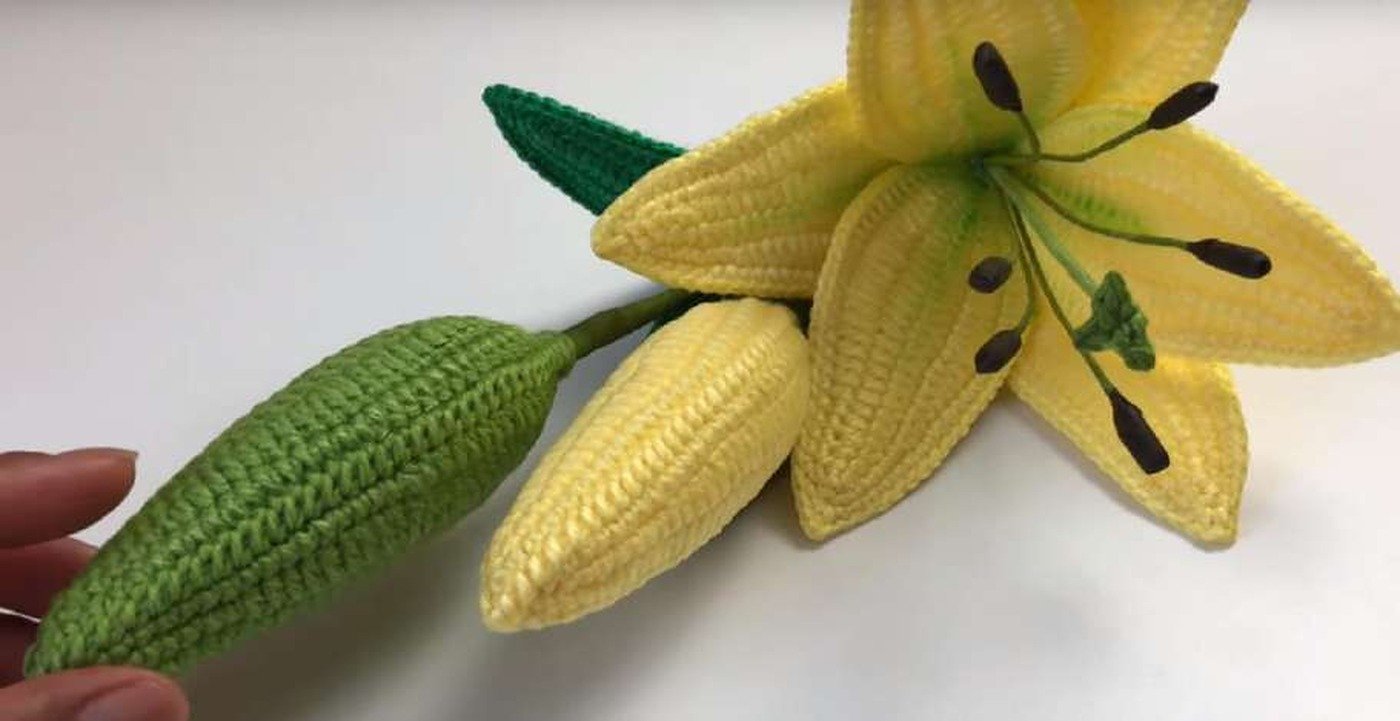
This is an intermediate three-dimensional flower project. Each open bloom uses three Petal A pieces, three Petal B pieces, one stigma, six stamens, and one wired stem. Each closed bud uses two matching petals. Work firm stitches so the wired pieces hold their shape.
Materials
- 1.5 mm crochet hook
- DK / light-worsted / 8-ply yarn in flower colors and green
- 1.2 mm (18-gauge) wire, 12–18 in per stem
- 0.46 mm (25-gauge) wire, about 12 in per petal and 25 in per leaf
- Wire cutters, scissors, wool needle, and stuffing
- Green and dark-brown floral tape
- Green crayon for optional petal shading
- Clear craft glue or hot glue, used carefully
Gauge: not critical. Use a hook that creates firm, tight stitches. Heavier yarn requires a larger hook and longer wire.
Abbreviations
Review the standard US crochet abbreviations if any term is unfamiliar.
CH chain · ST stitch · SL ST slip stitch · SC single crochet · HDC half double crochet · DC double crochet · TR treble crochet · 2-SC INC two SC in one stitch · 2-DC INC two DC in one stitch · 2-TR INC two TR in one stitch.
Crochet Lily Flower Pattern Photos and Charts

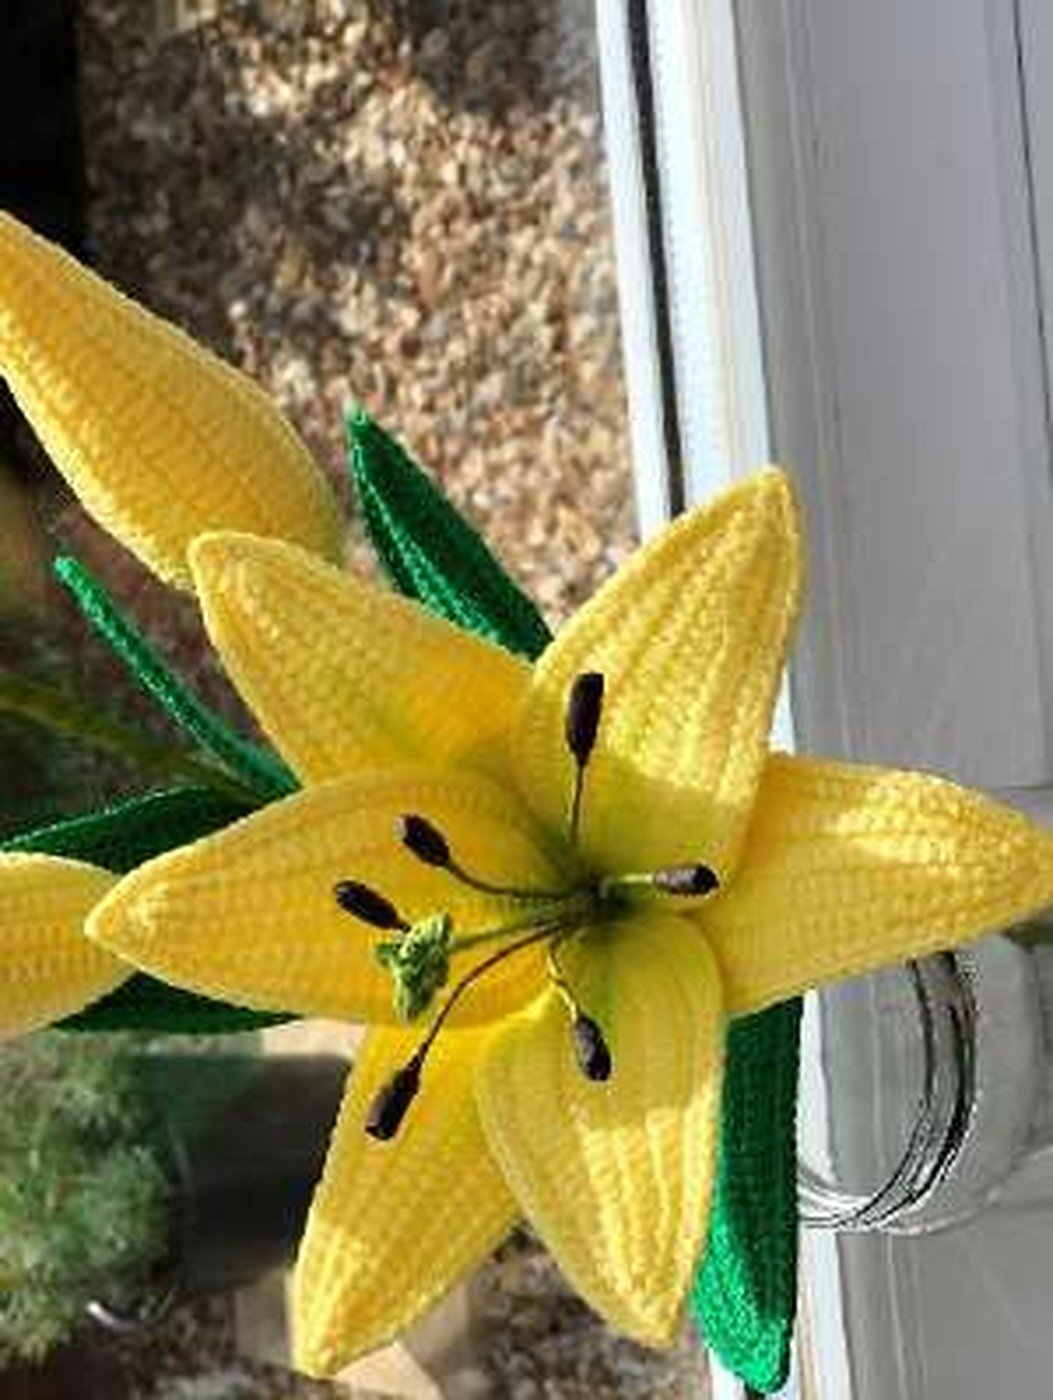
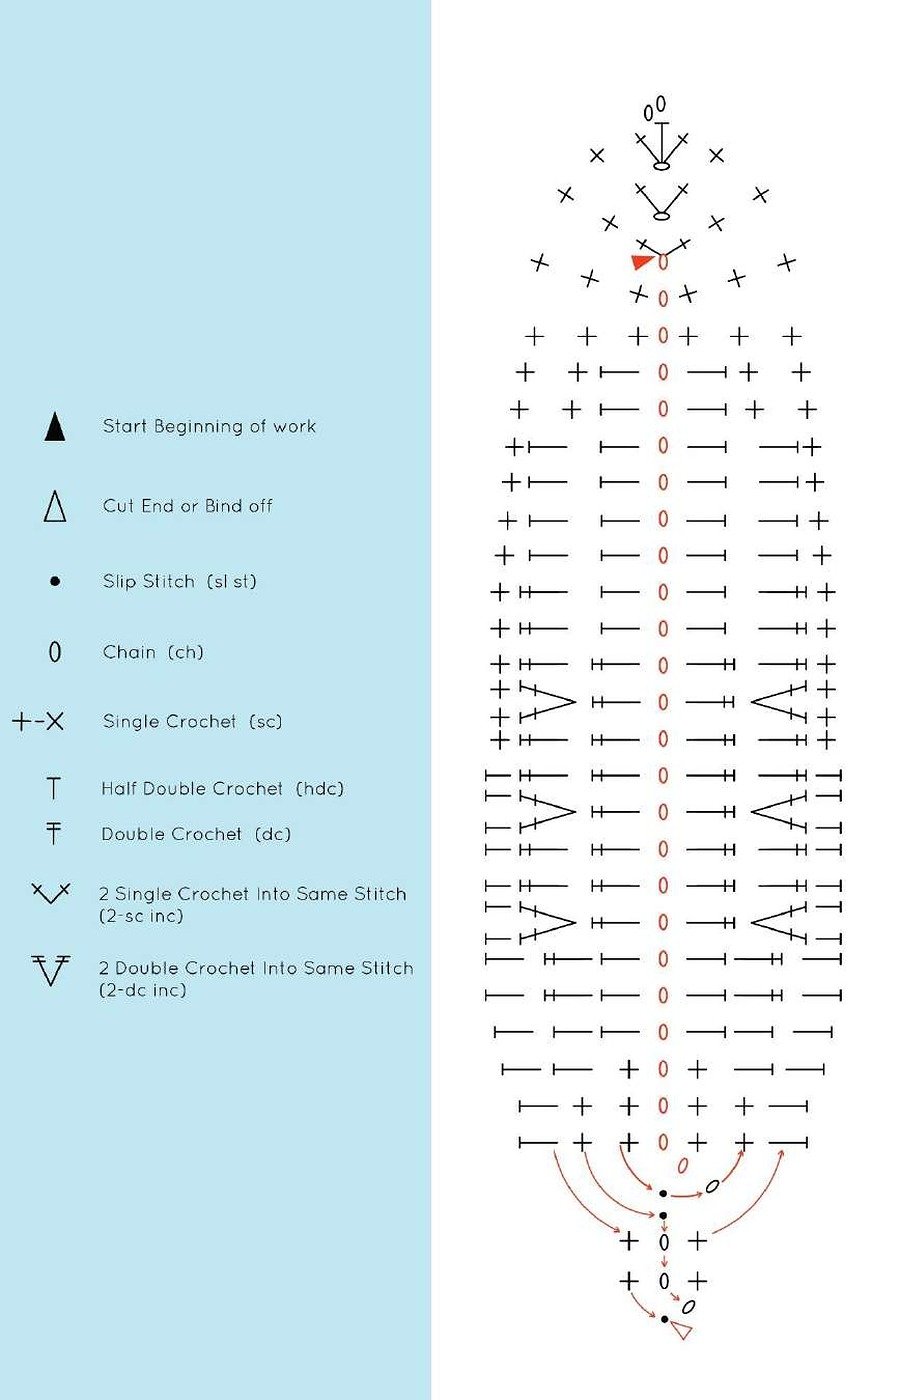
Petal A — Make 3 per Full Bloom
For a small closed bud, make two Petal A pieces. This crochet lily flower pattern uses Petal A for the inner layer of every open bloom.
Foundation and Round 1
With flower color, leave a 2–3 in tail and CH 26. SC in the second chain and next 2; HDC in next 3; DC in next 8; HDC in next 8; SC in next 2. In the final chain work (SC, CH 1, 2-SC INC). Rotate and work along the opposite side: SC 2, HDC 8, DC 8, HDC 3, SC 3; join to the turning chain.
Round 2
CH 1; SC 2; HDC 2; repeat [DC 2, 2-DC INC] three times; DC 3; HDC 4; SC 5. In the tip CH-1 space work (SC, CH 1, 2-SC INC). Rotate; SC 5; HDC 4; DC 3; repeat [2-DC INC, DC 2] three times; HDC 2; SC 2; join.
Round 3 and Wire Edge
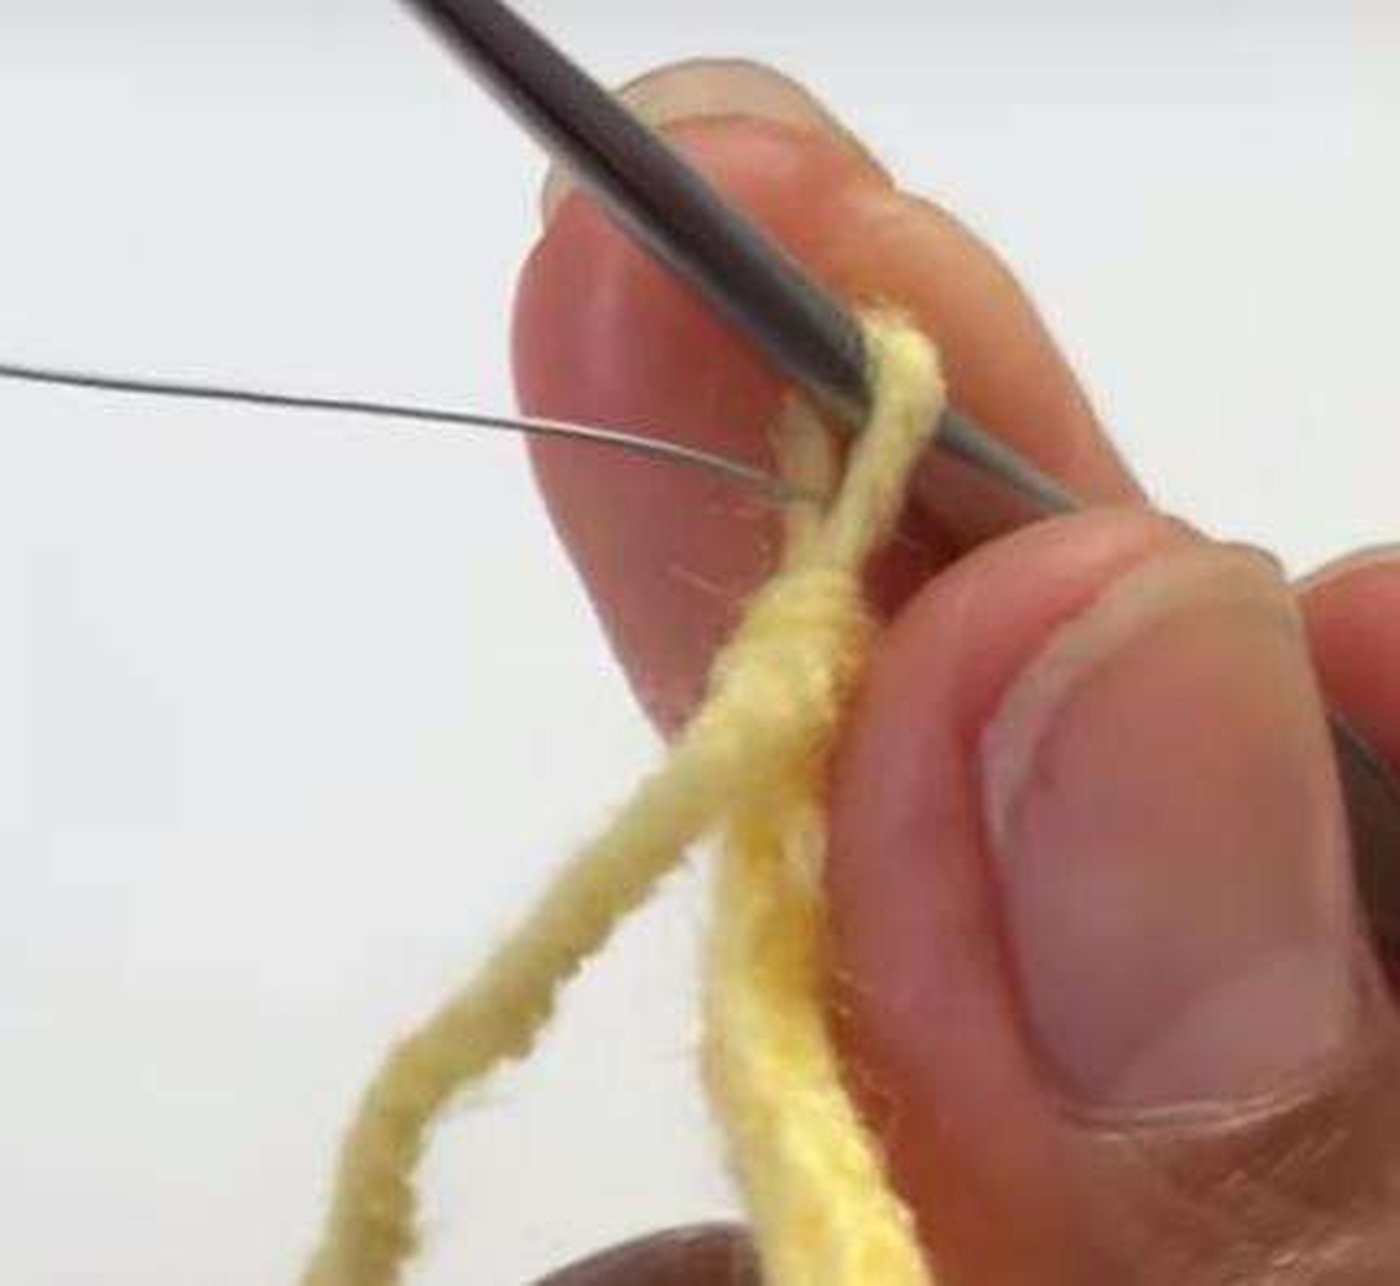
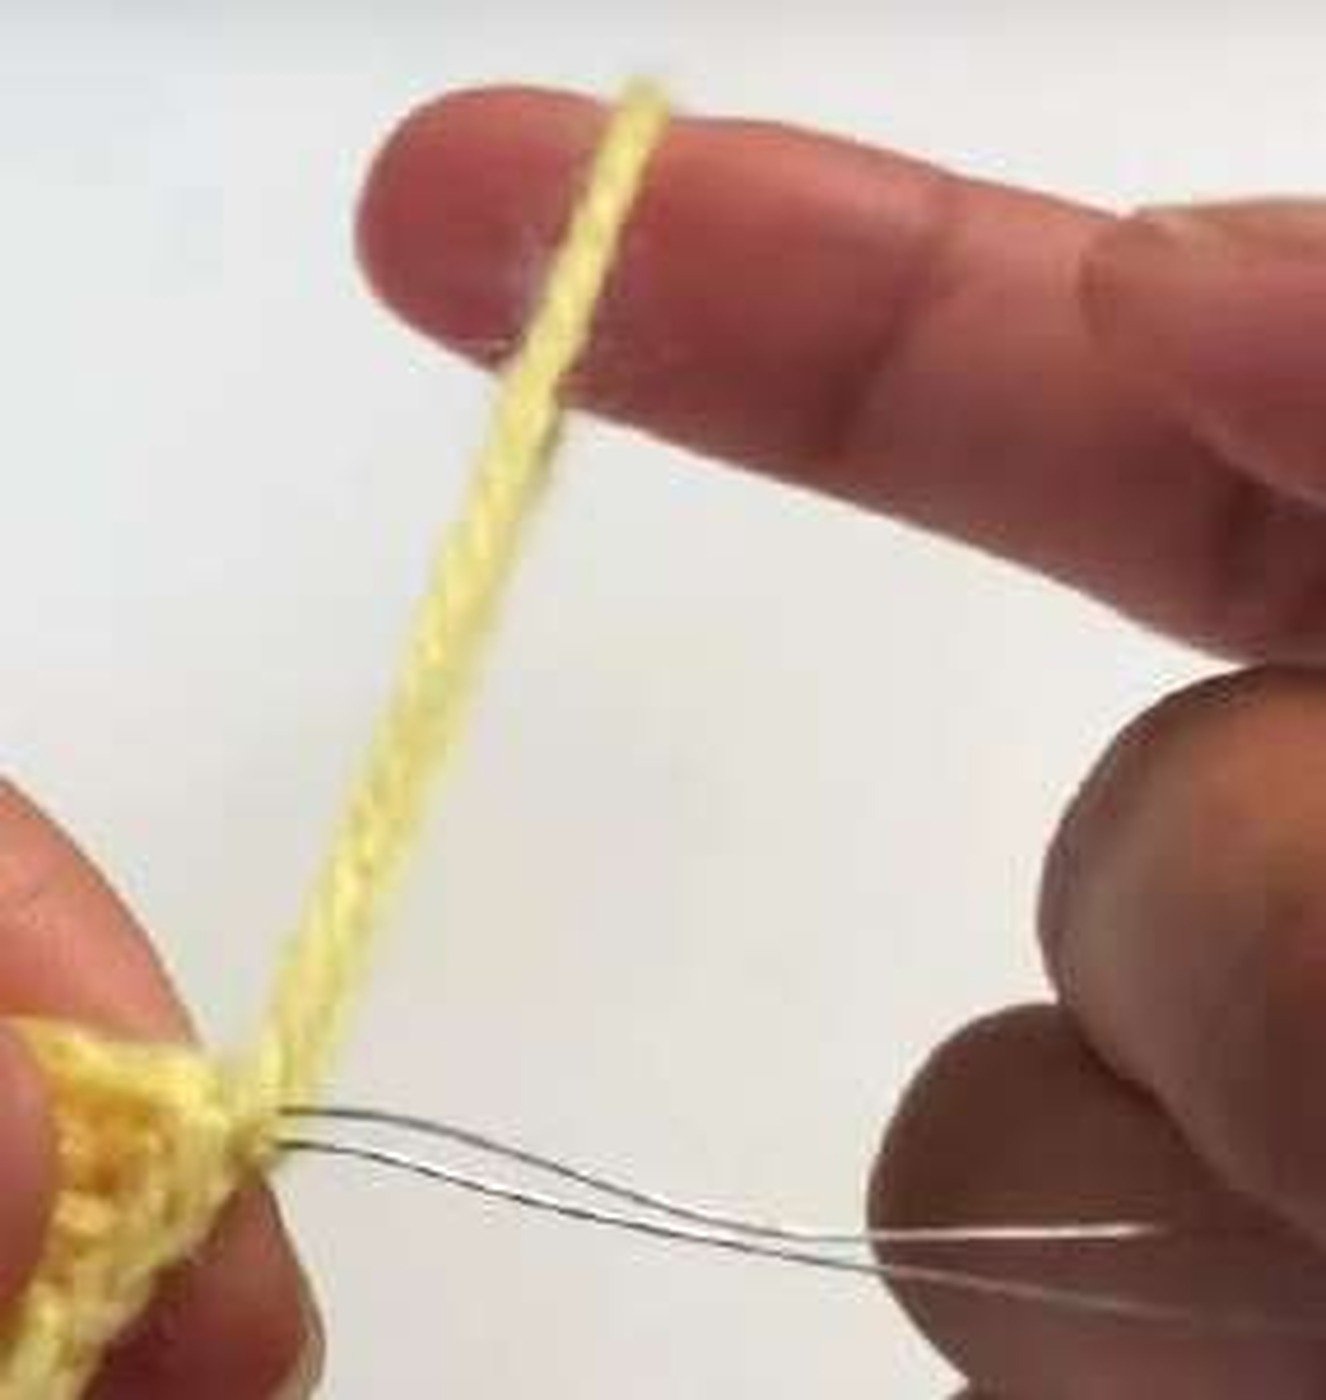
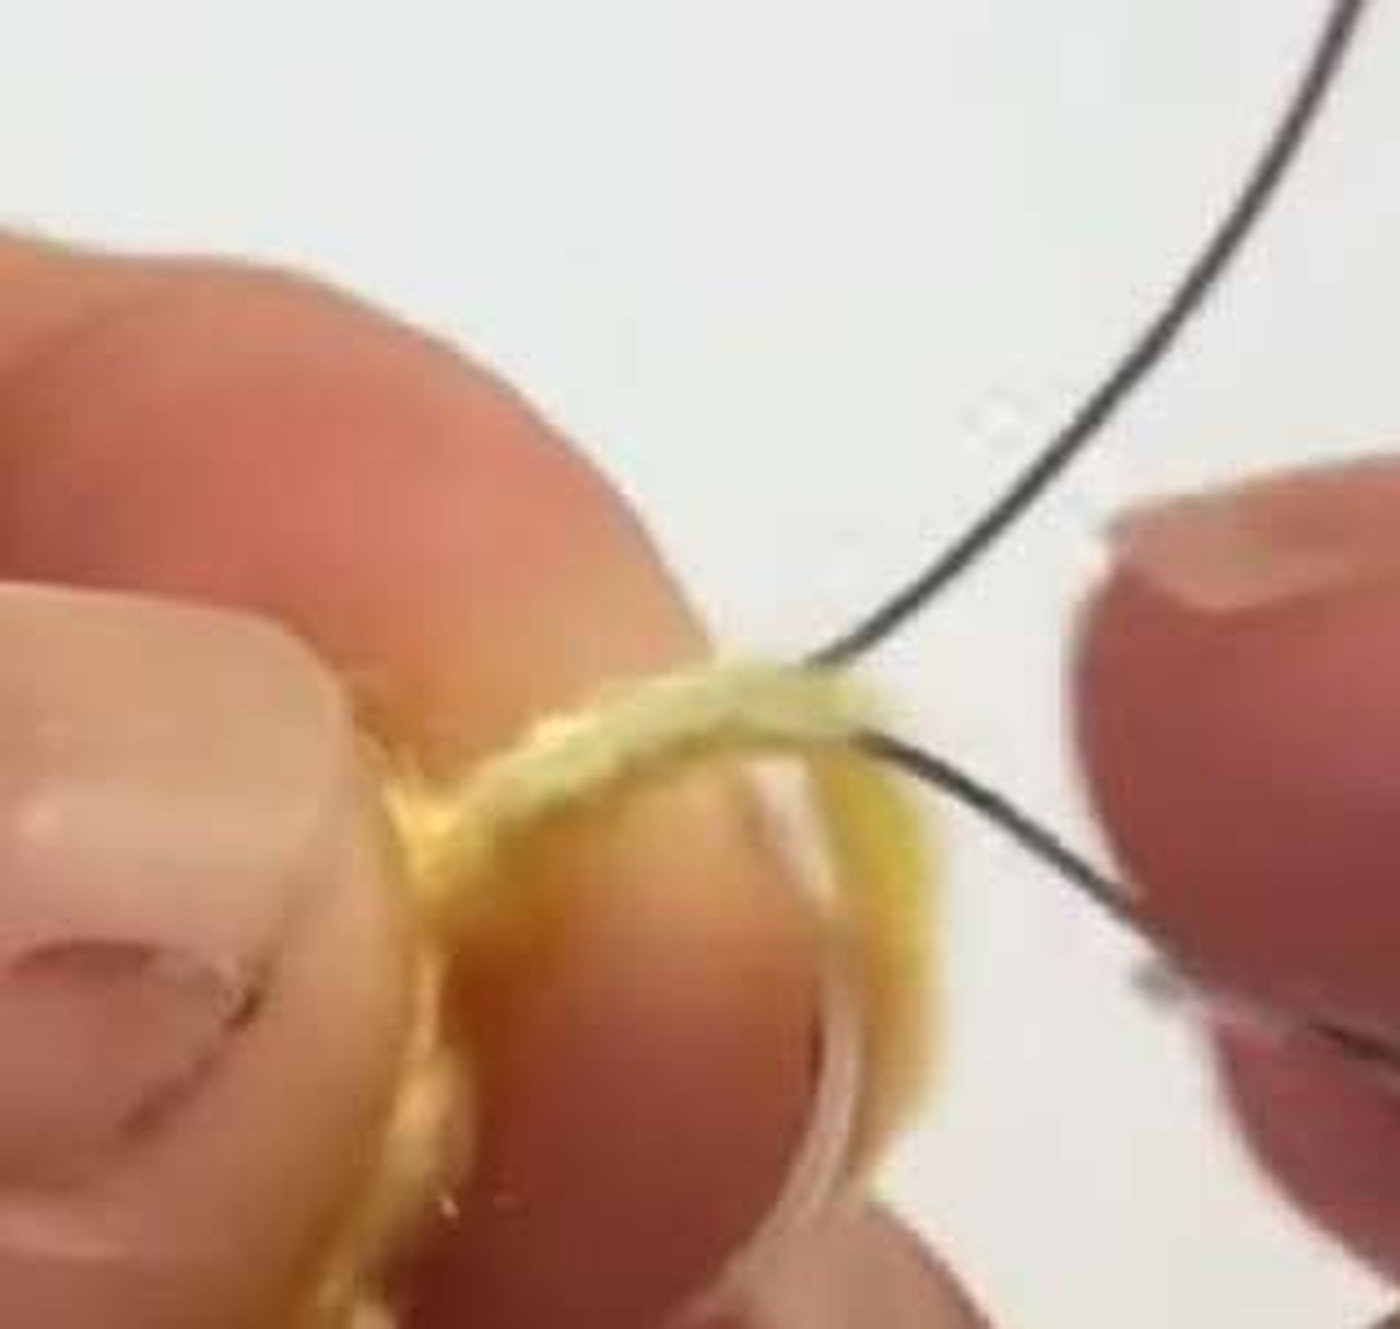
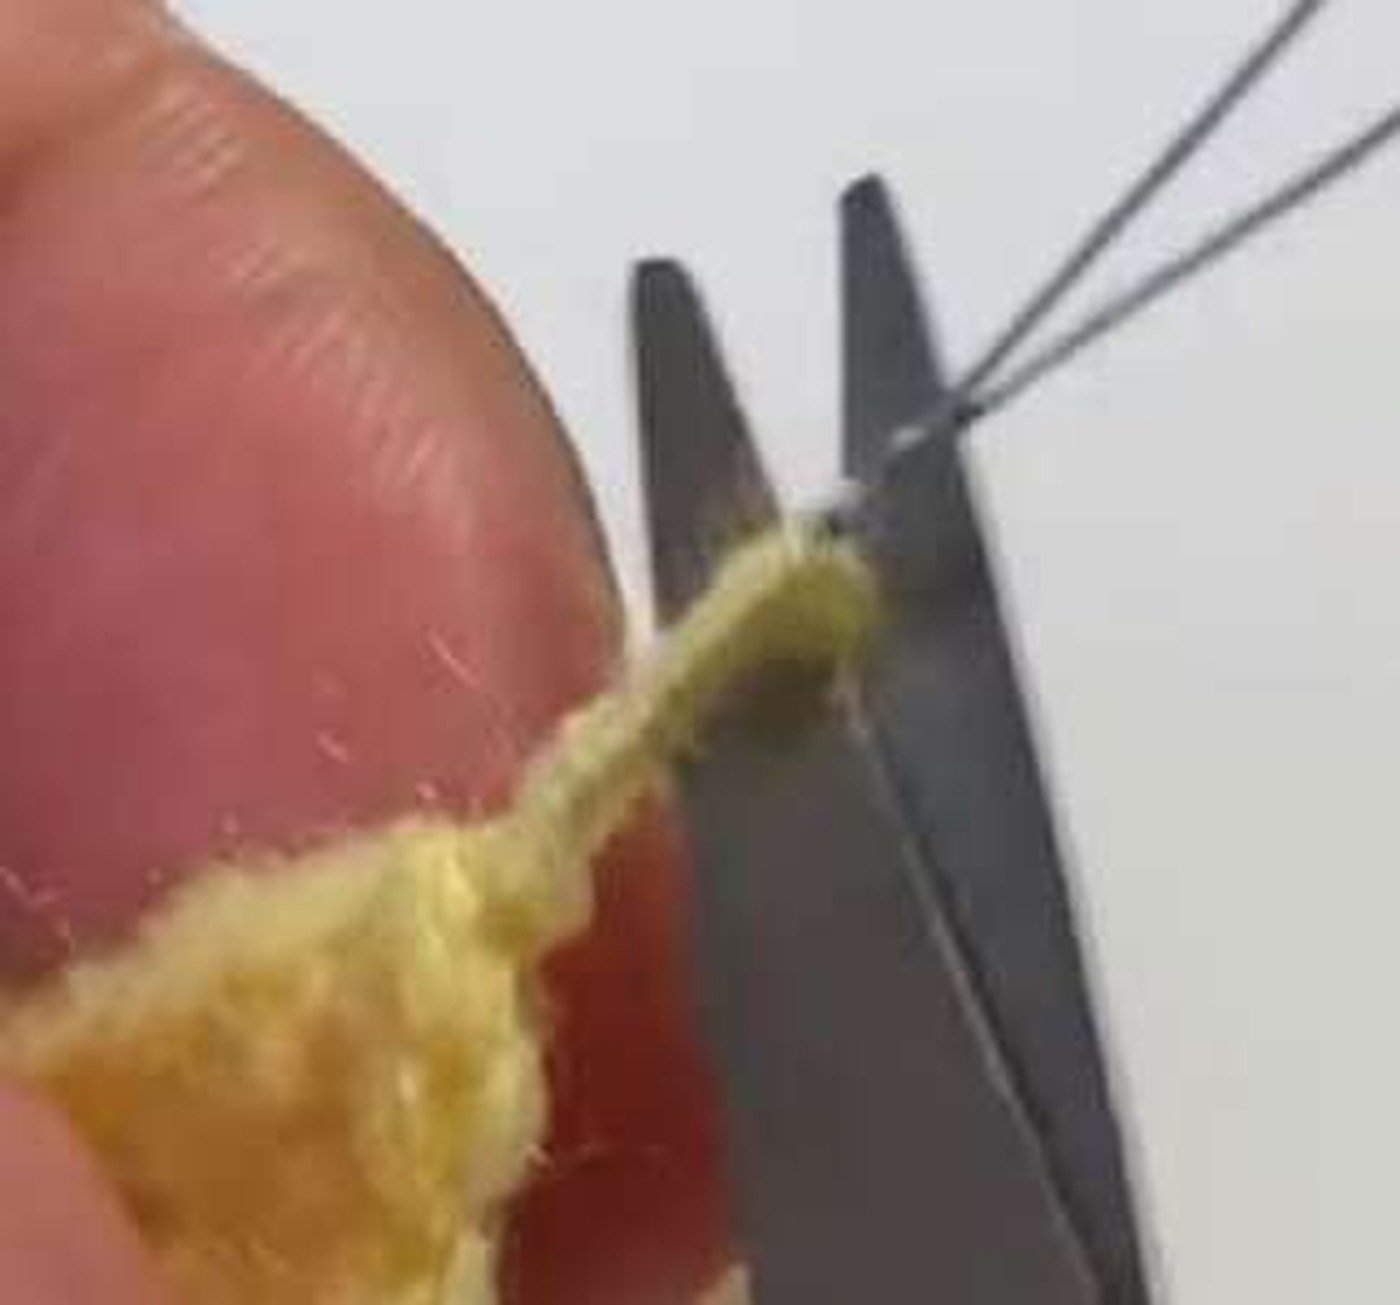
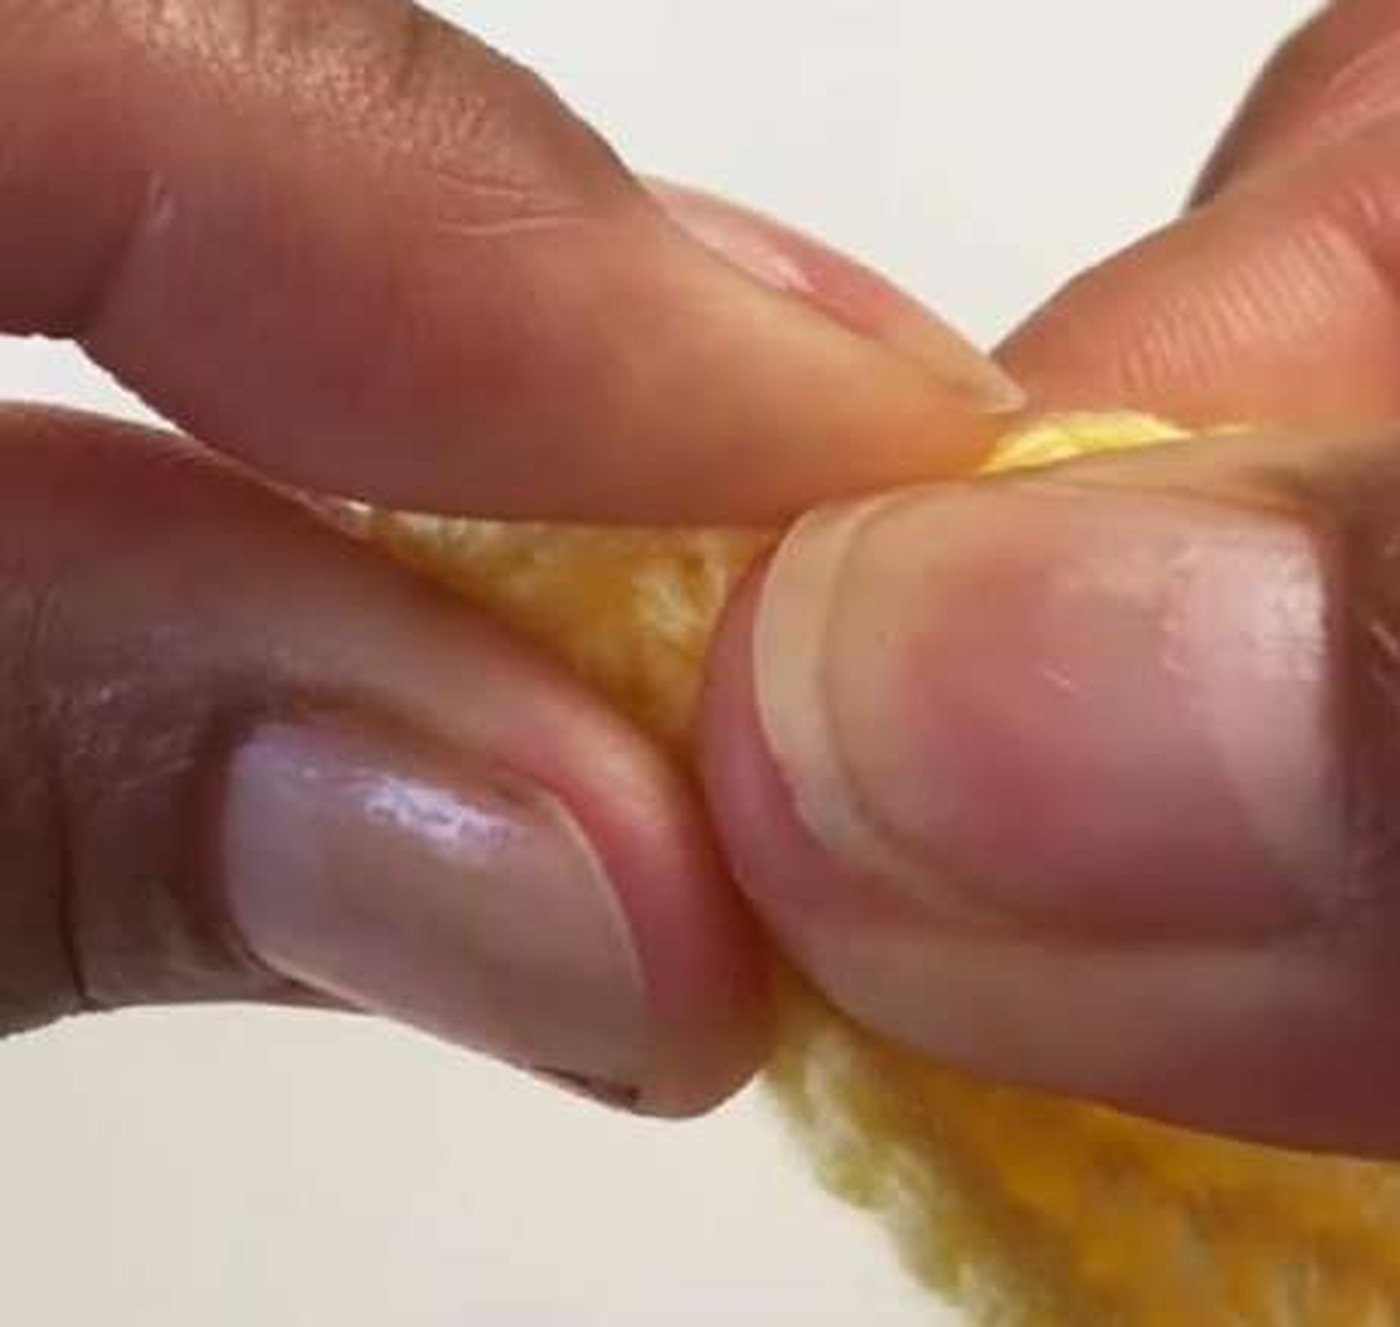
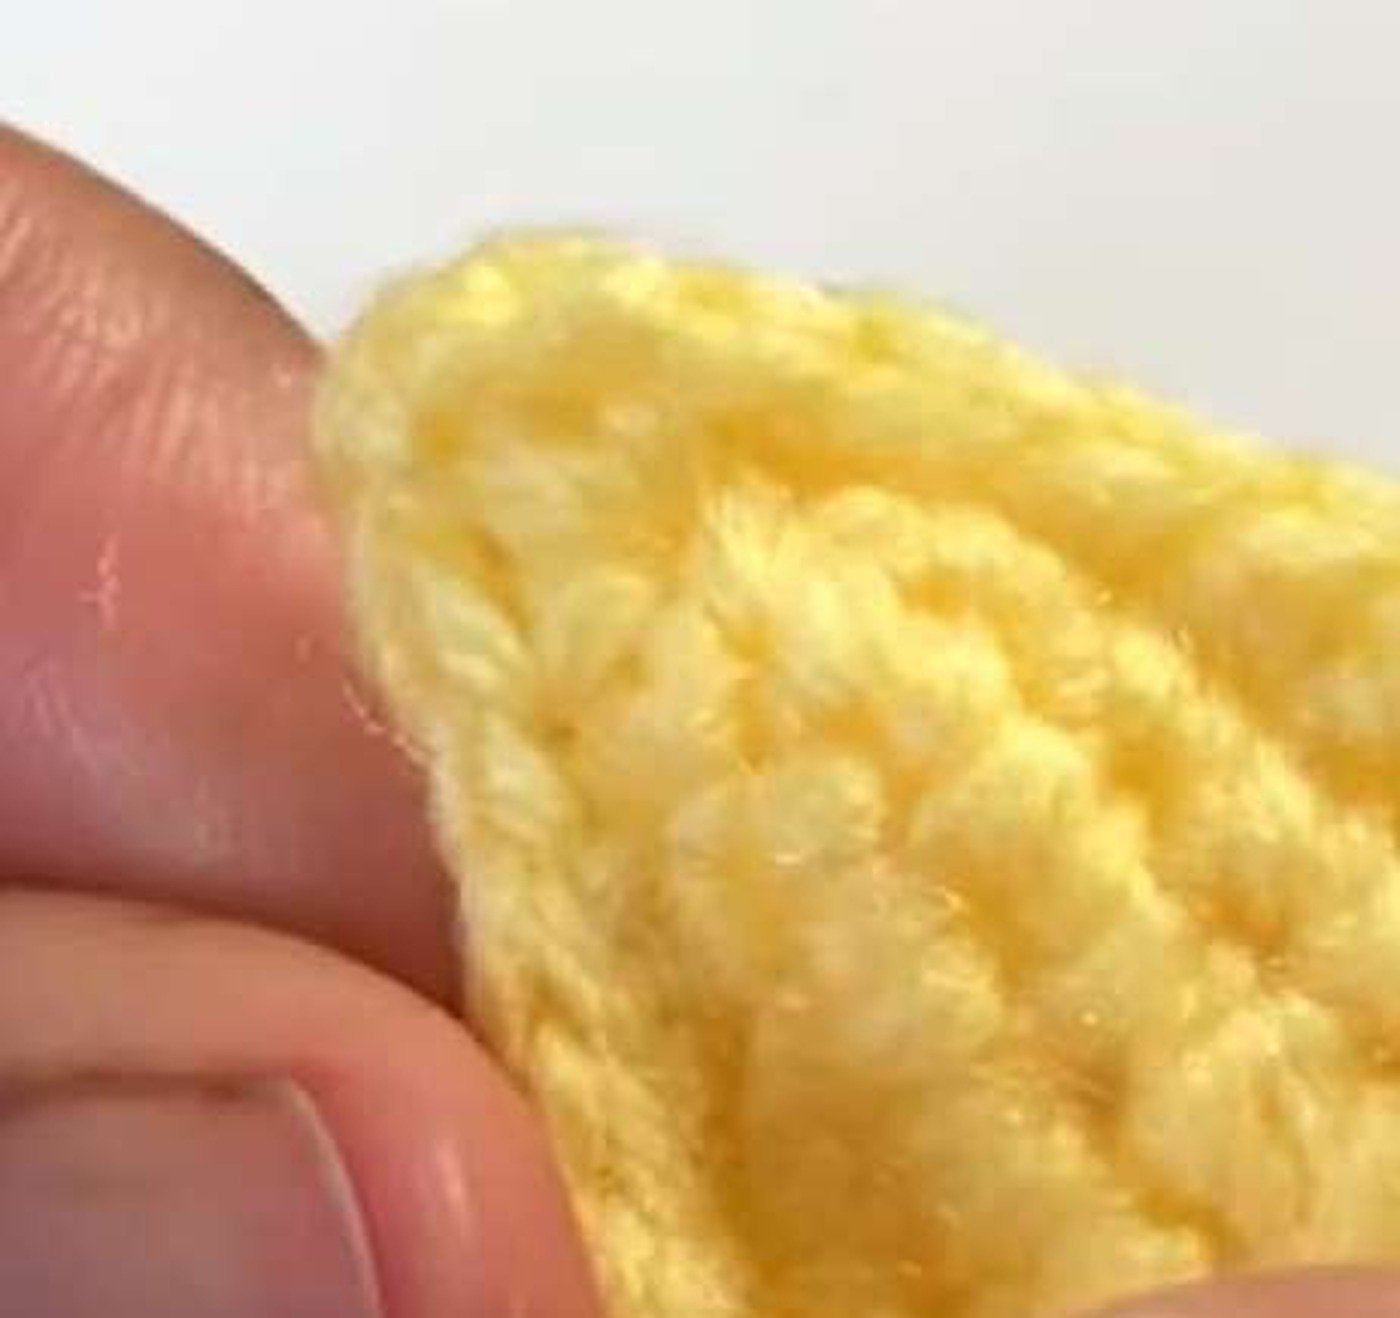
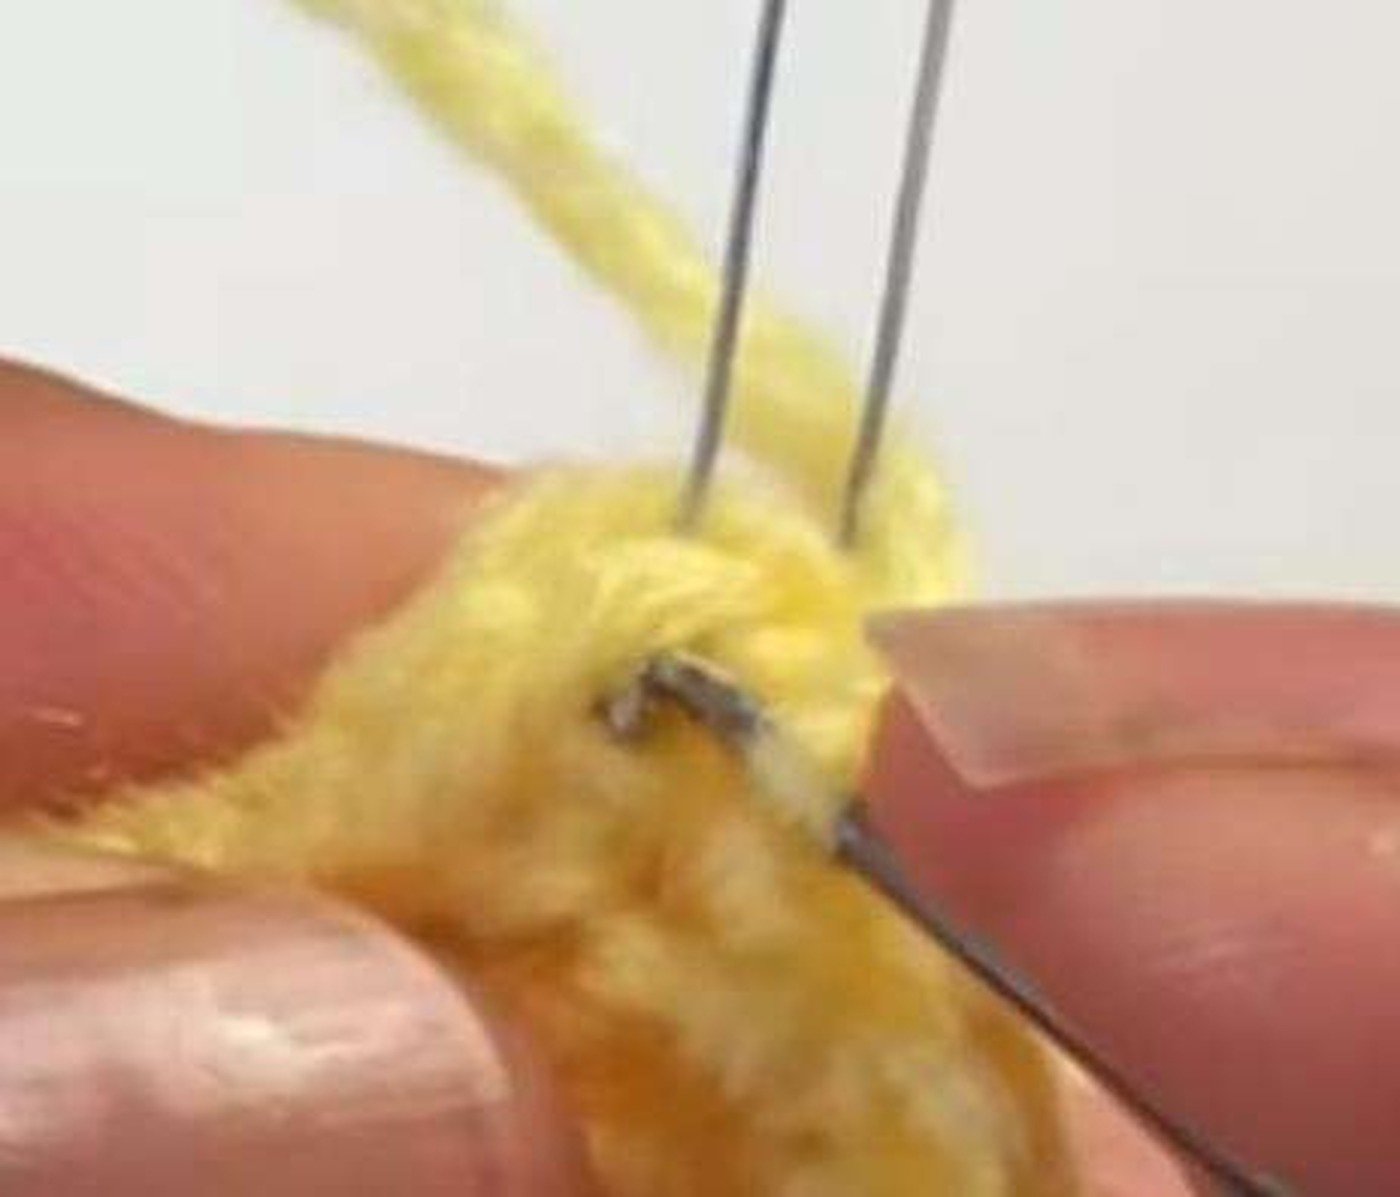
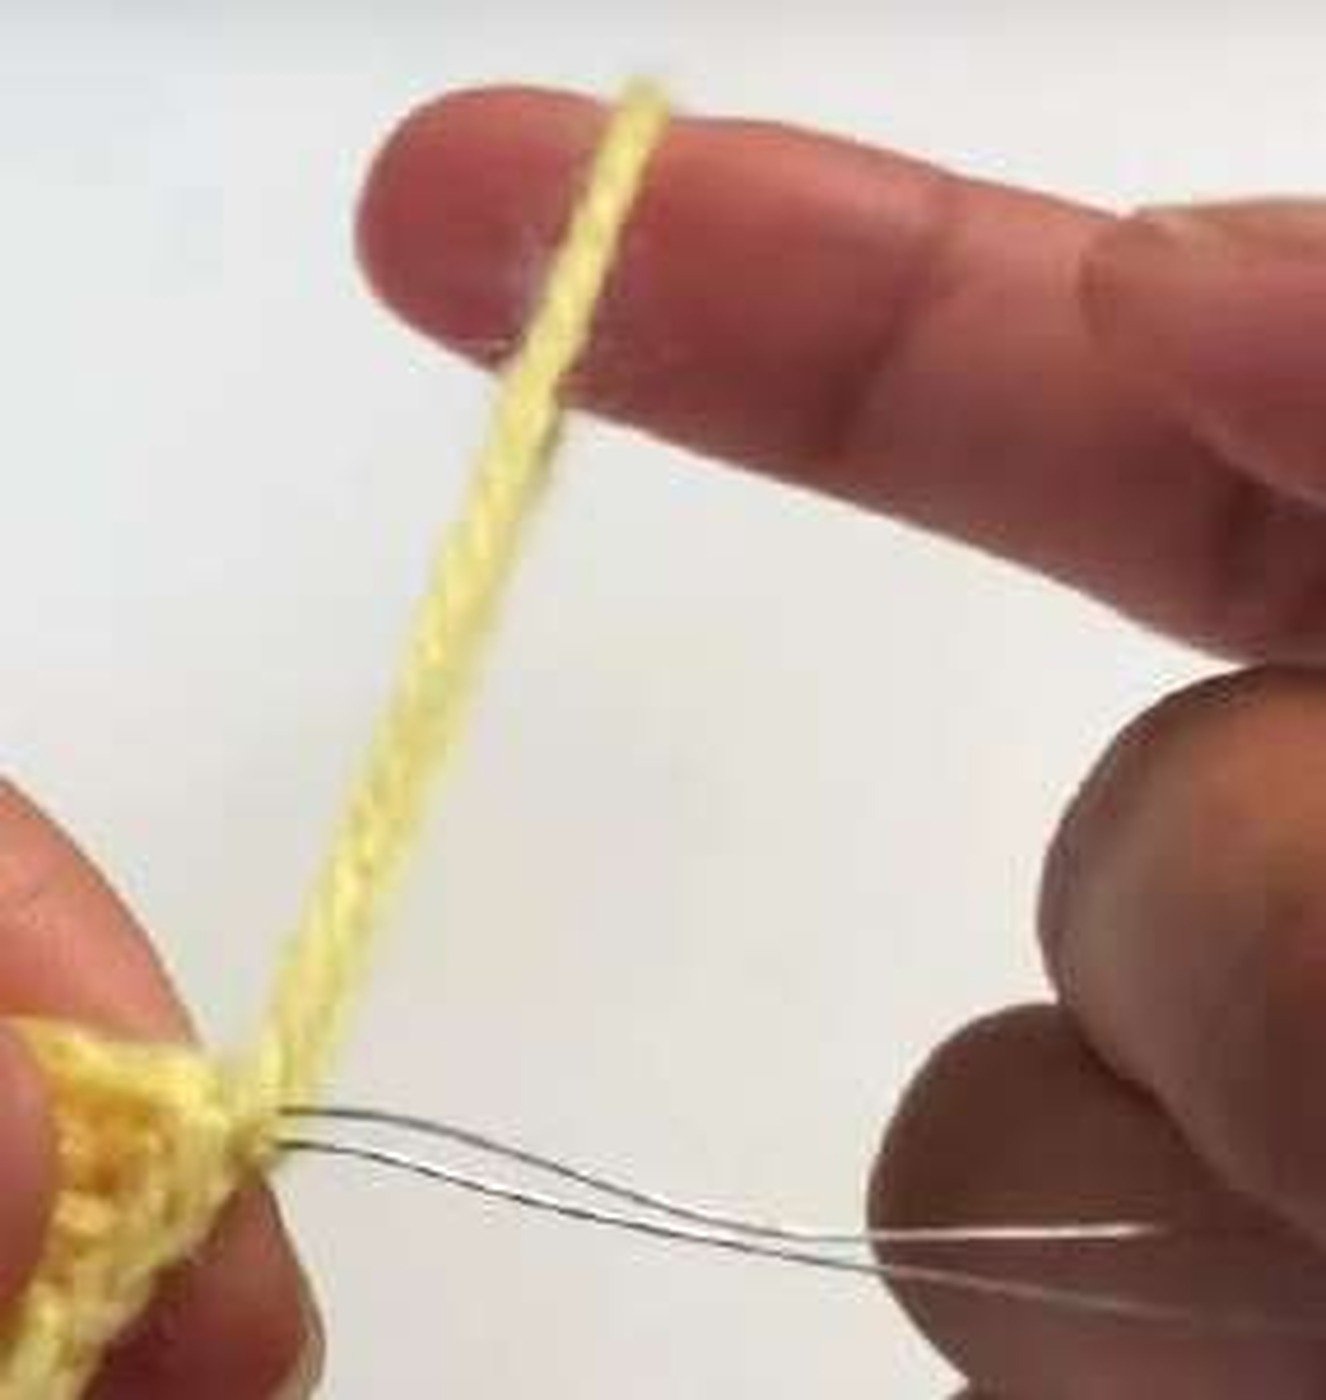
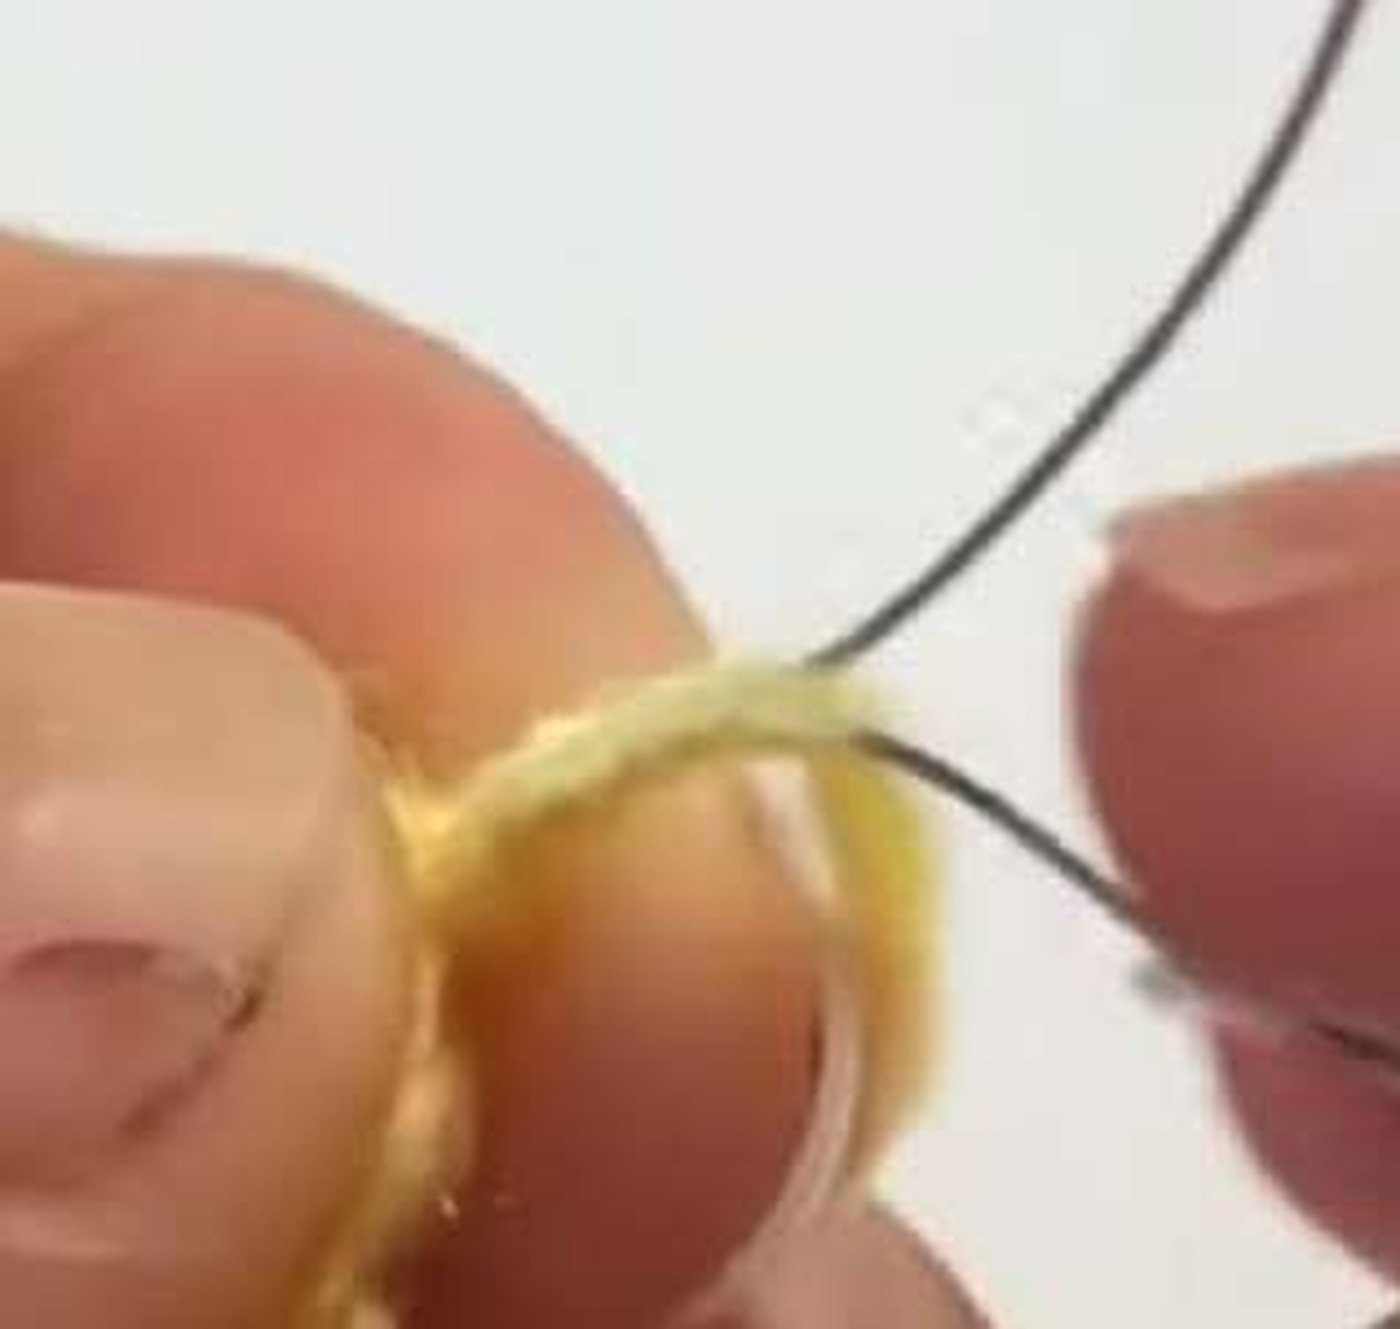
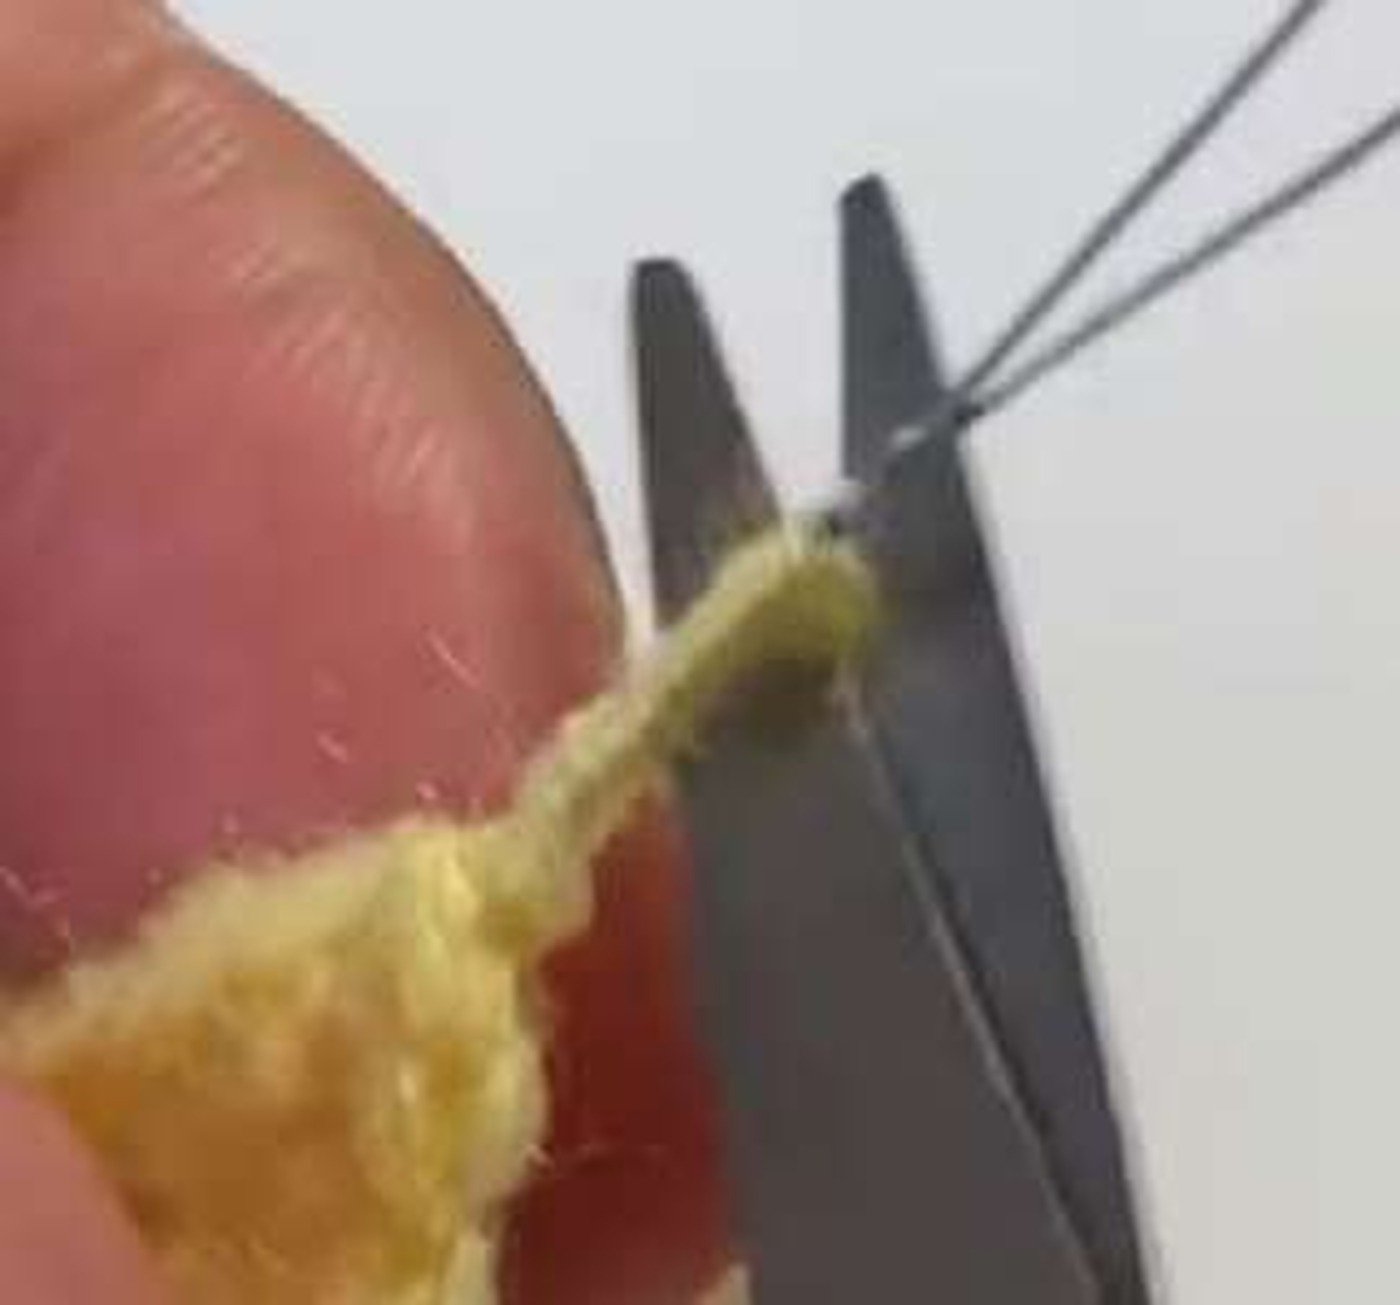
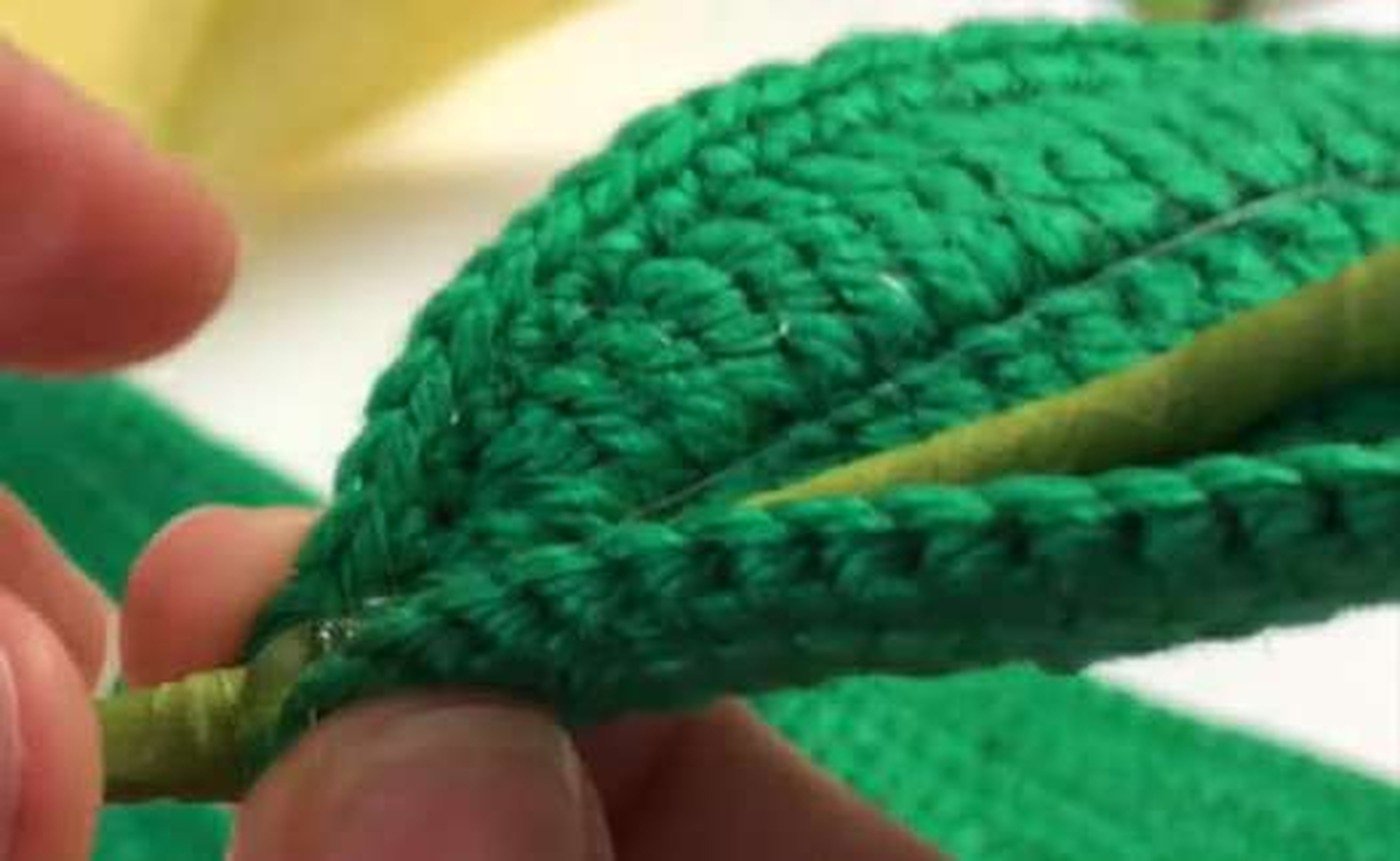
CH 3 and insert 0.46 mm wire through the loop, leaving a 3 in tail. Crochet around the wire: SC in the second chain and next chain; HDC 13; SC 16; work (SC, HDC, CH 2, SC) in the tip space; SC 16; HDC 13; SC in the final two chains; join with hook in front of the wires. Leave a second 3 in wire tail, pull both tails through the last stitch, twist twice, trim, and pinch the petal tip.
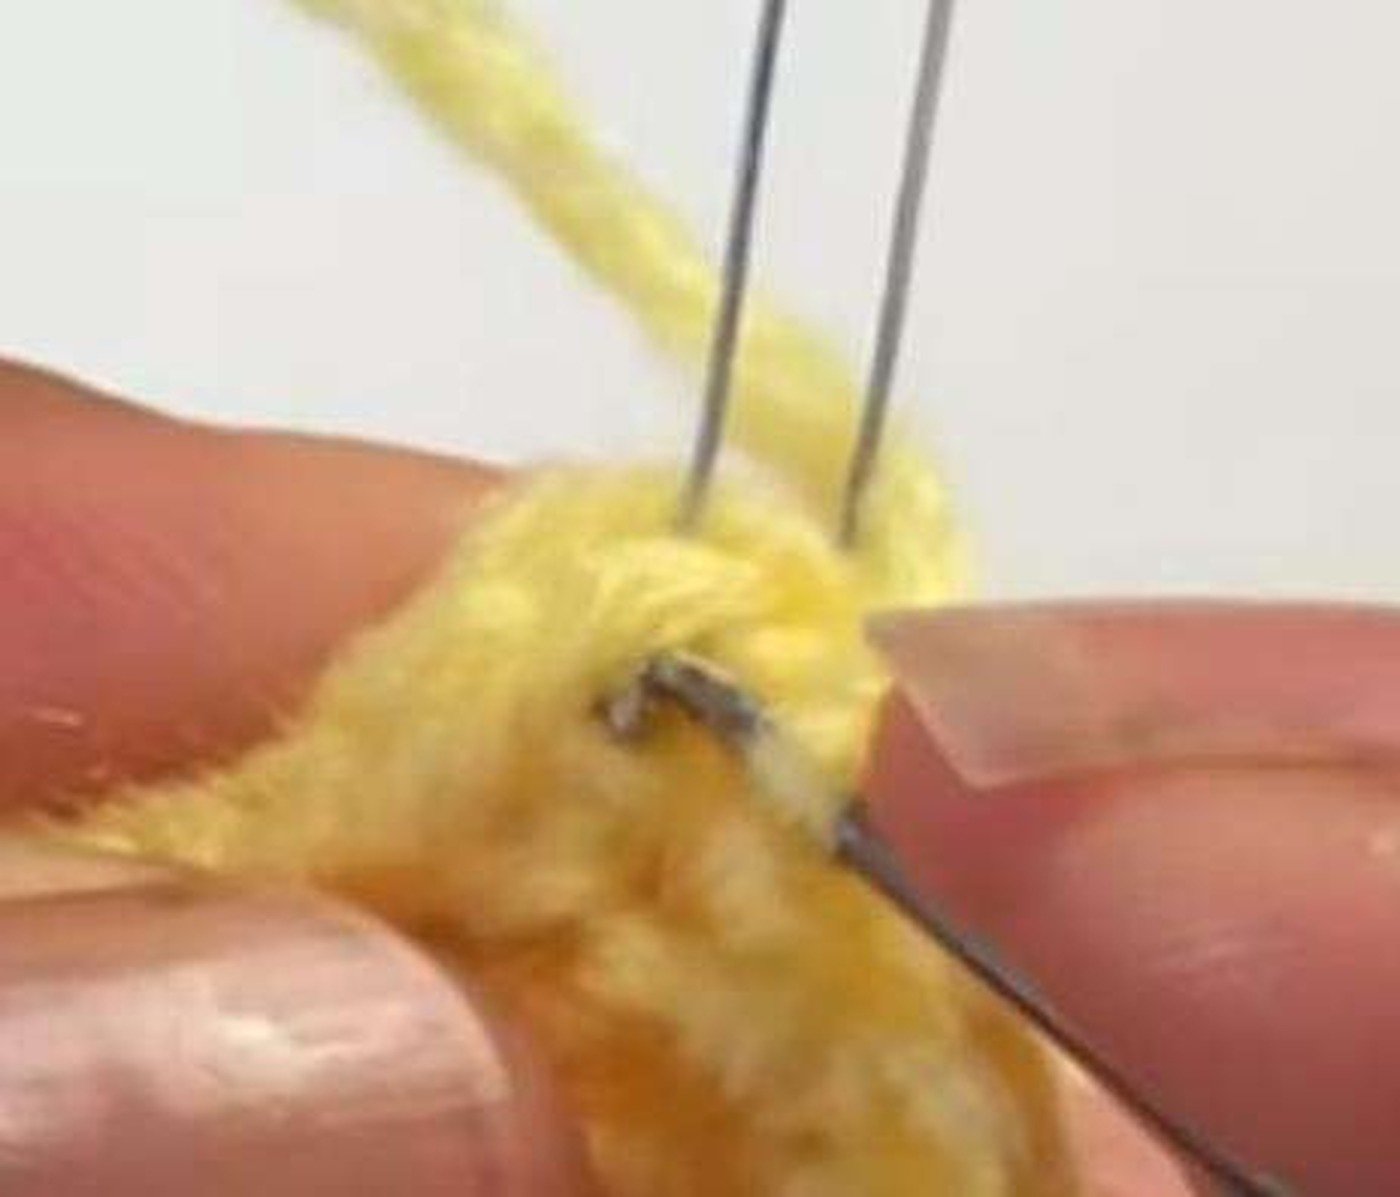
Petal B — Make 3 per Full Bloom
For a larger closed bud, make two Petal B pieces.
Foundation and Round 1
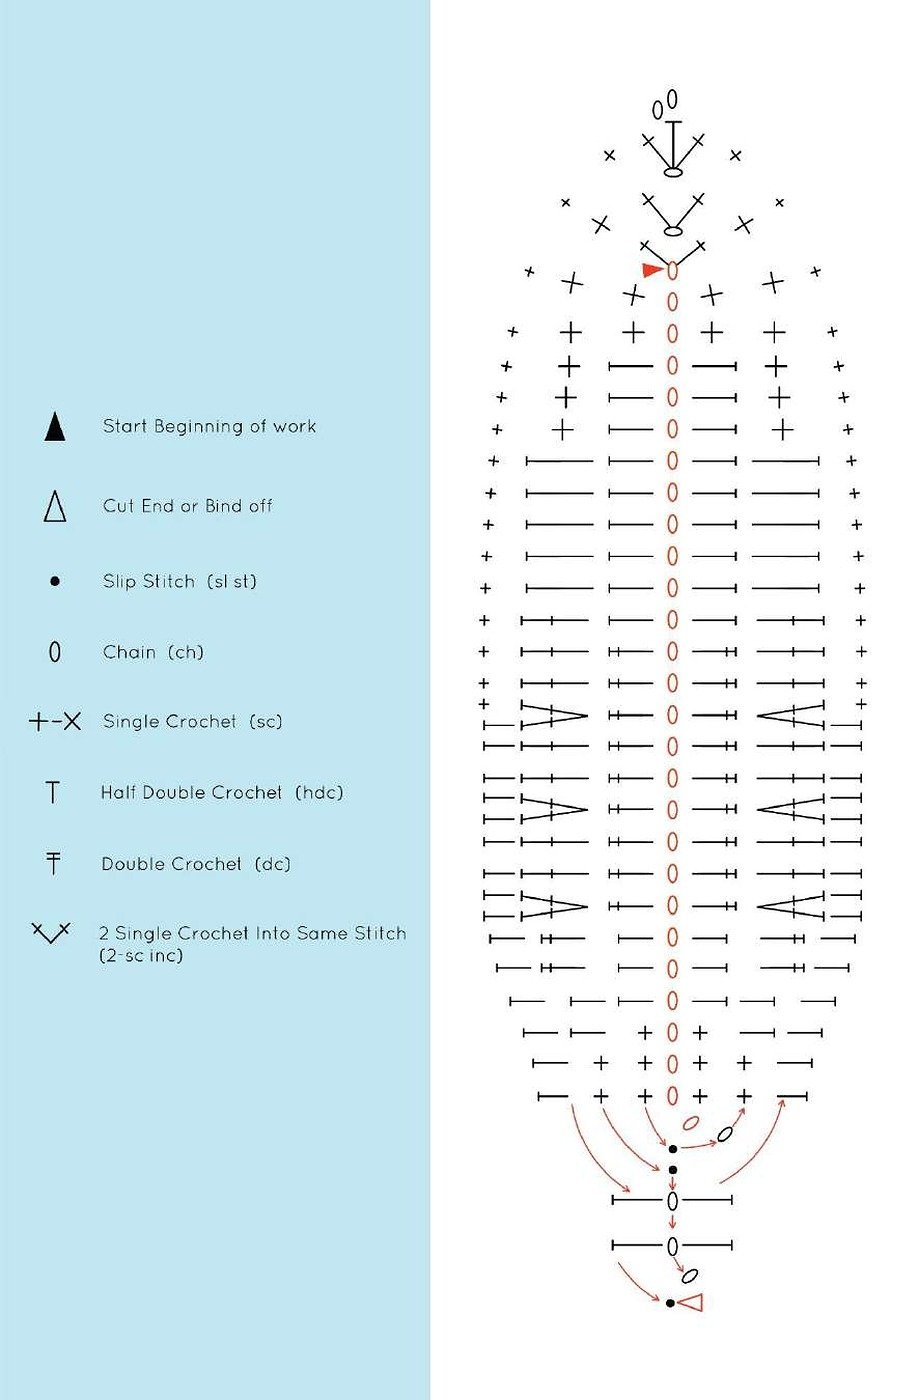
Leave a 2–3 in tail and CH 28. SC in second chain and next 2; HDC 3; DC 9; HDC 9; SC 2. In the final chain work (SC, CH 1, SC). Rotate: SC 2; HDC 9; DC 9; HDC 3; SC 3; join.
Round 2
CH 1; SC 2; HDC 2; repeat [DC 2, 2-DC INC] three times; DC 3; HDC 5; SC 6. Work (SC, CH 1, SC) in the tip space. Rotate: SC 6; HDC 5; DC 3; repeat [2-DC INC, DC 2] three times; HDC 2; SC 2; join.
Round 3 and Wire Edge
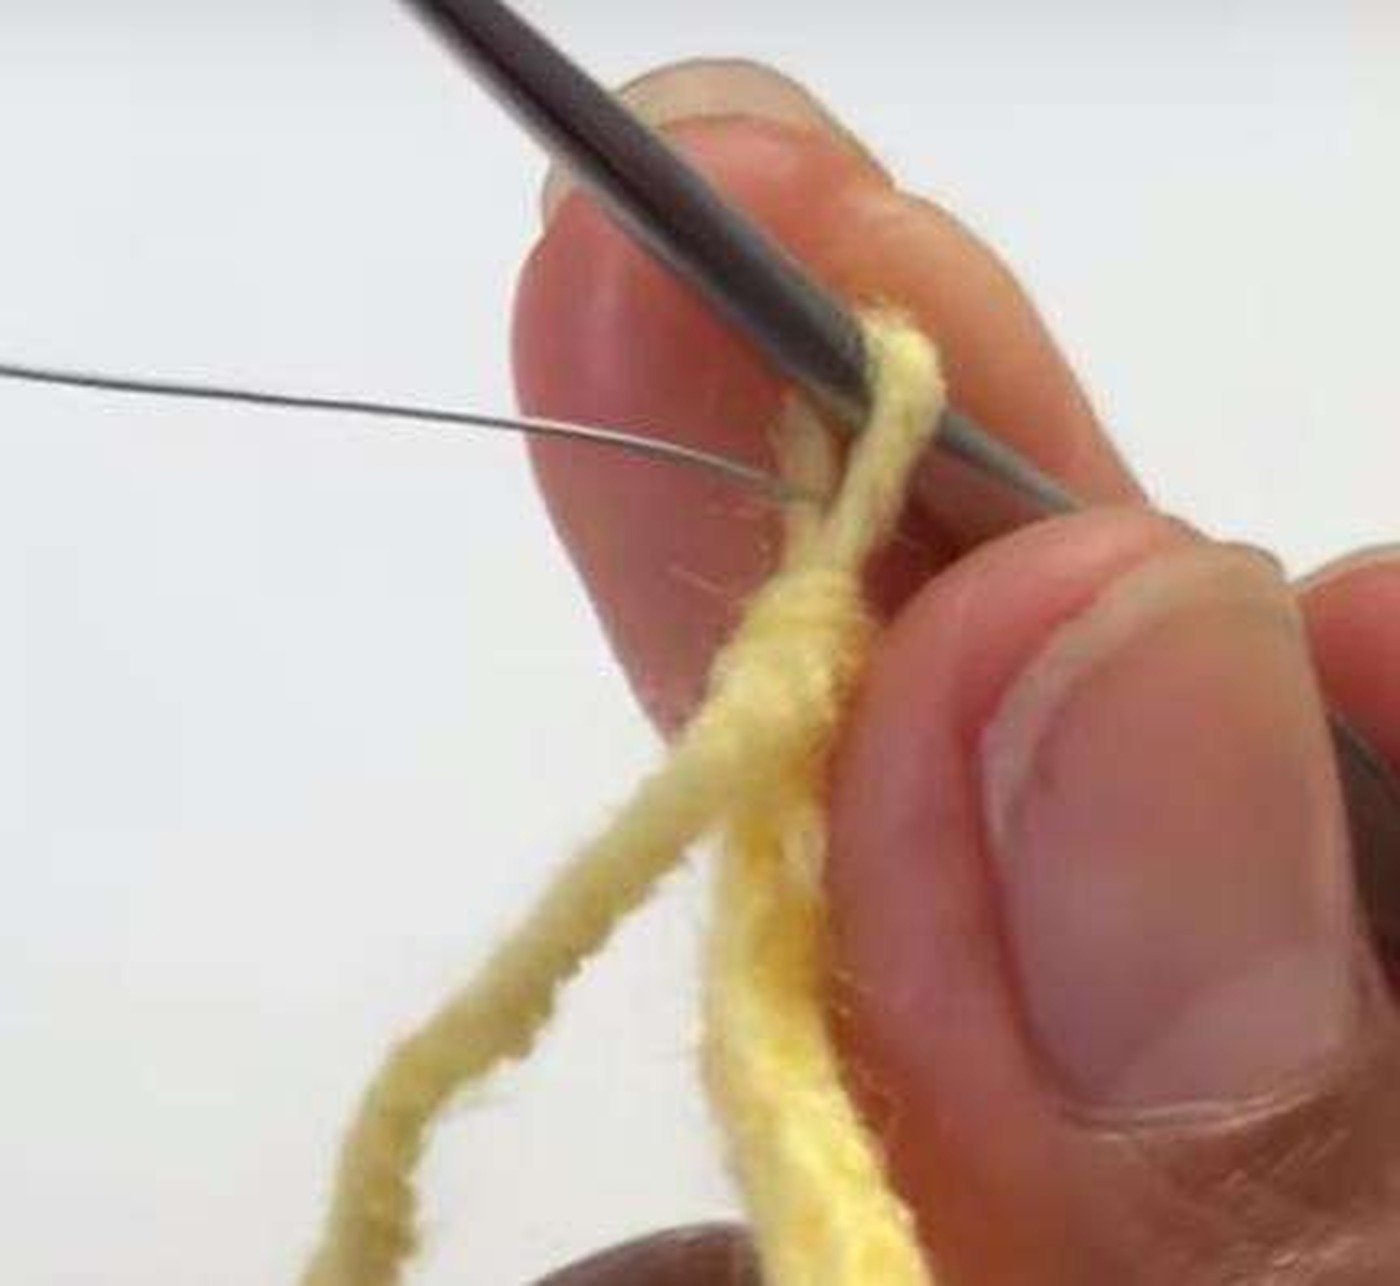
CH 3, insert 0.46 mm wire, and leave a 3 in tail. HDC in the second chain and next chain; HDC 15; SC 16; work (SC, HDC, CH 2, SC) in the tip; SC 16; HDC 15; HDC in the last two chains; join around the wire. Finish and shape as for Petal A.
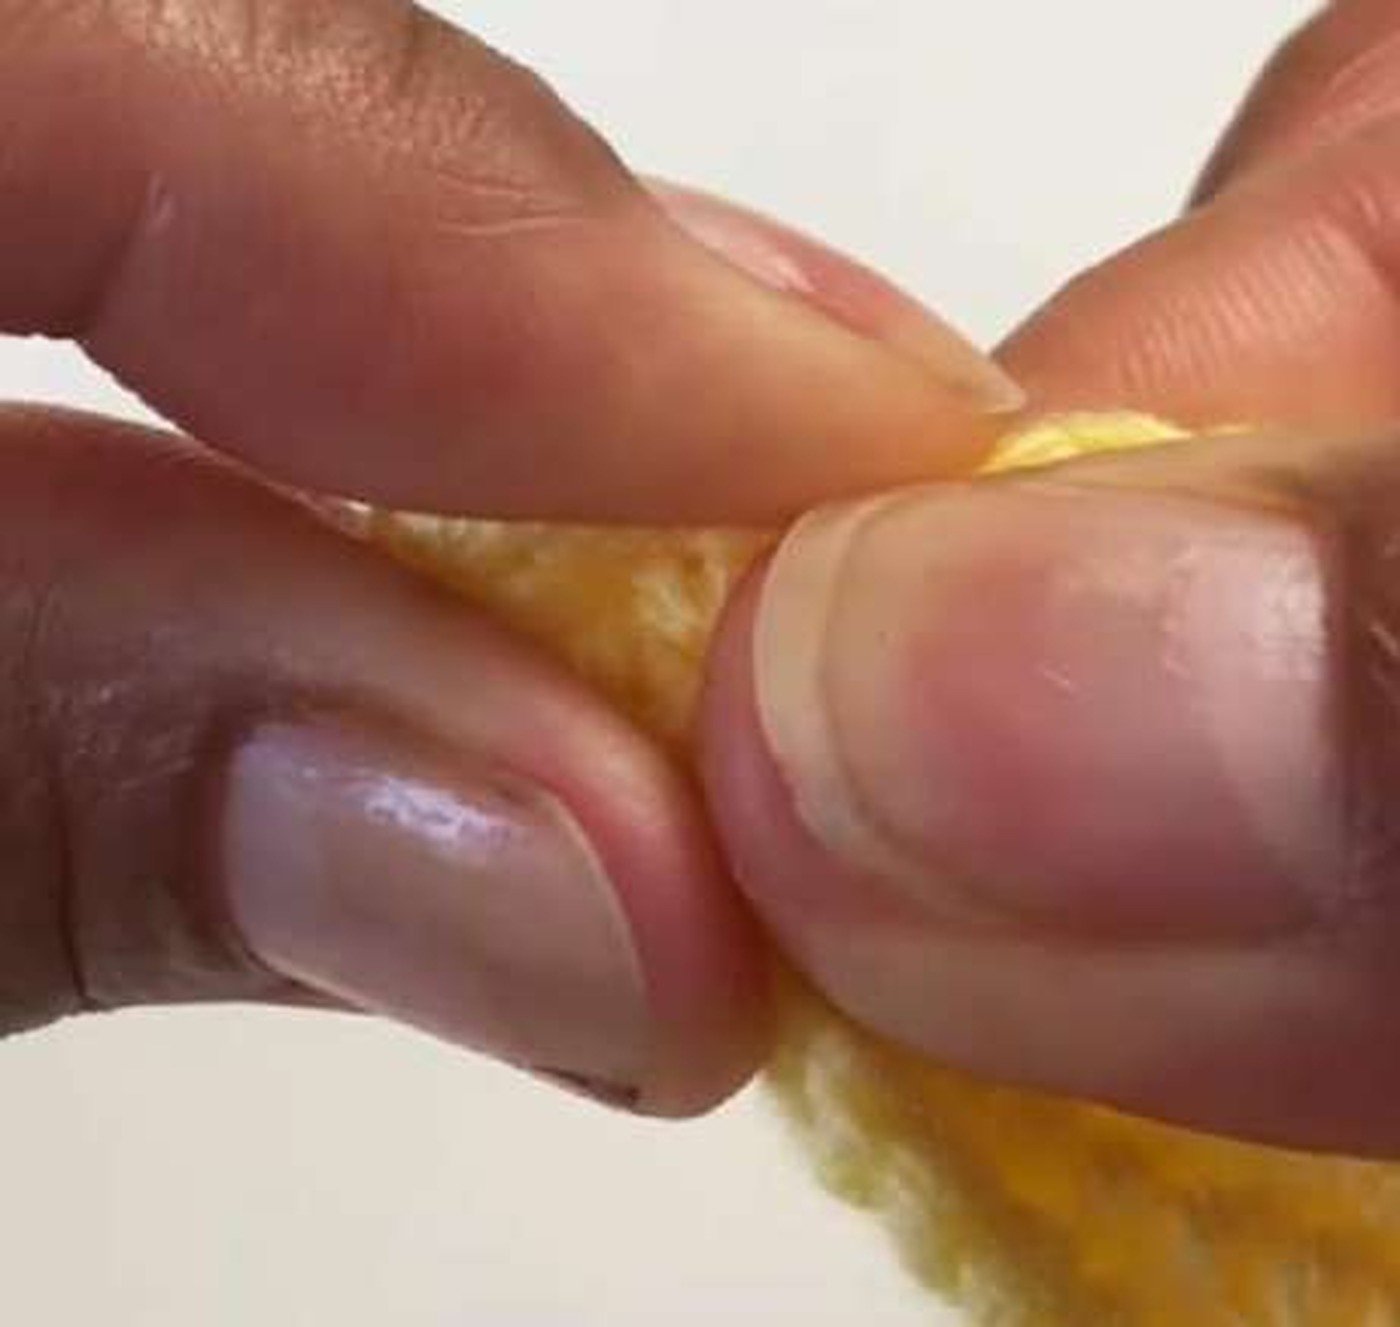
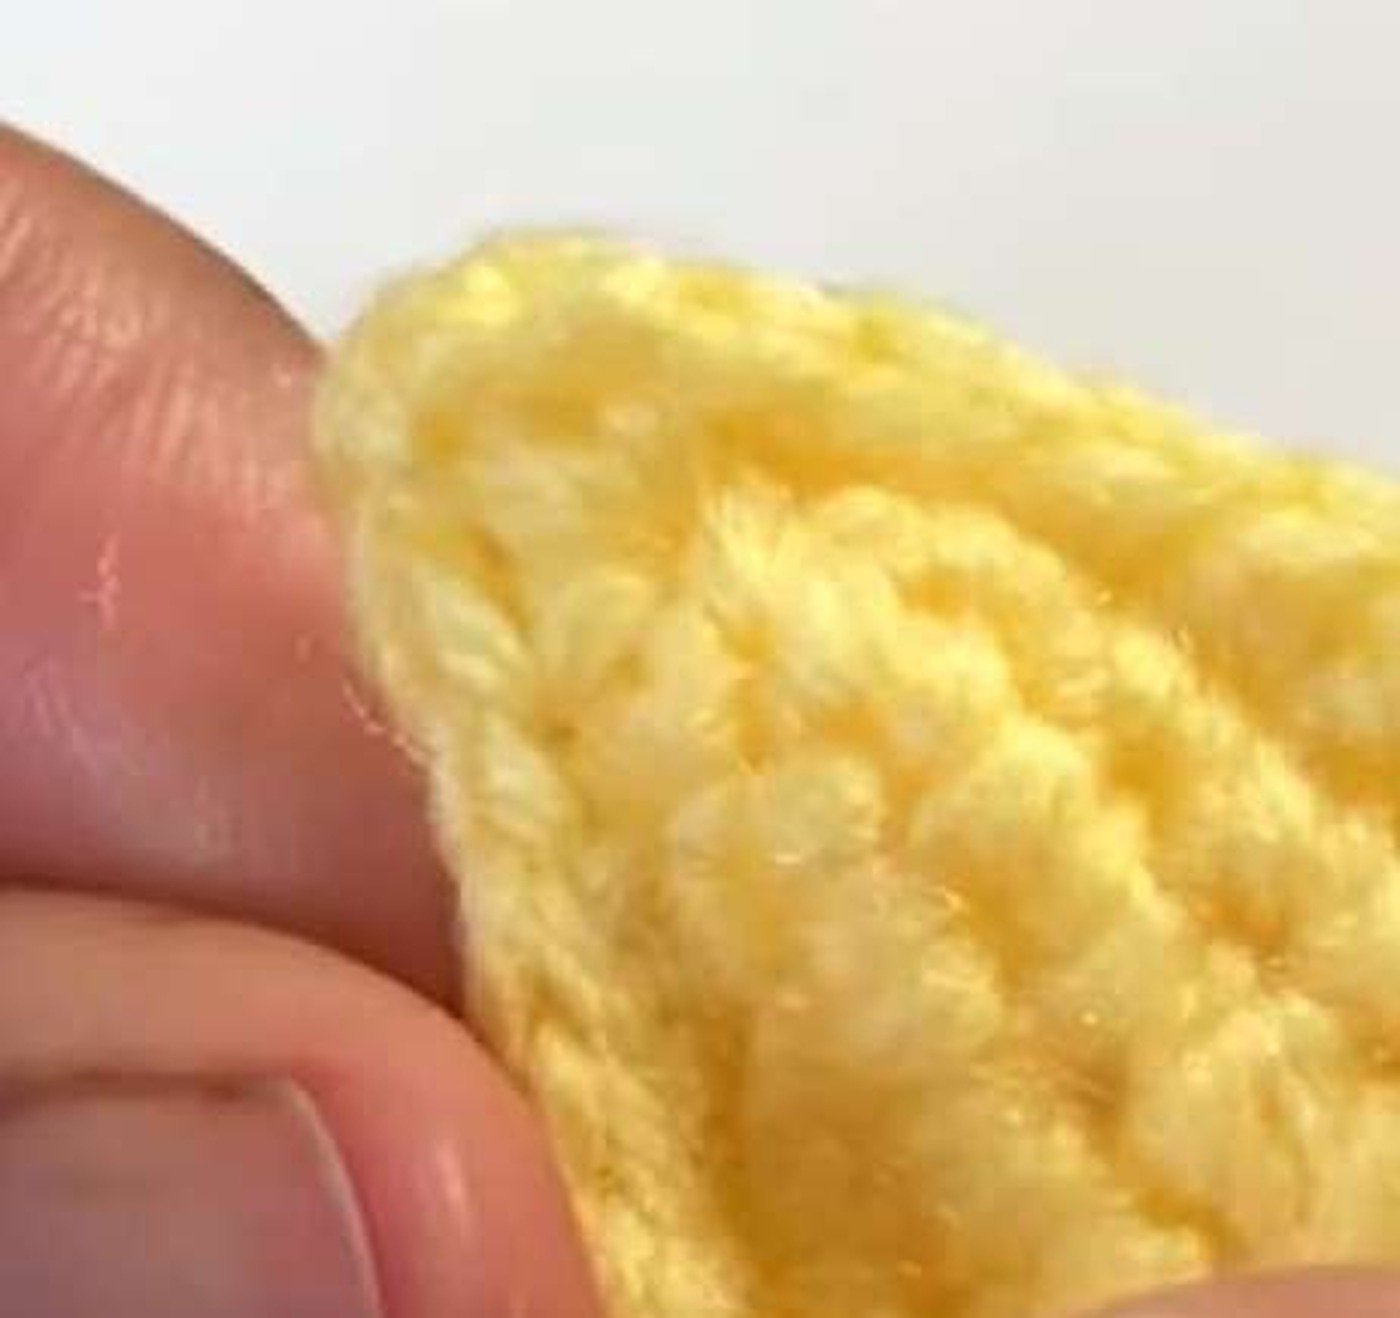
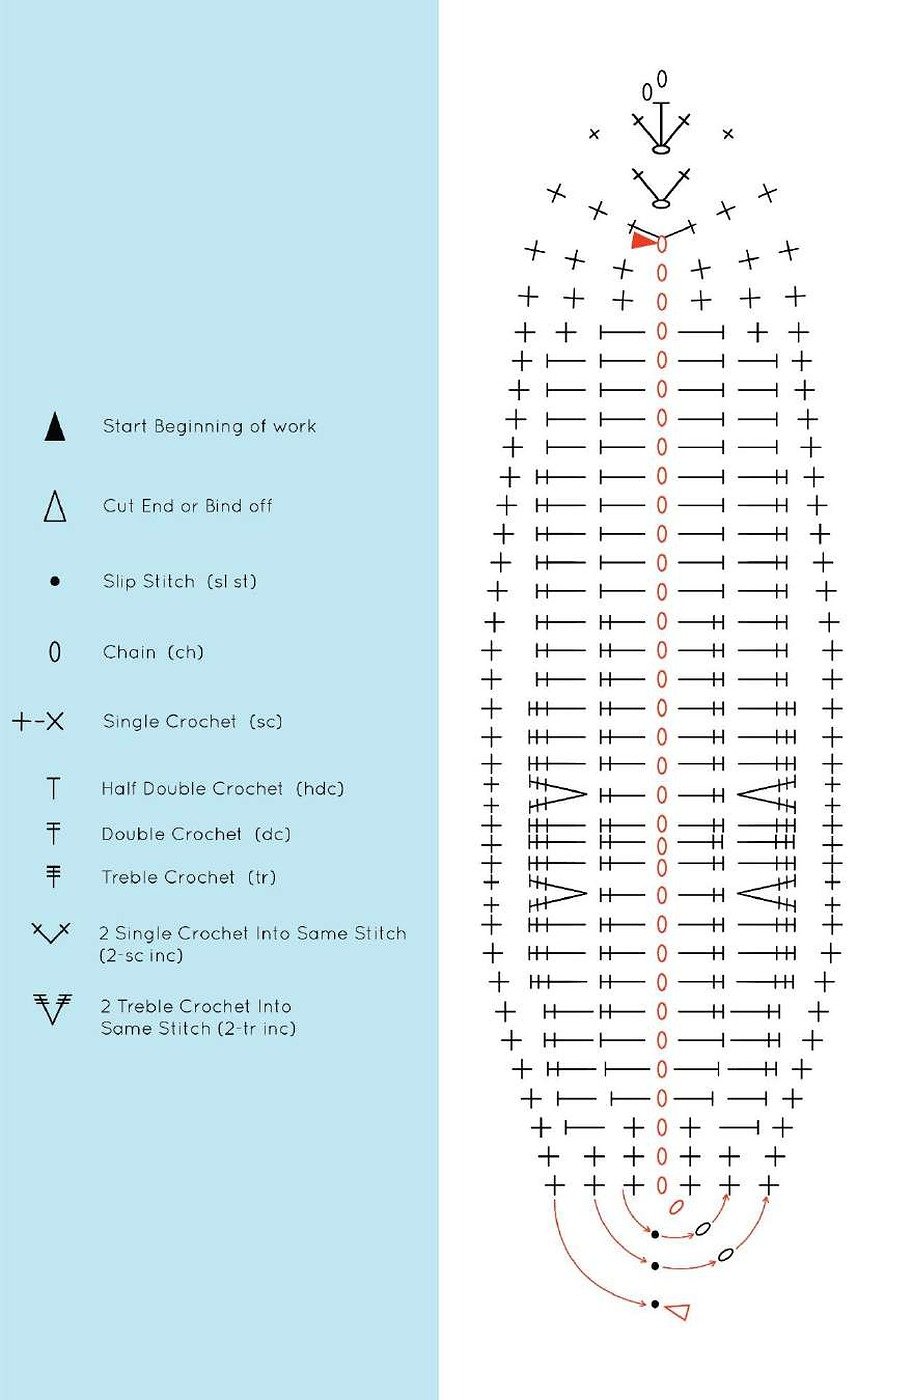
Leaf — Make 2 per Arrangement
Round 1
With green yarn, leave a 2–3 in tail and CH 35. SC in second chain and next 2; HDC 3; DC 15; HDC 10; SC 2; work (SC, CH 1, SC) in the last chain. Rotate and work SC 2; HDC 10; DC 15; HDC 3; SC 3; join.
Round 2 with Wire
Insert 0.46 mm wire through the loop and leave a 3 in tail. CH 1; SC 2; HDC 2; DC 3; repeat [TR 3, 2-TR INC] twice; TR 3; DC 8; HDC 4; SC 4. Work (SC, CH 1, SC) in the tip space. Rotate and reverse the sequence: SC 4; HDC 4; DC 8; repeat [TR 3, 2-TR INC] twice; TR 3; DC 3; HDC 2; SC 2; join.
Round 3
Continue around the wire: CH 1, SC 37, work (SC, HDC, CH 2, SC) in the tip, SC 37, and join. Twist and trim the two wire tails.
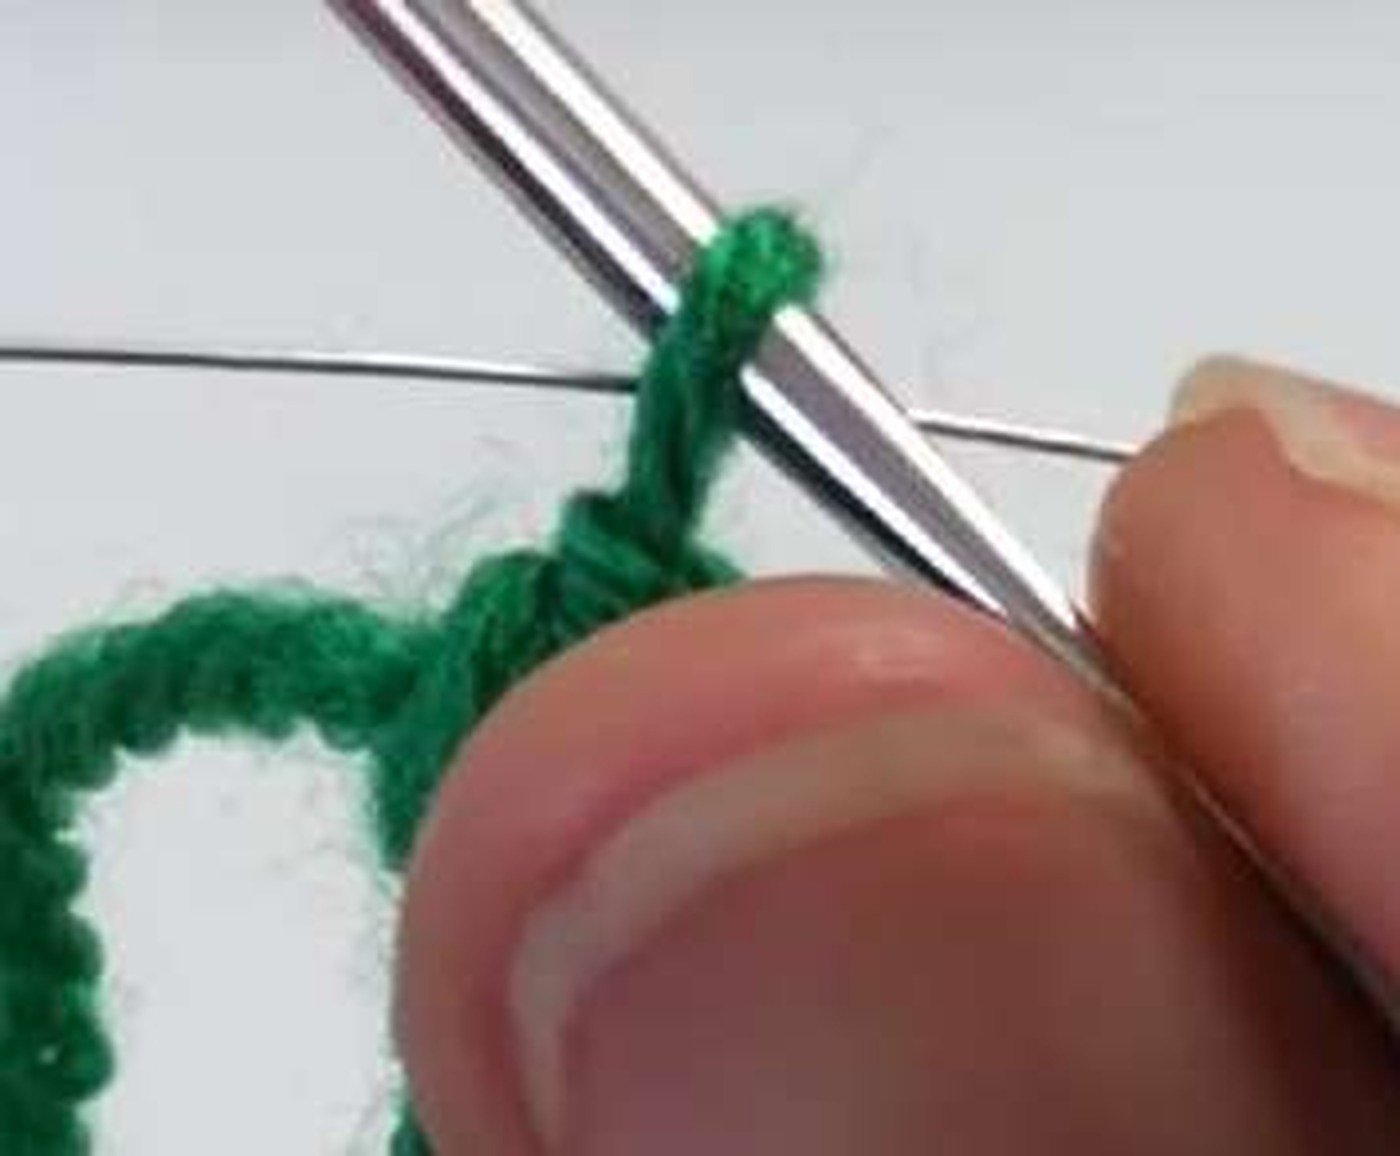


Stigma and Six Stamens
Stigma — Make 1
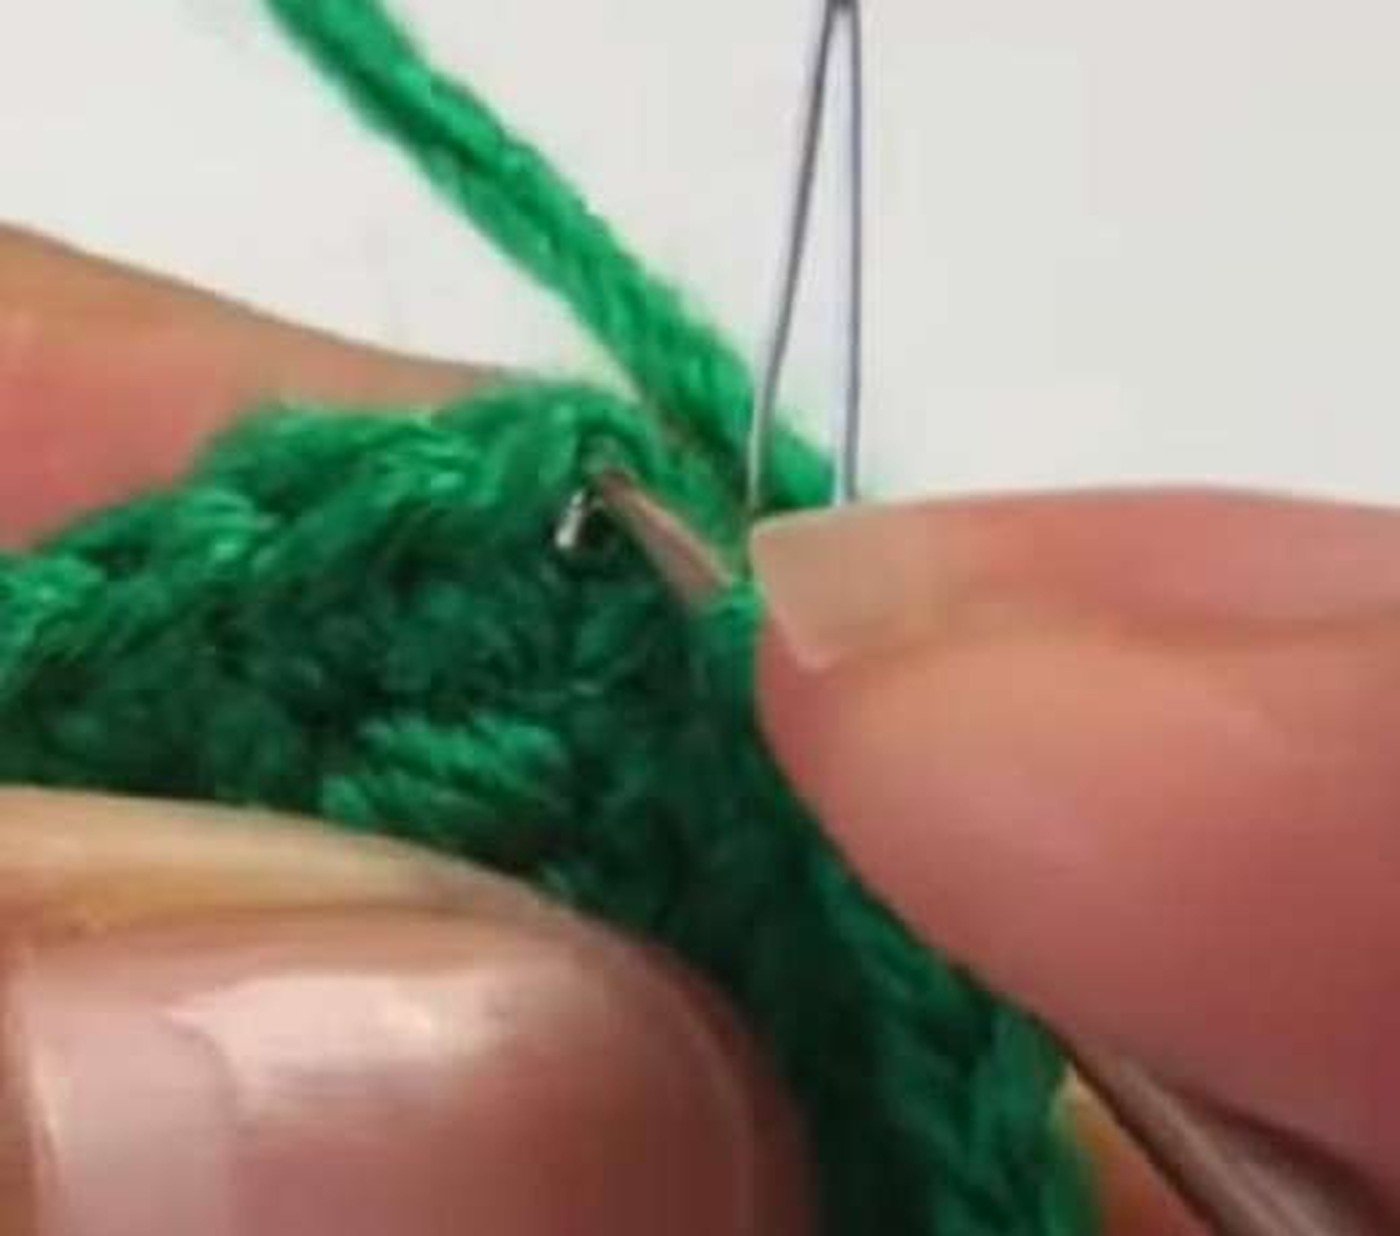
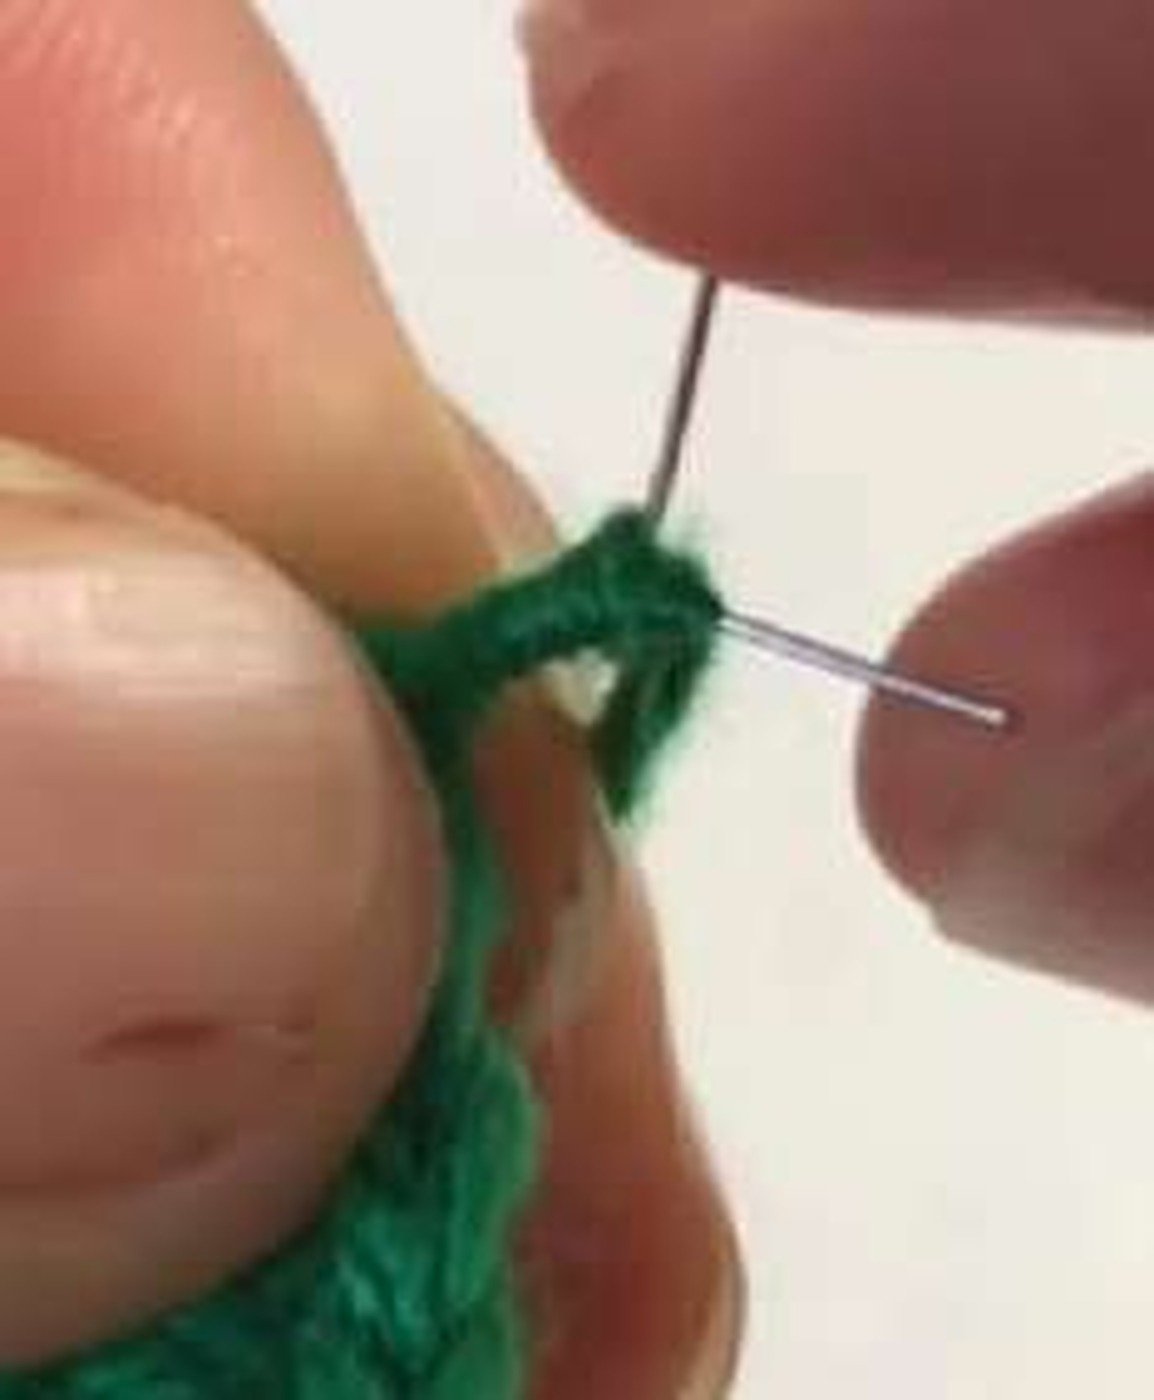
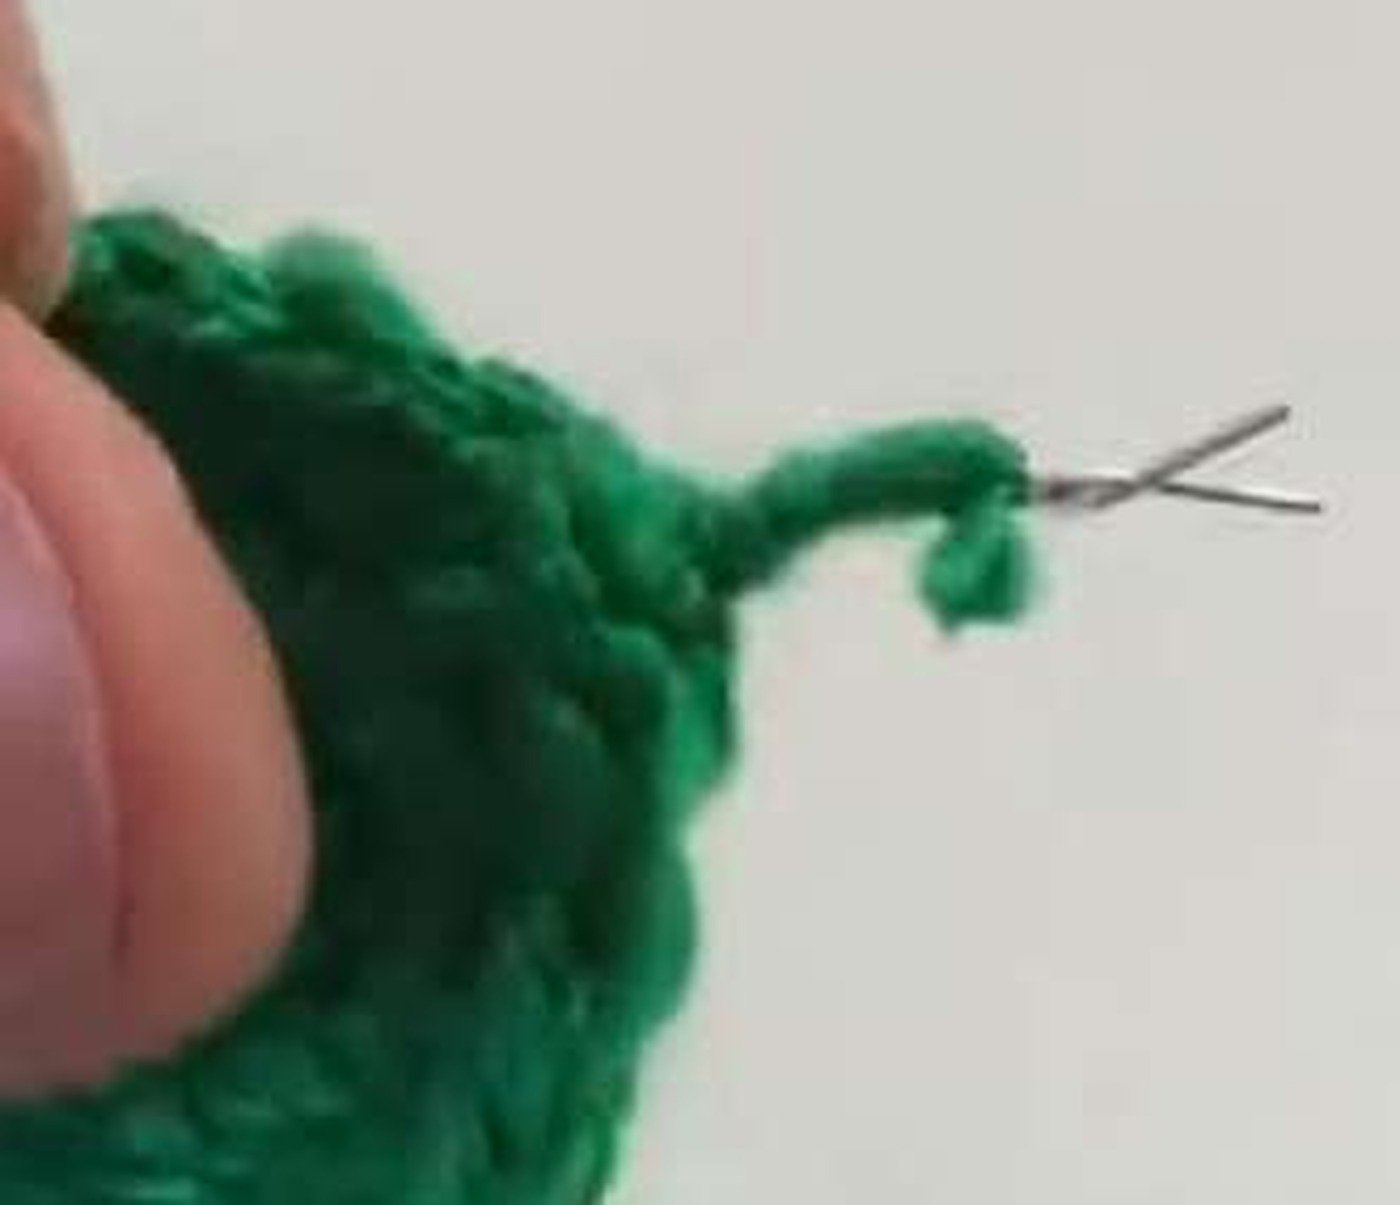
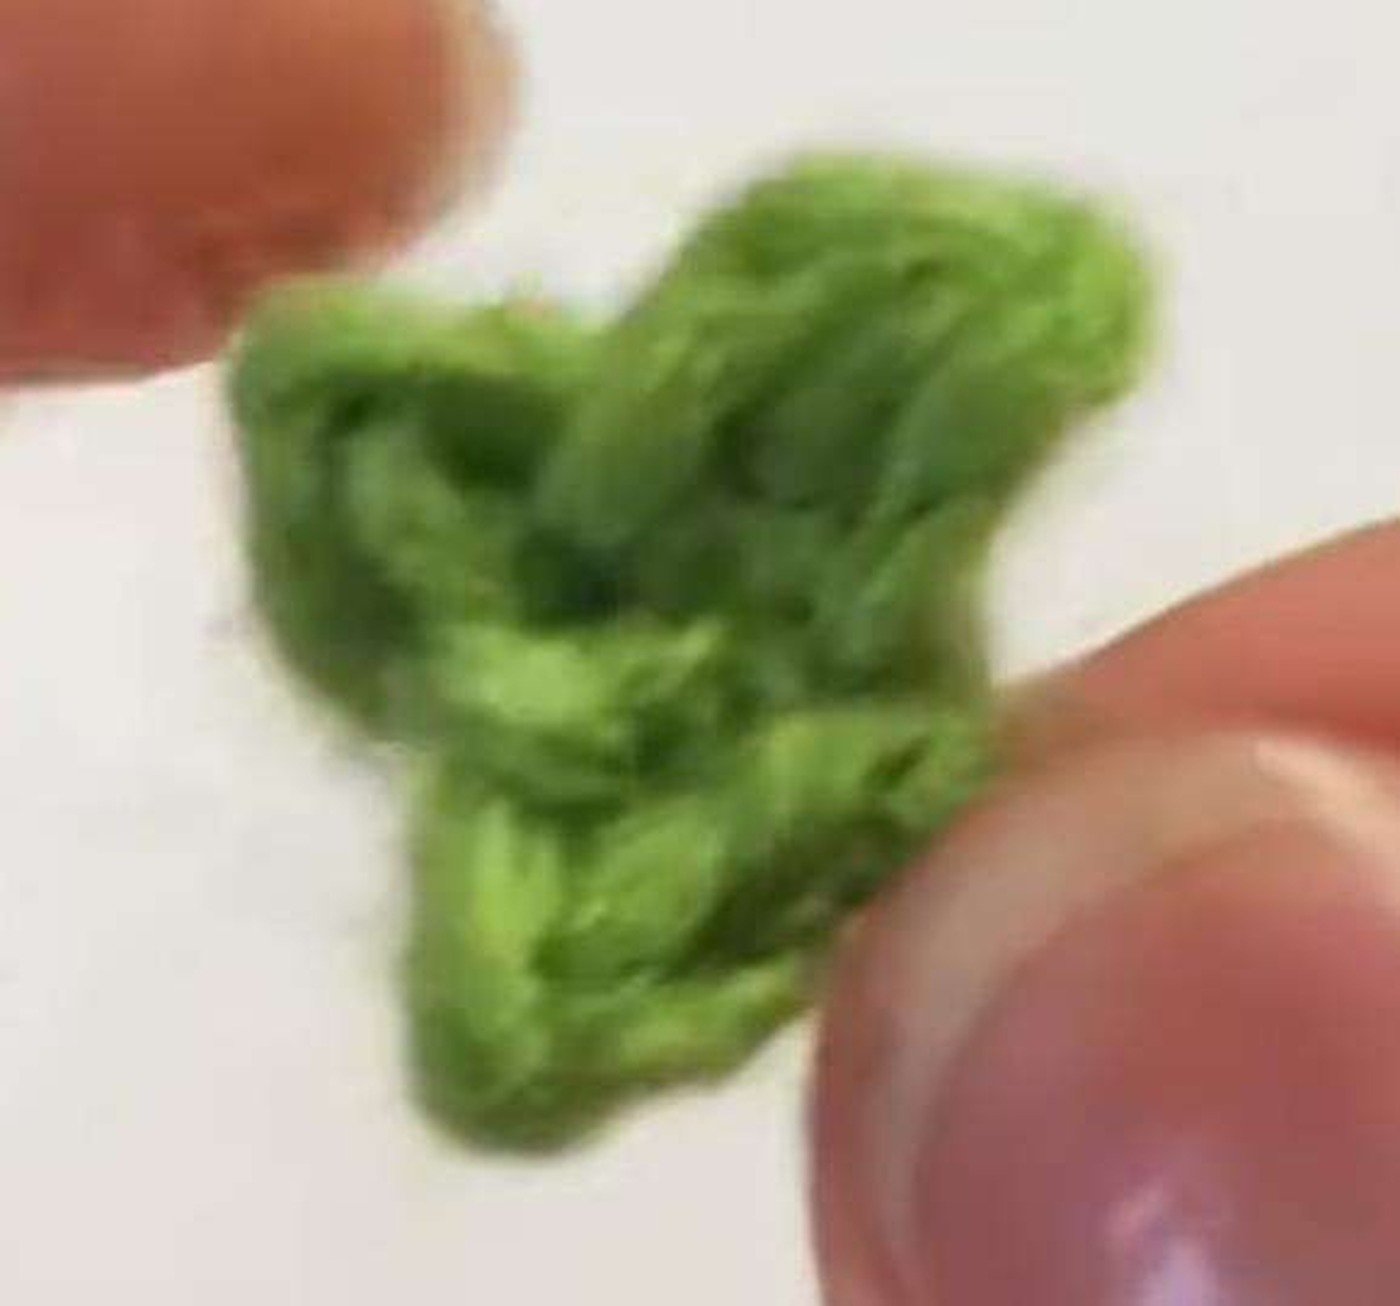
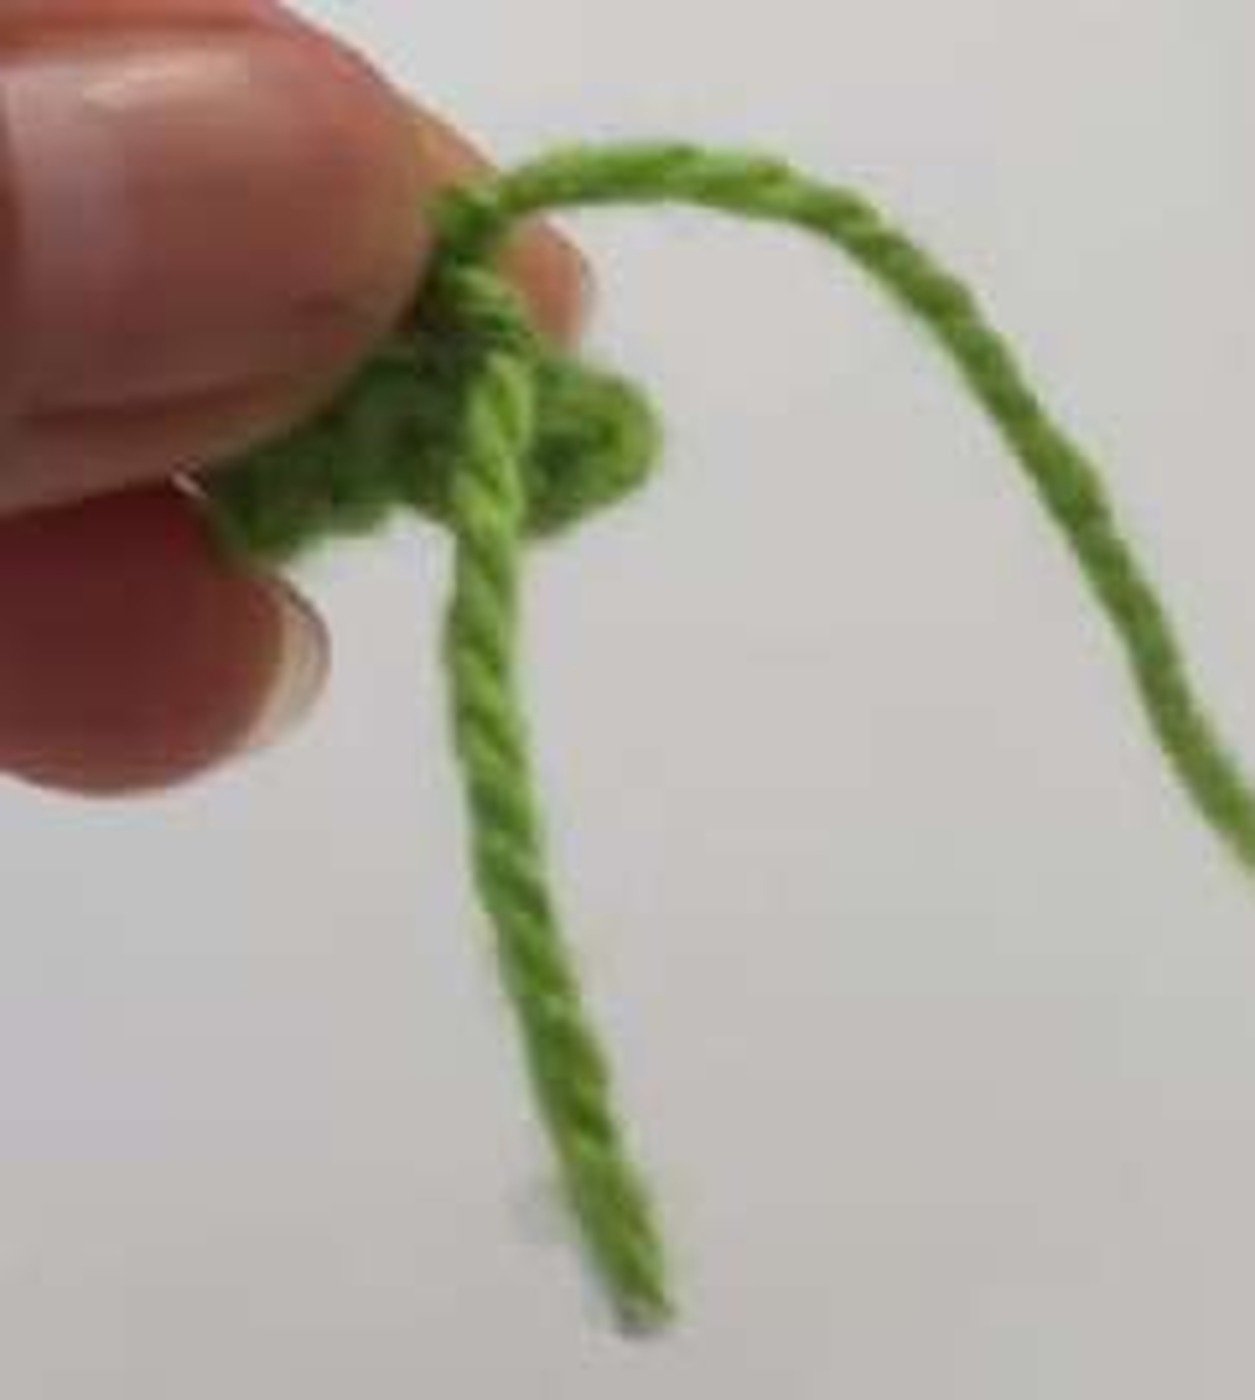
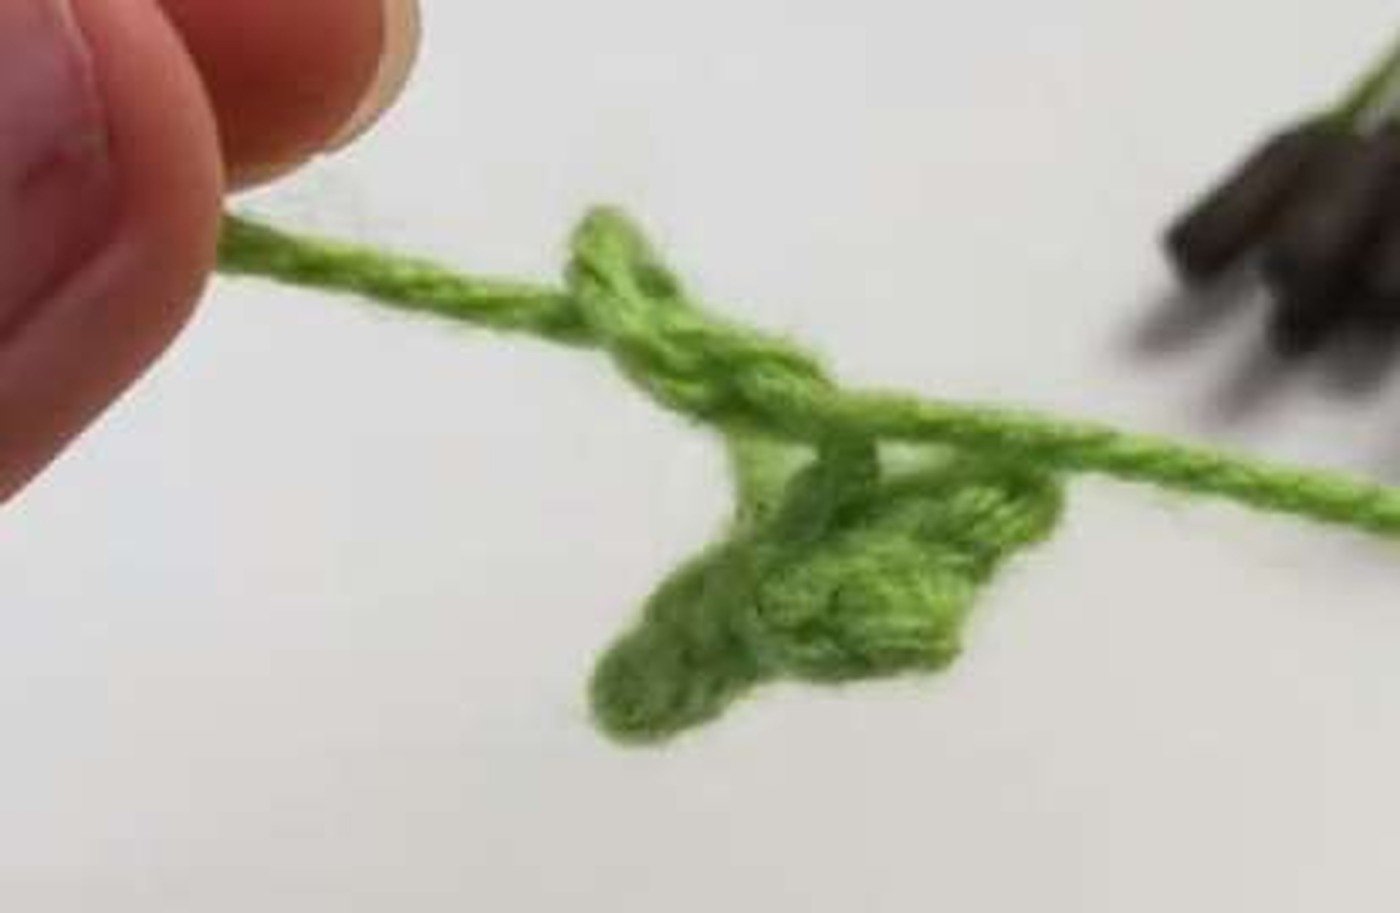
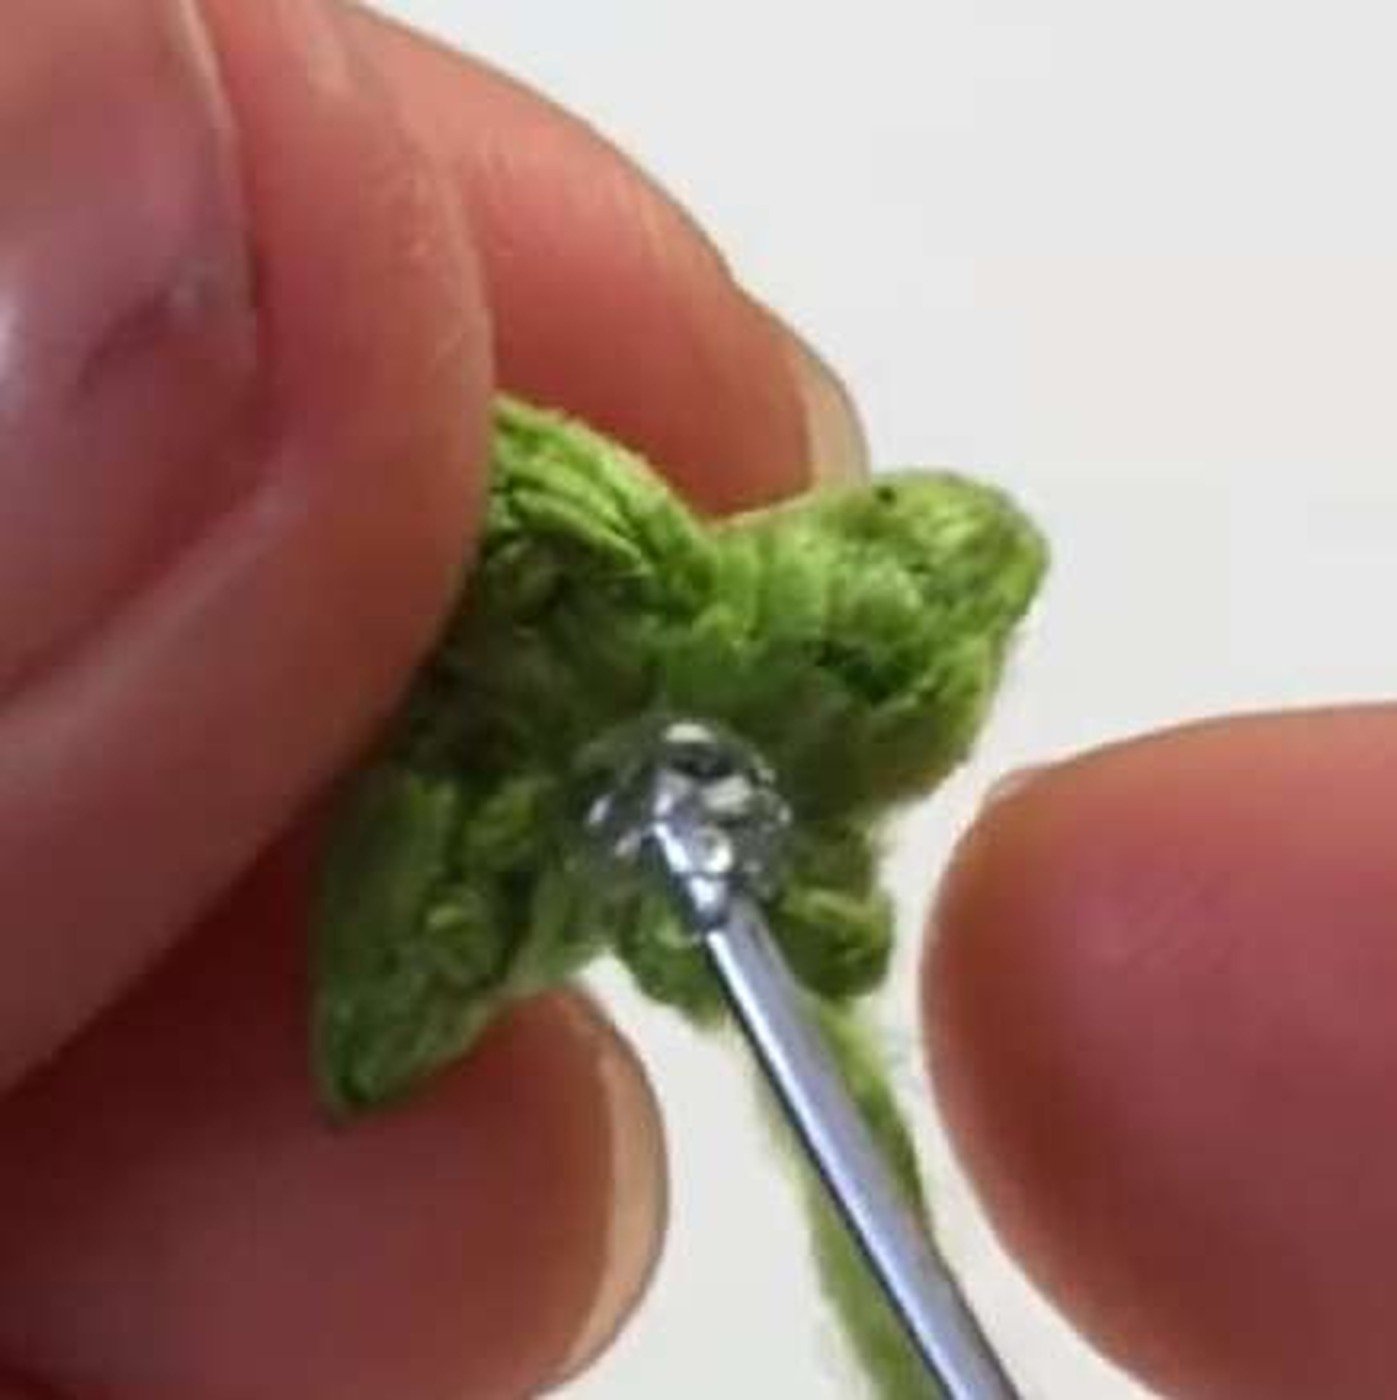
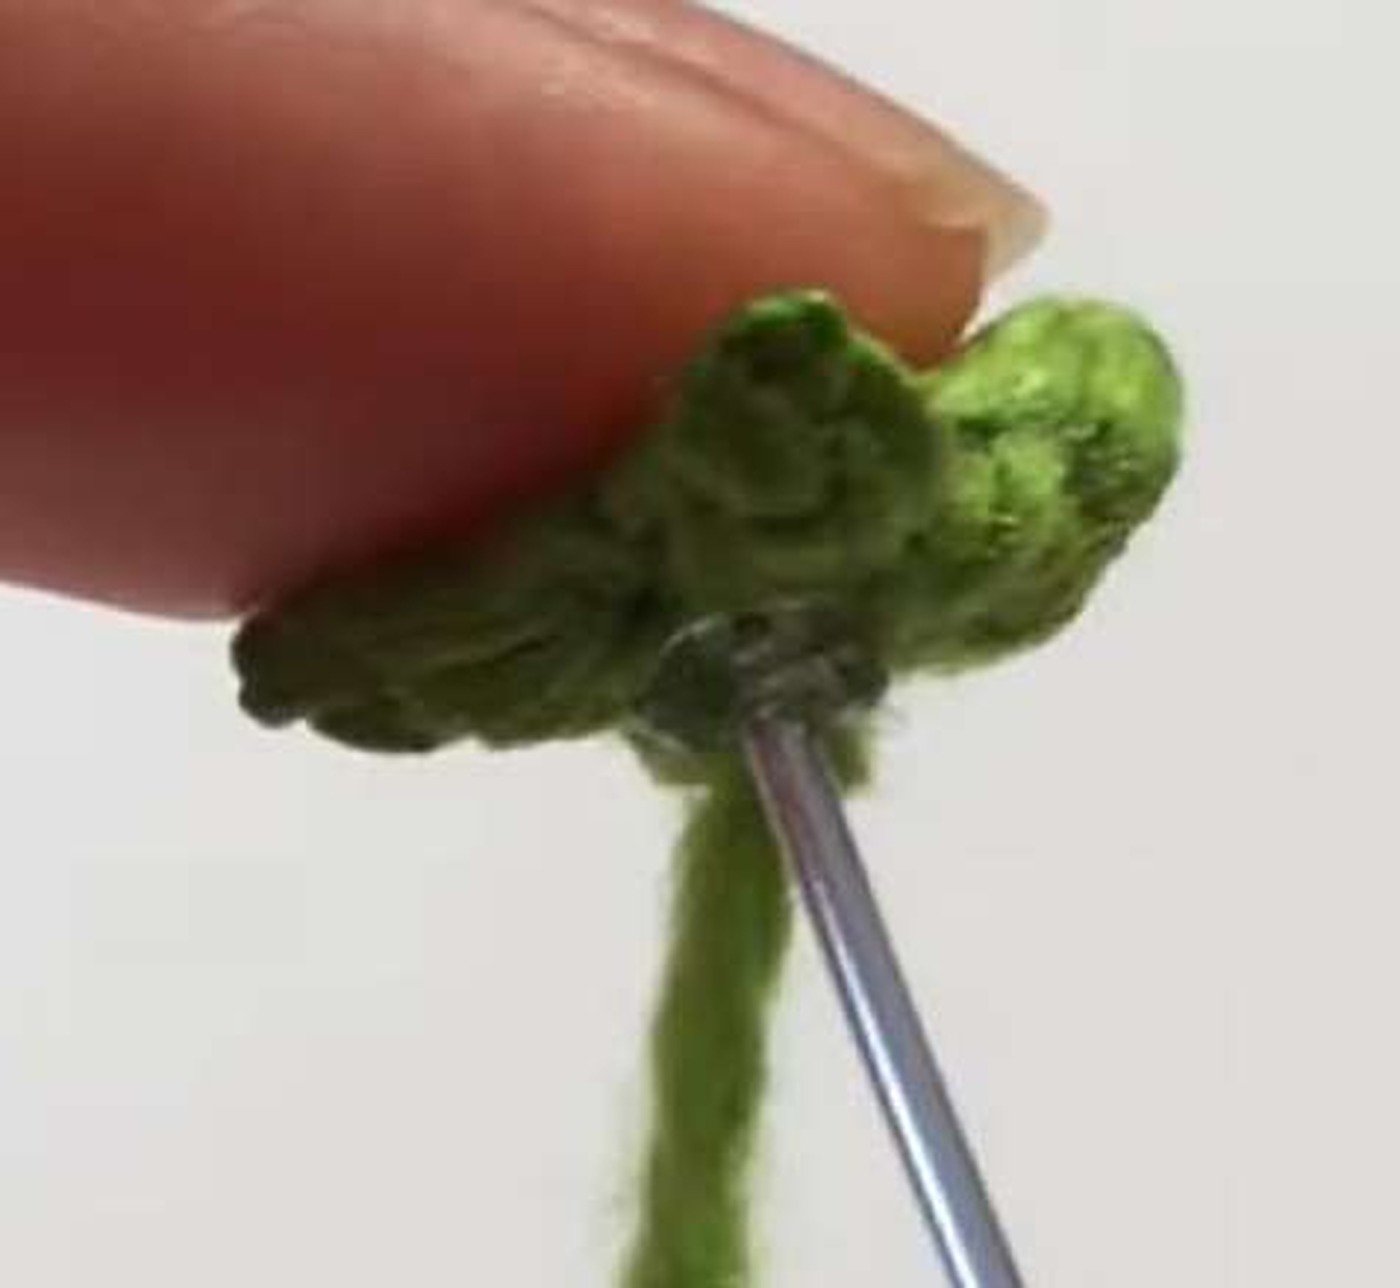
With green yarn, CH 3. SC in the second chain, SL ST in the next chain; repeat CH 2, SC in second chain, SL ST in the same base chain twice more to make three points. Leave a 15 in tail, secure, tie the tails twice, and trim the short tail.

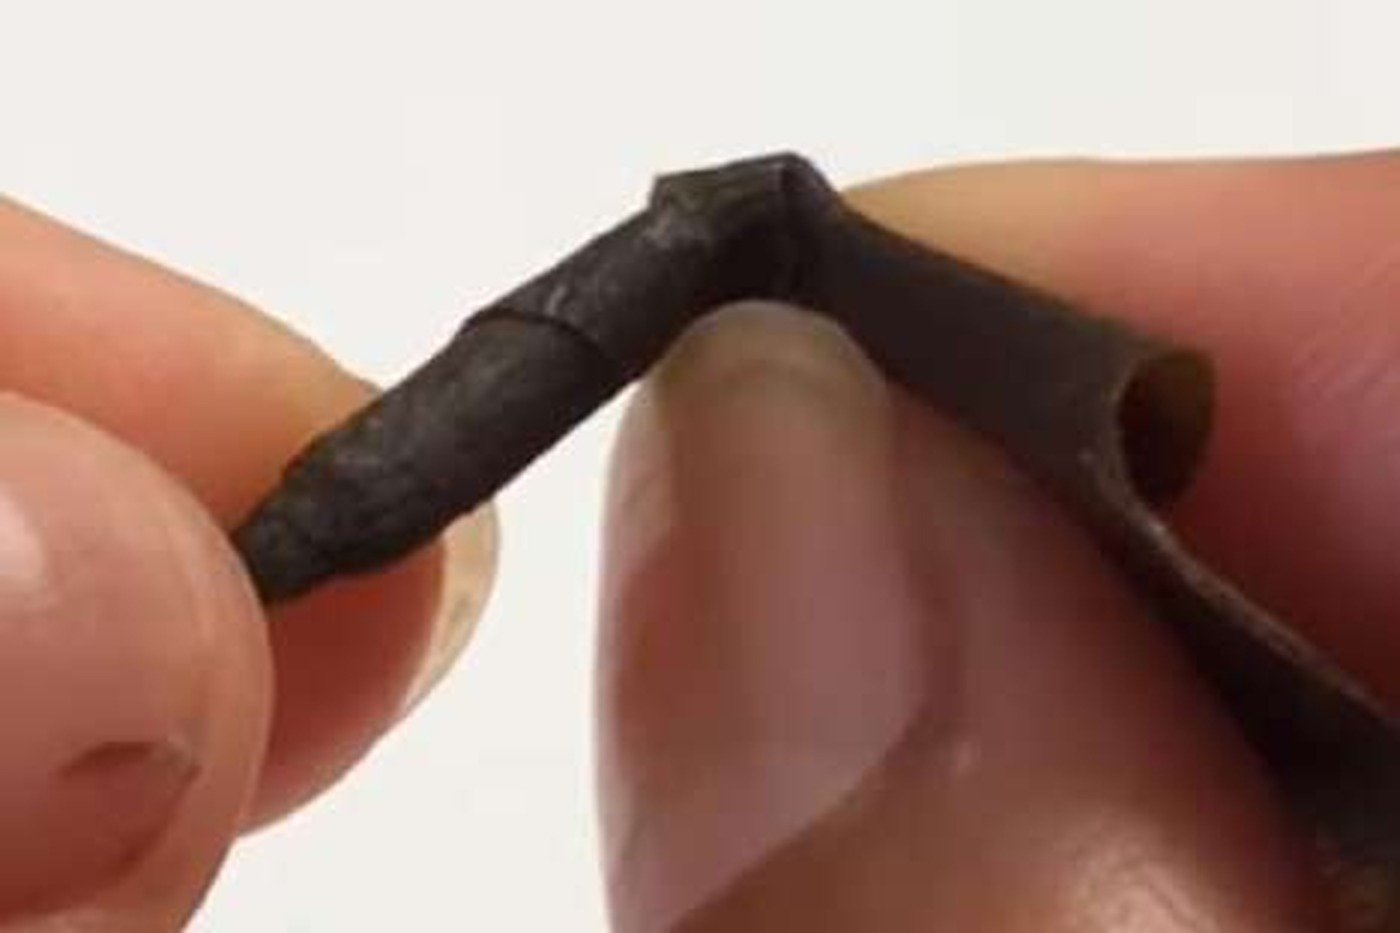
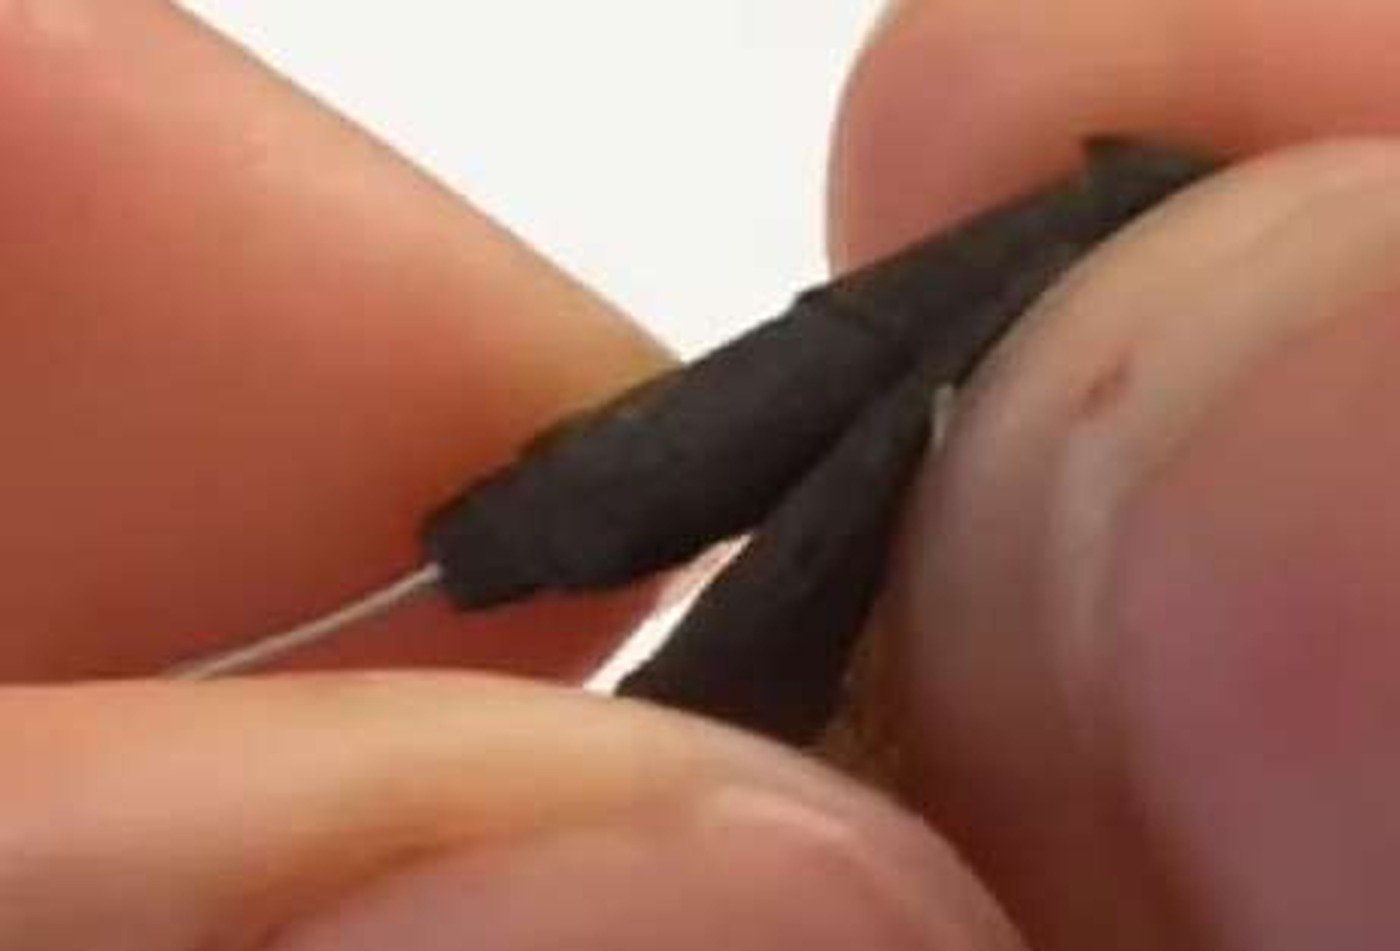
Stamen — Make 6
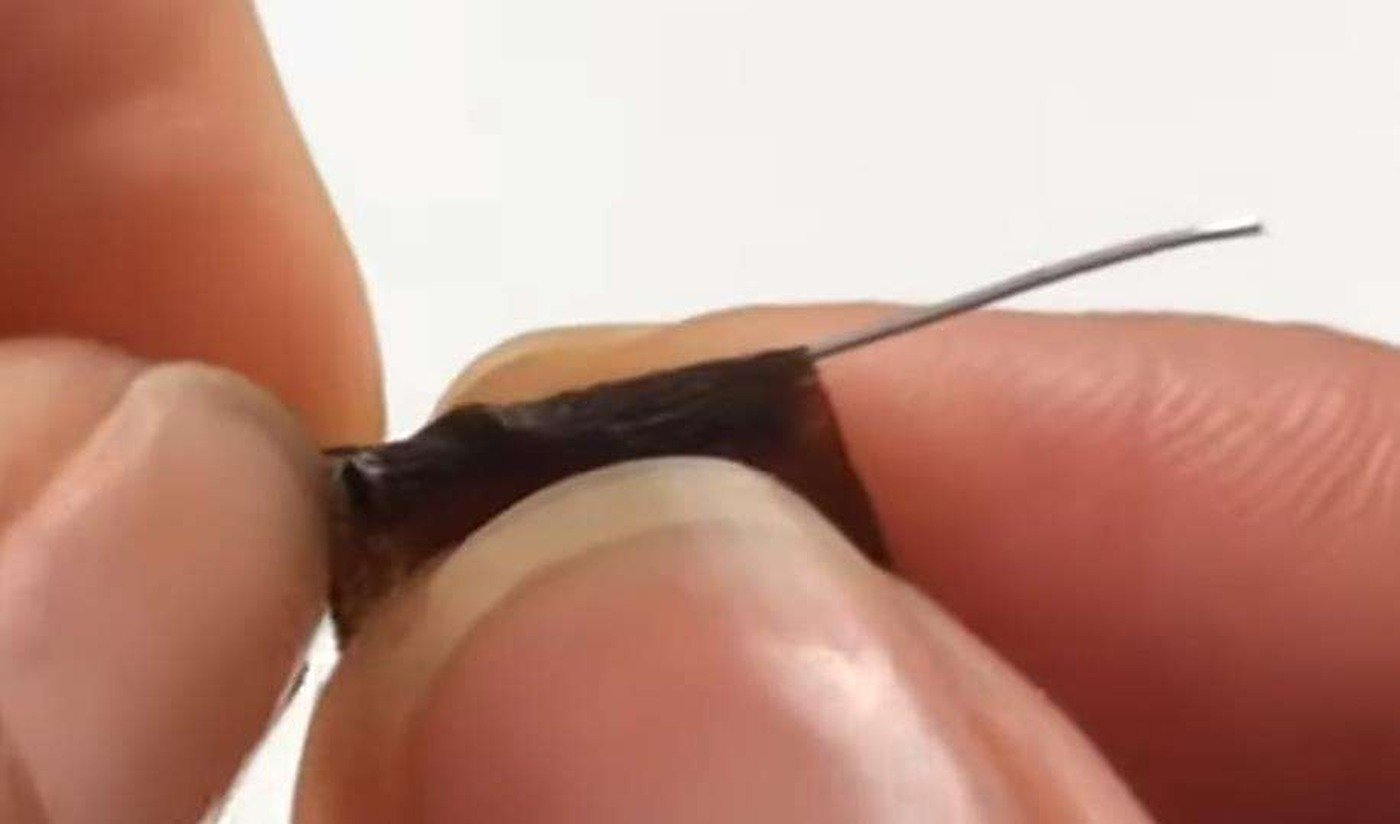
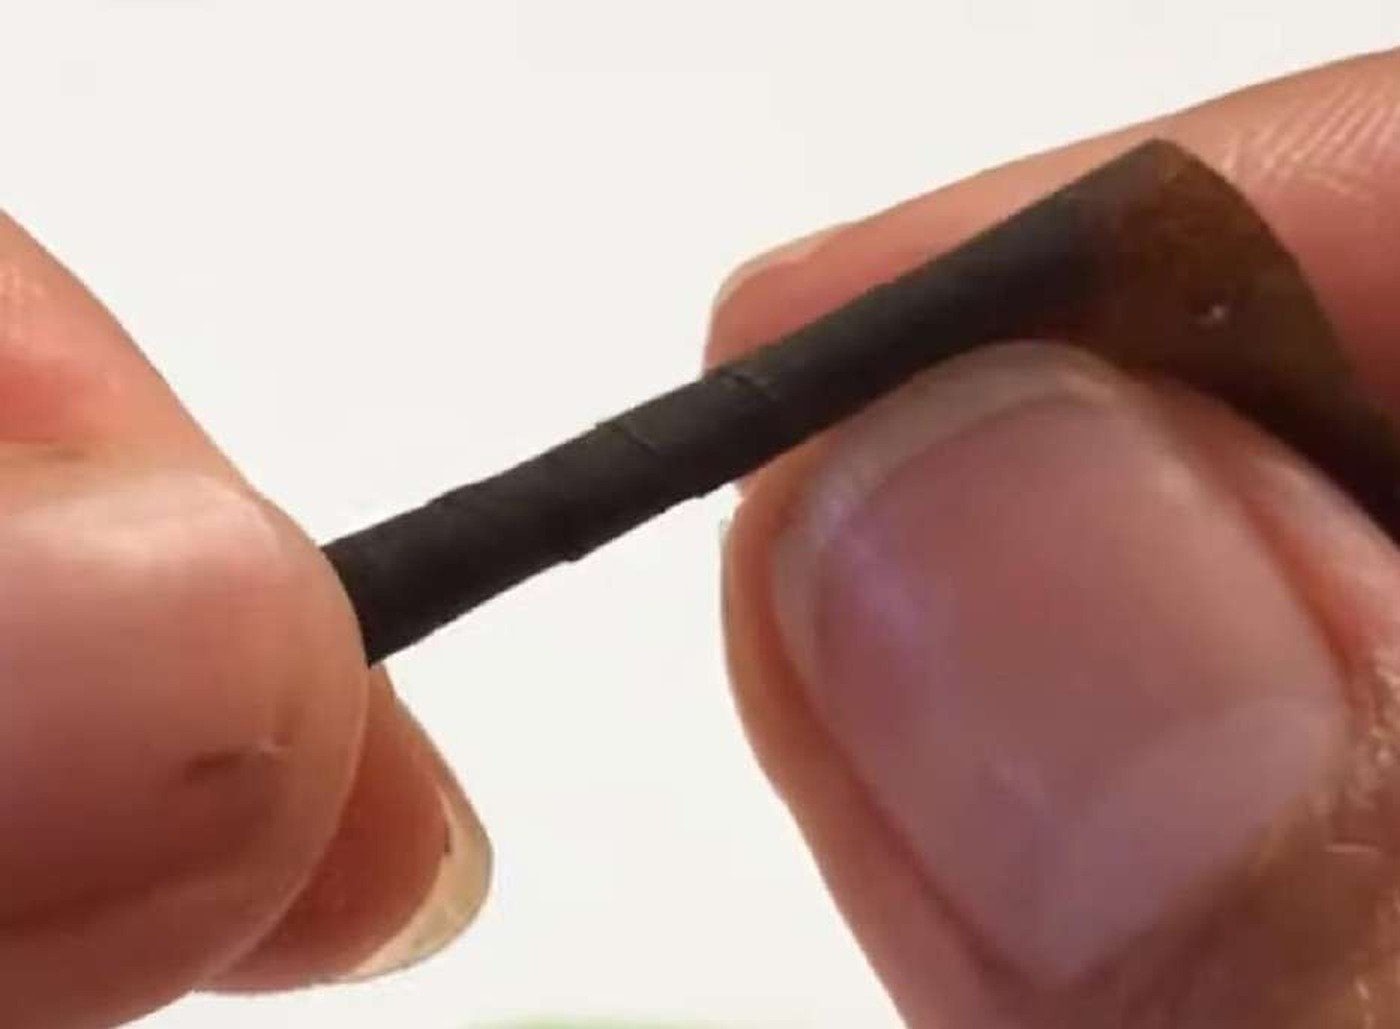
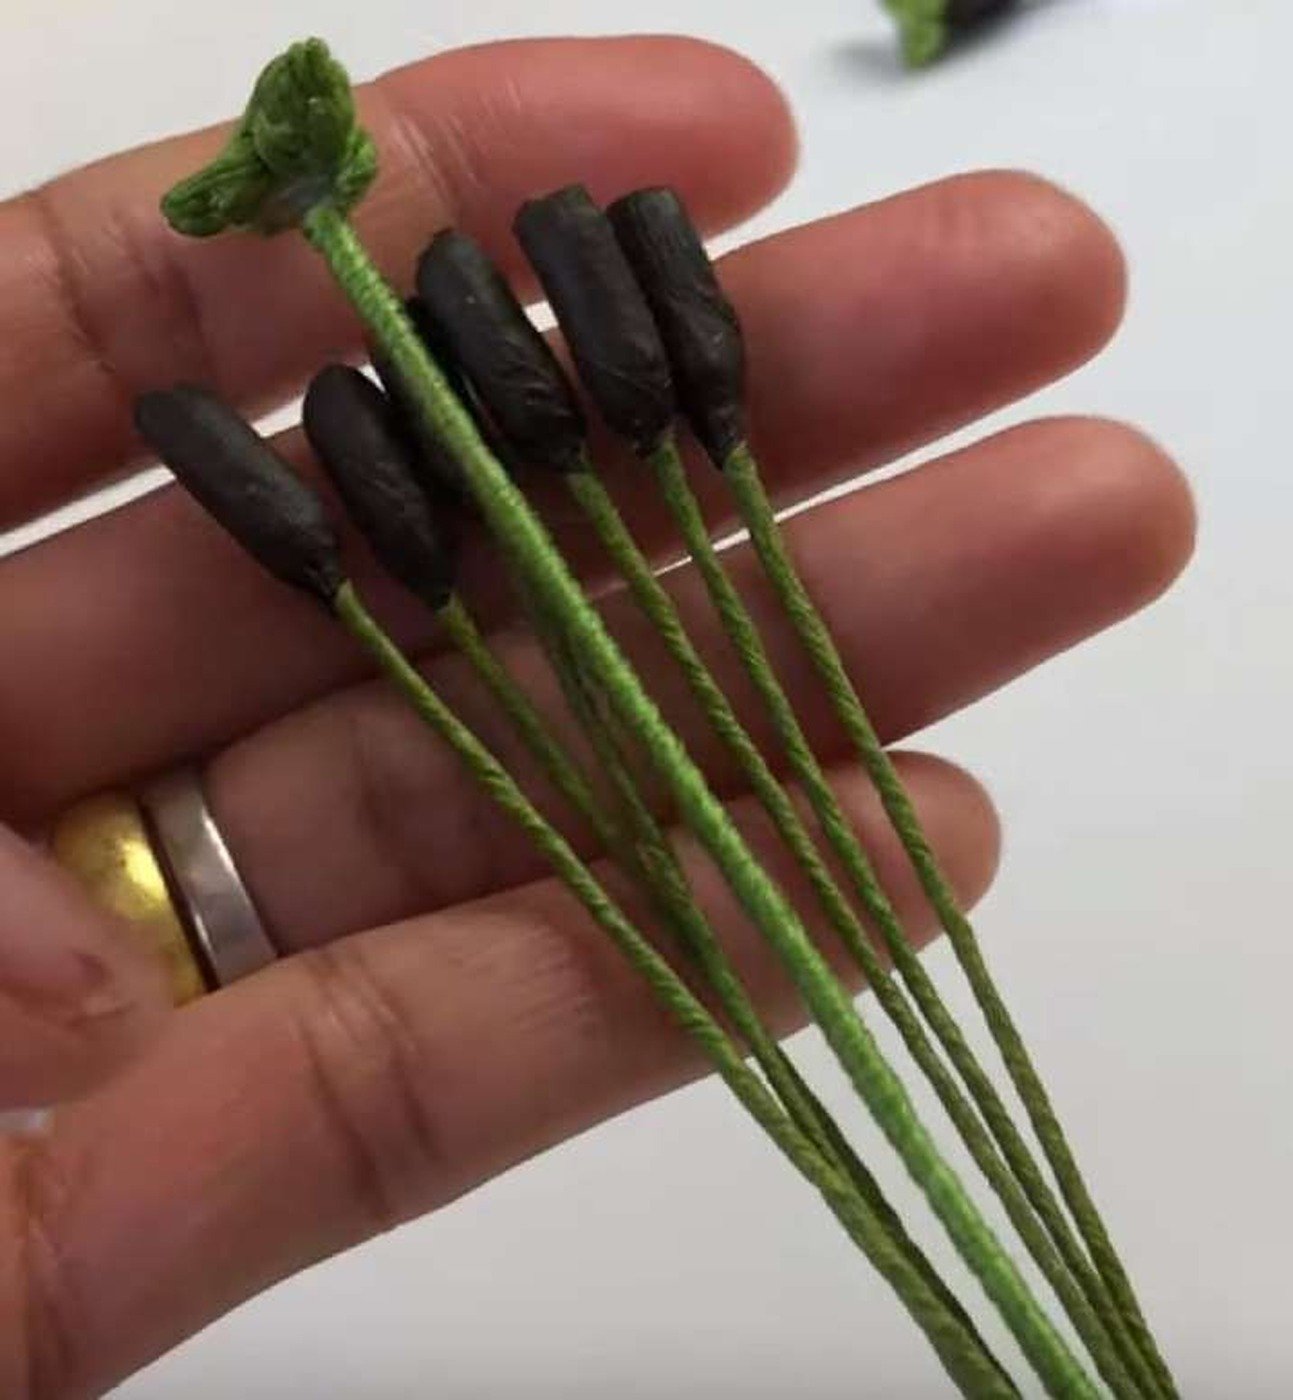
Cut six 11 in lengths of 0.46 mm wire. Wrap dark-brown floral tape around the center of each wire, fold the wire in half, build a compact head with several tape layers, then cover both wire legs with green floral tape.

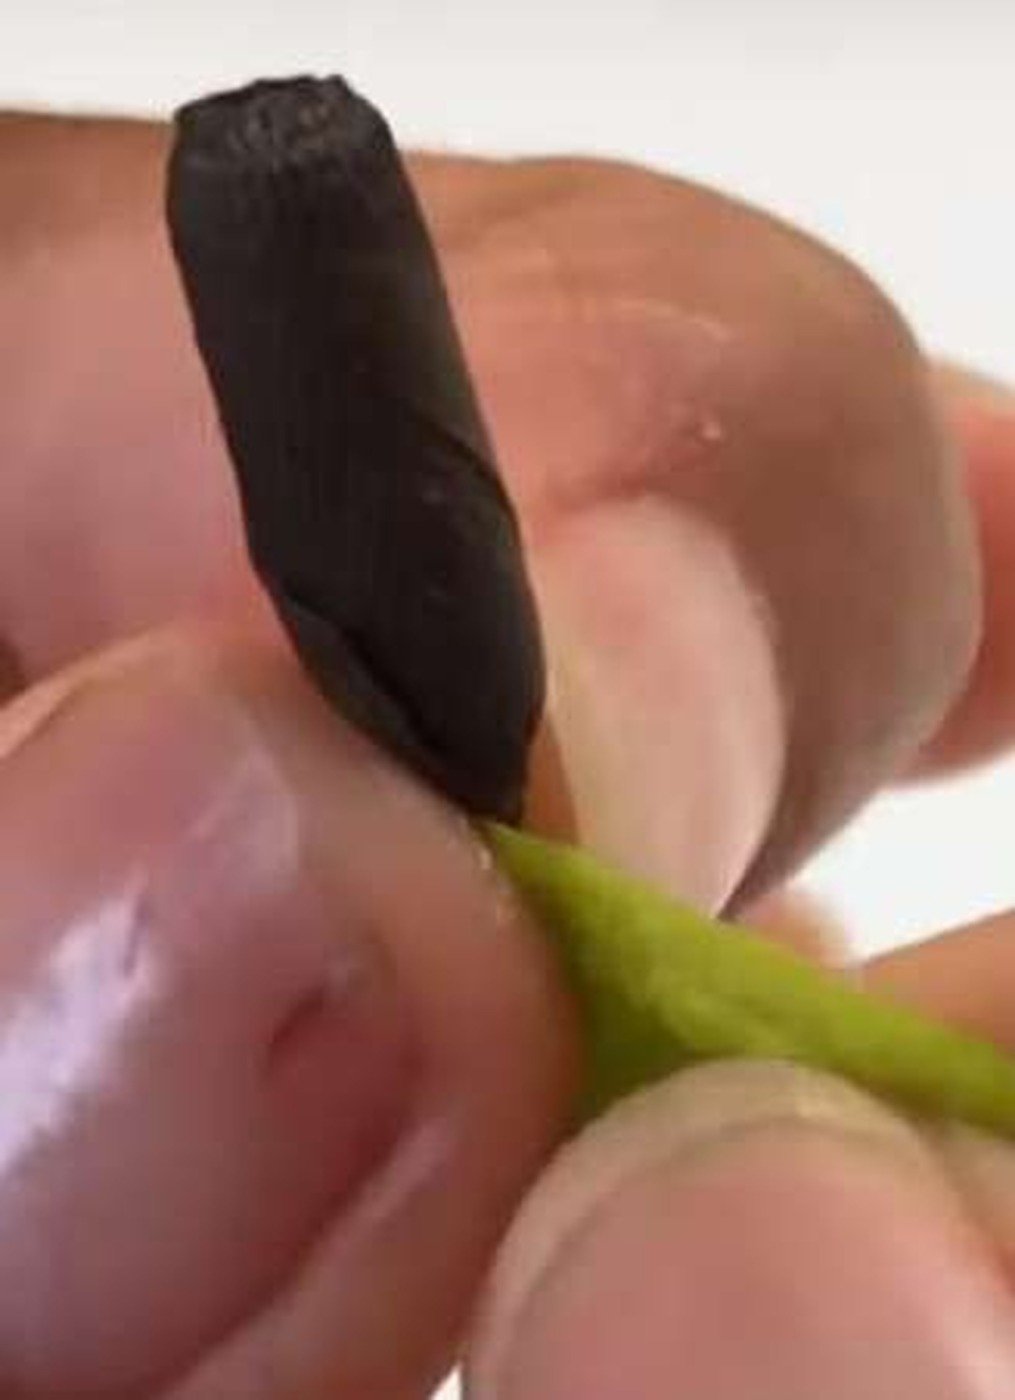
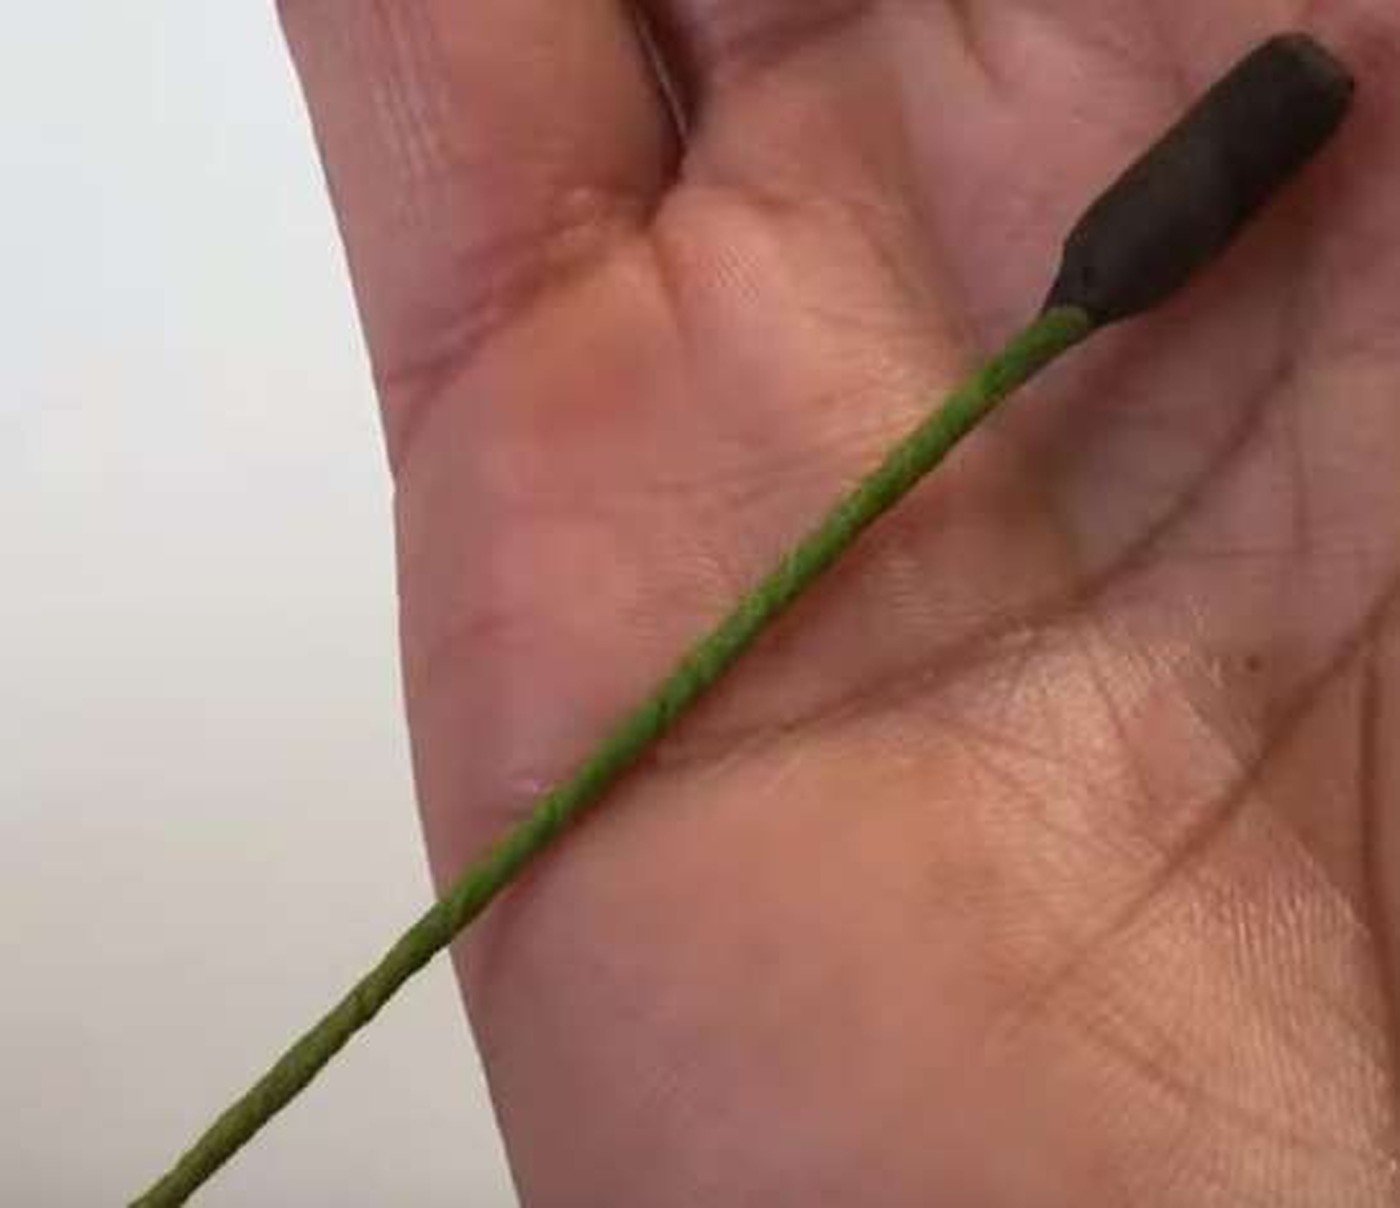


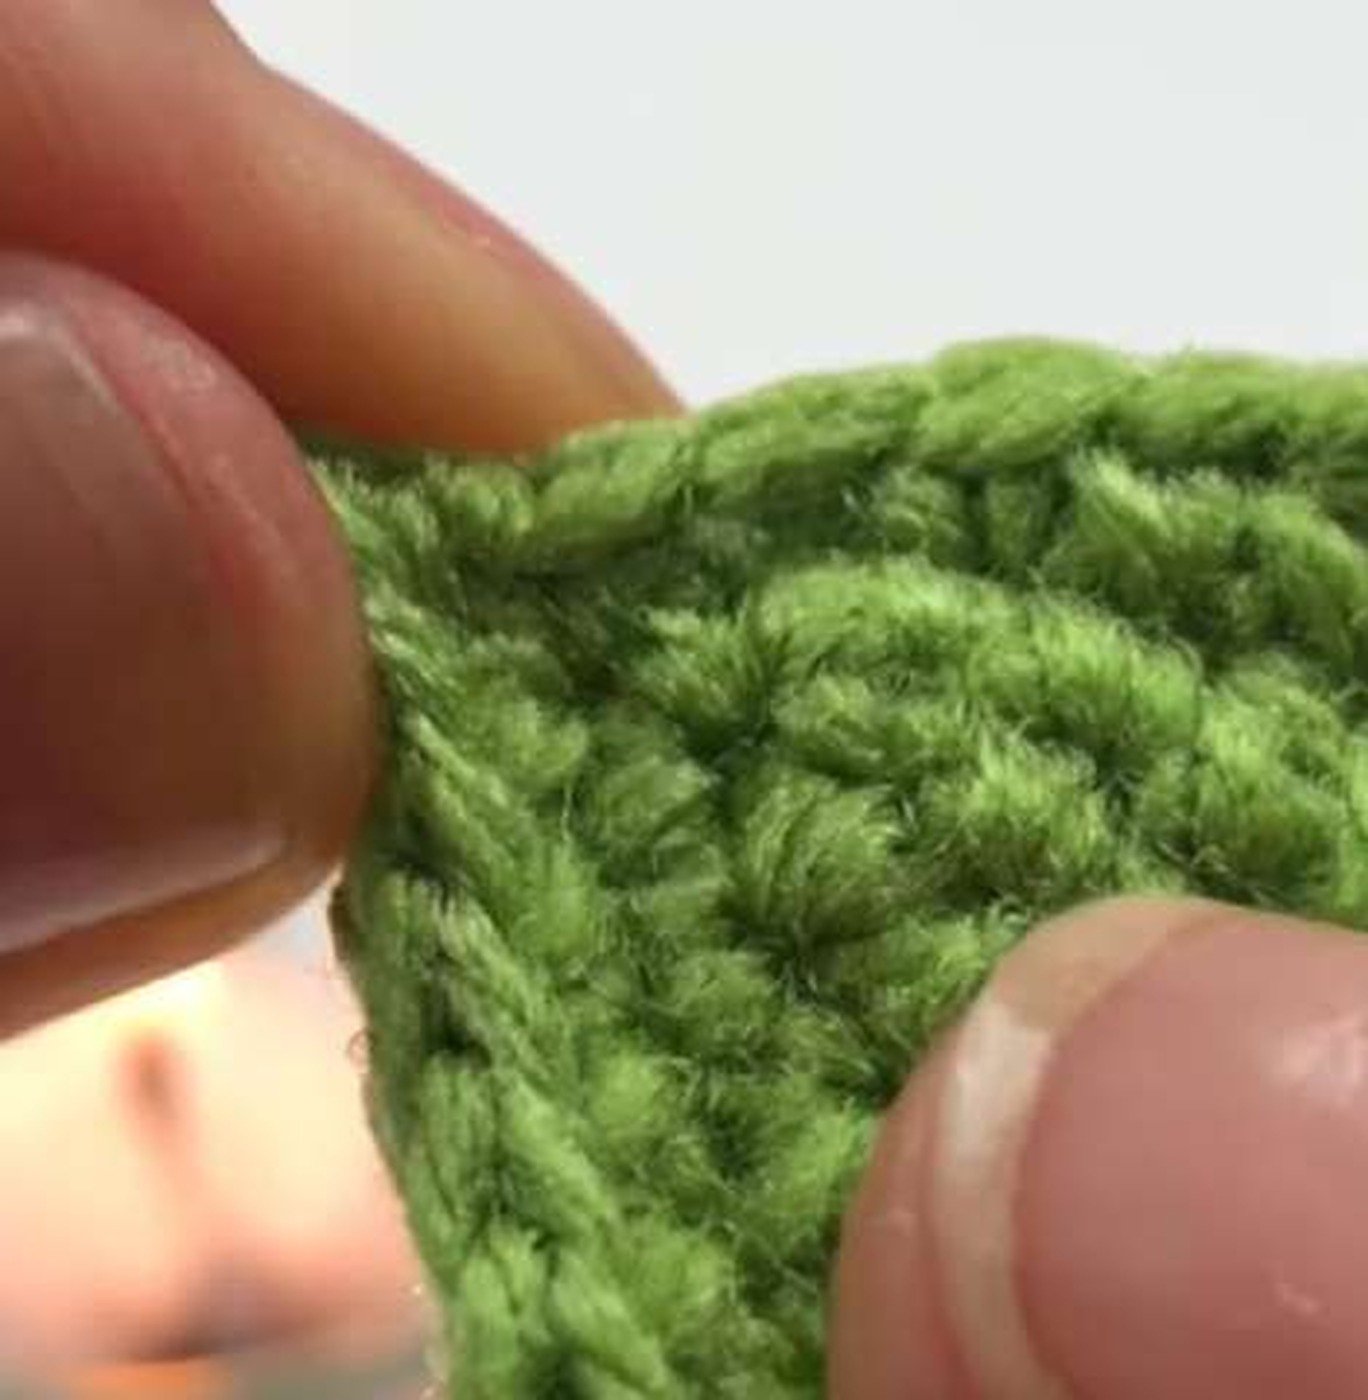

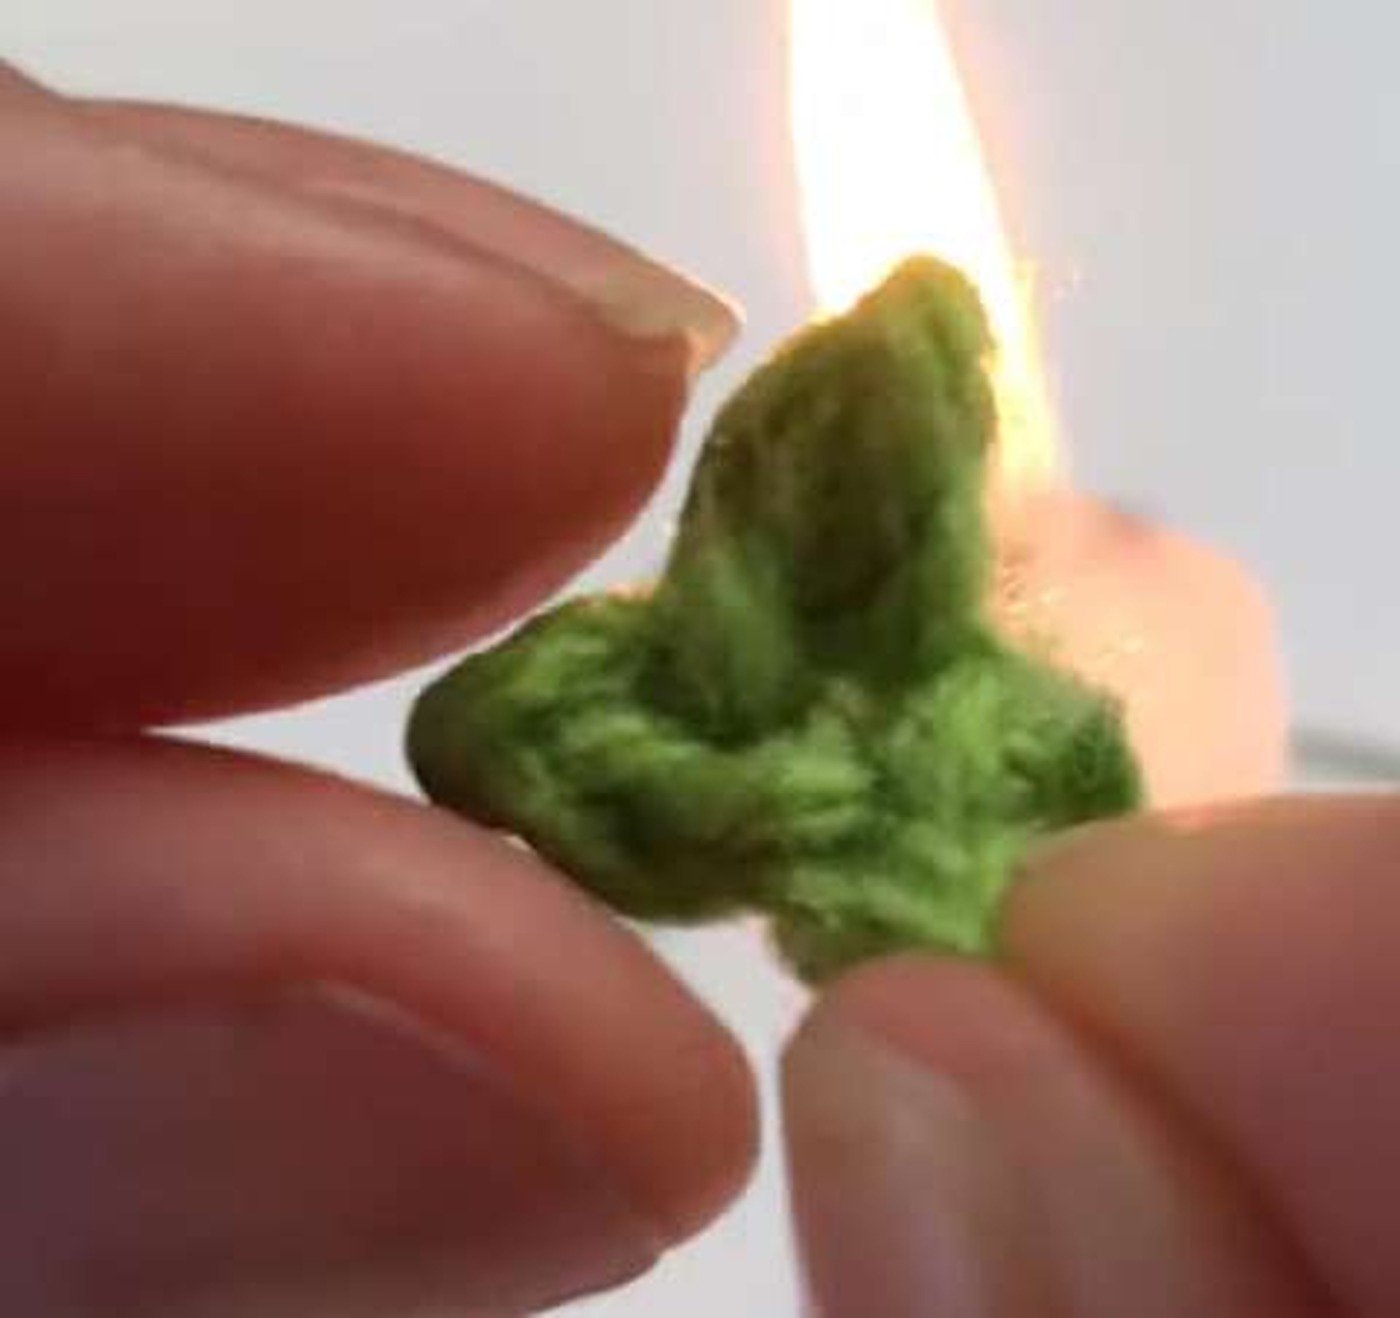
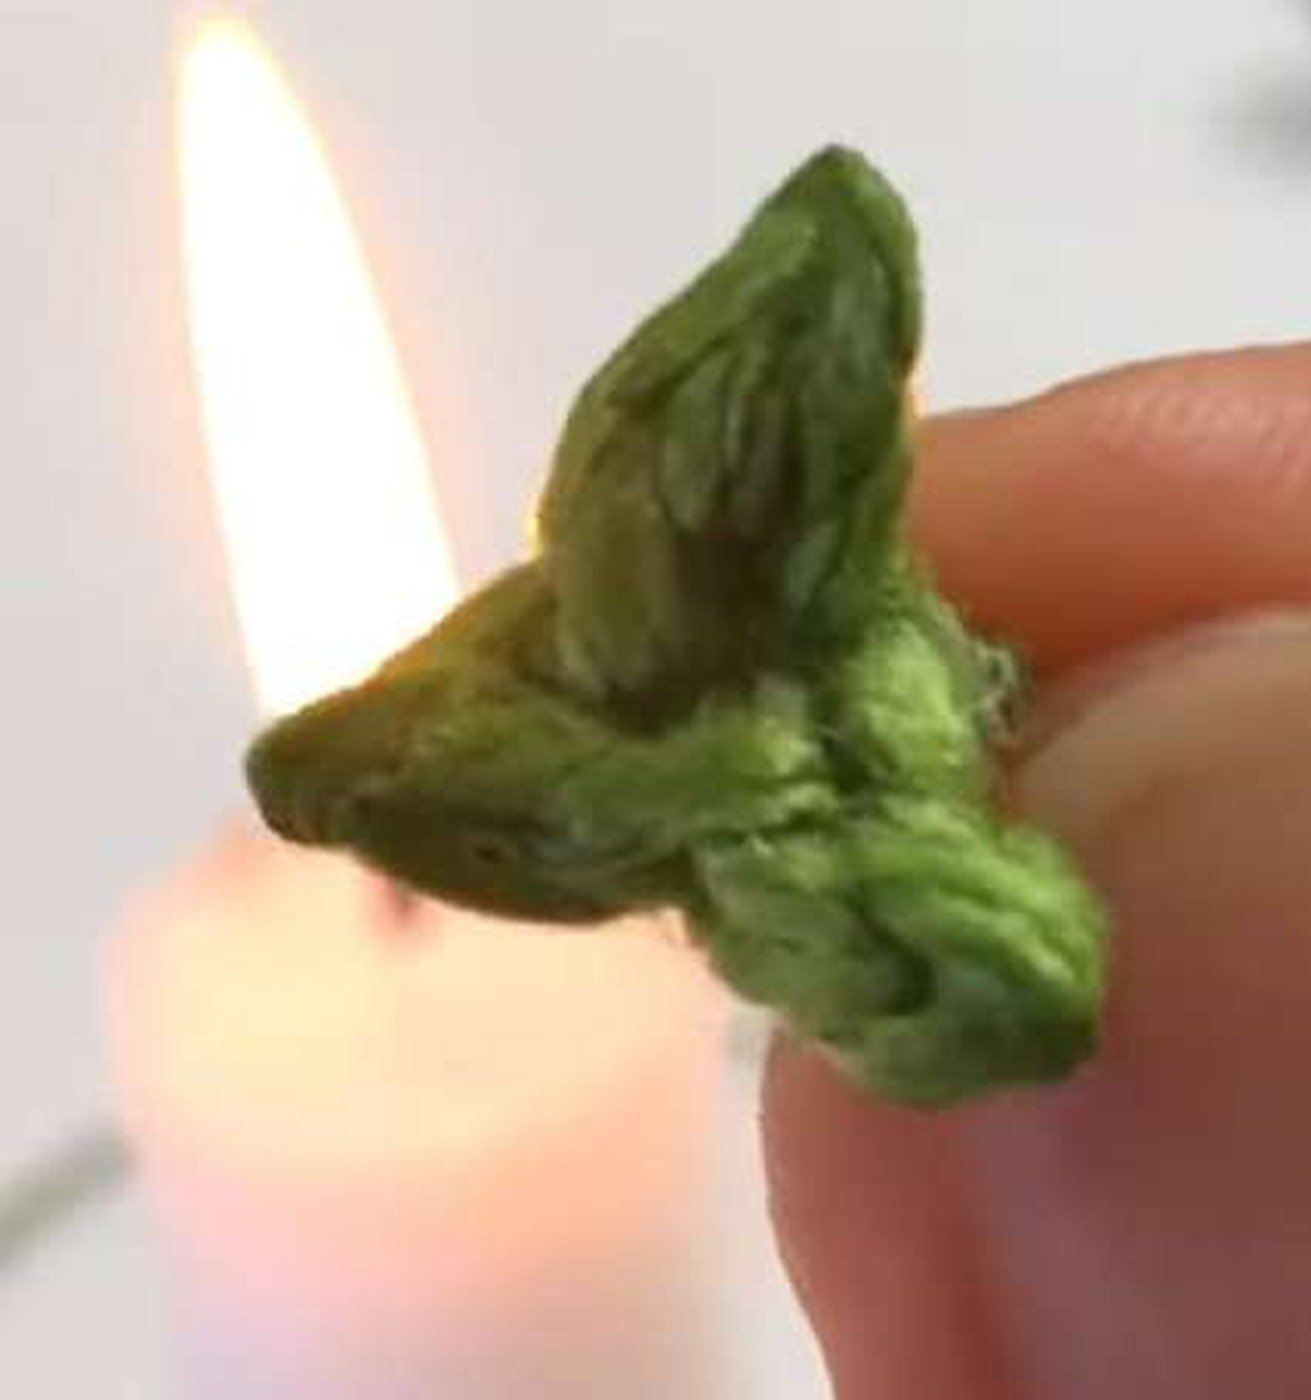
Prepare and Shape the Parts
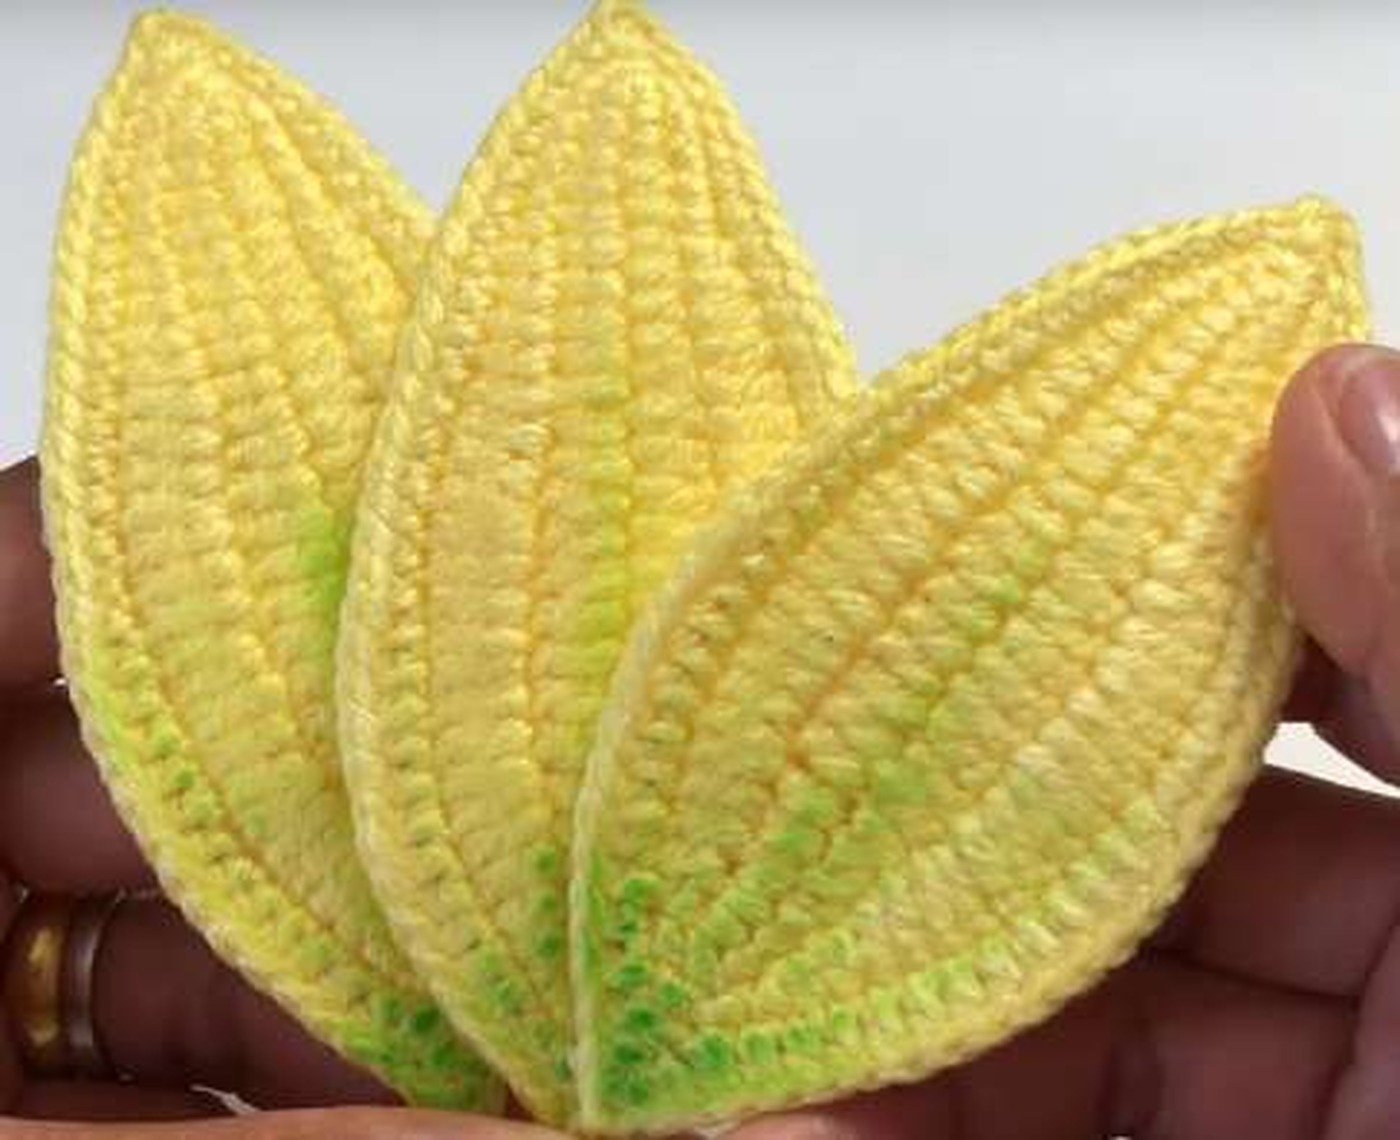
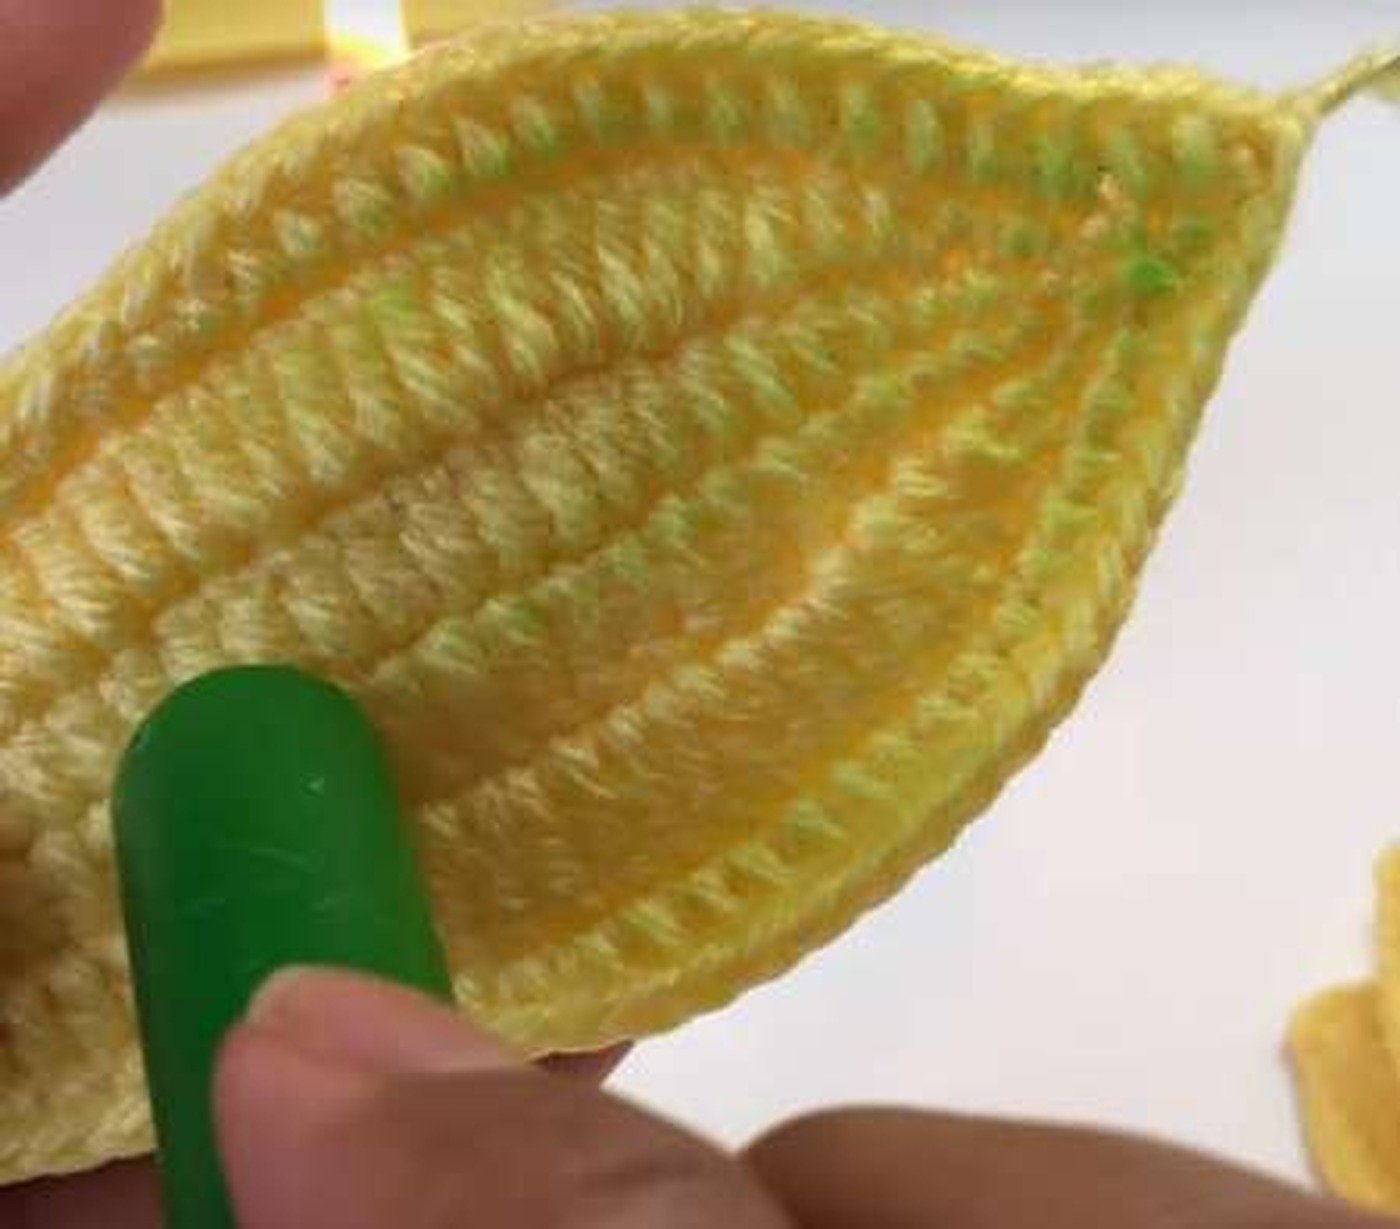
Pinch each petal and leaf tip to a point. Optional green shading can be applied to the lower right side of each petal with a softened green crayon. Do not use open flame; carefully trim stray fibers with scissors.
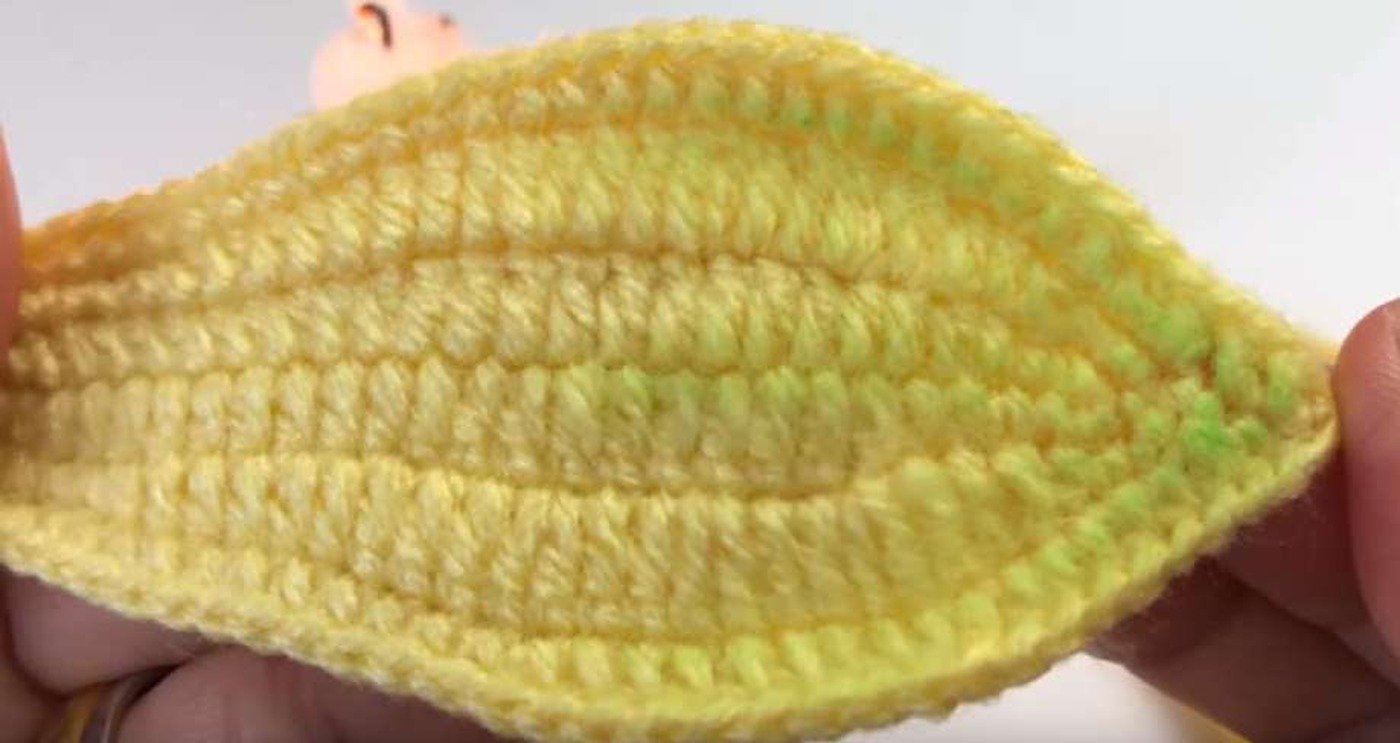

Assemble the Flower Center and Stem
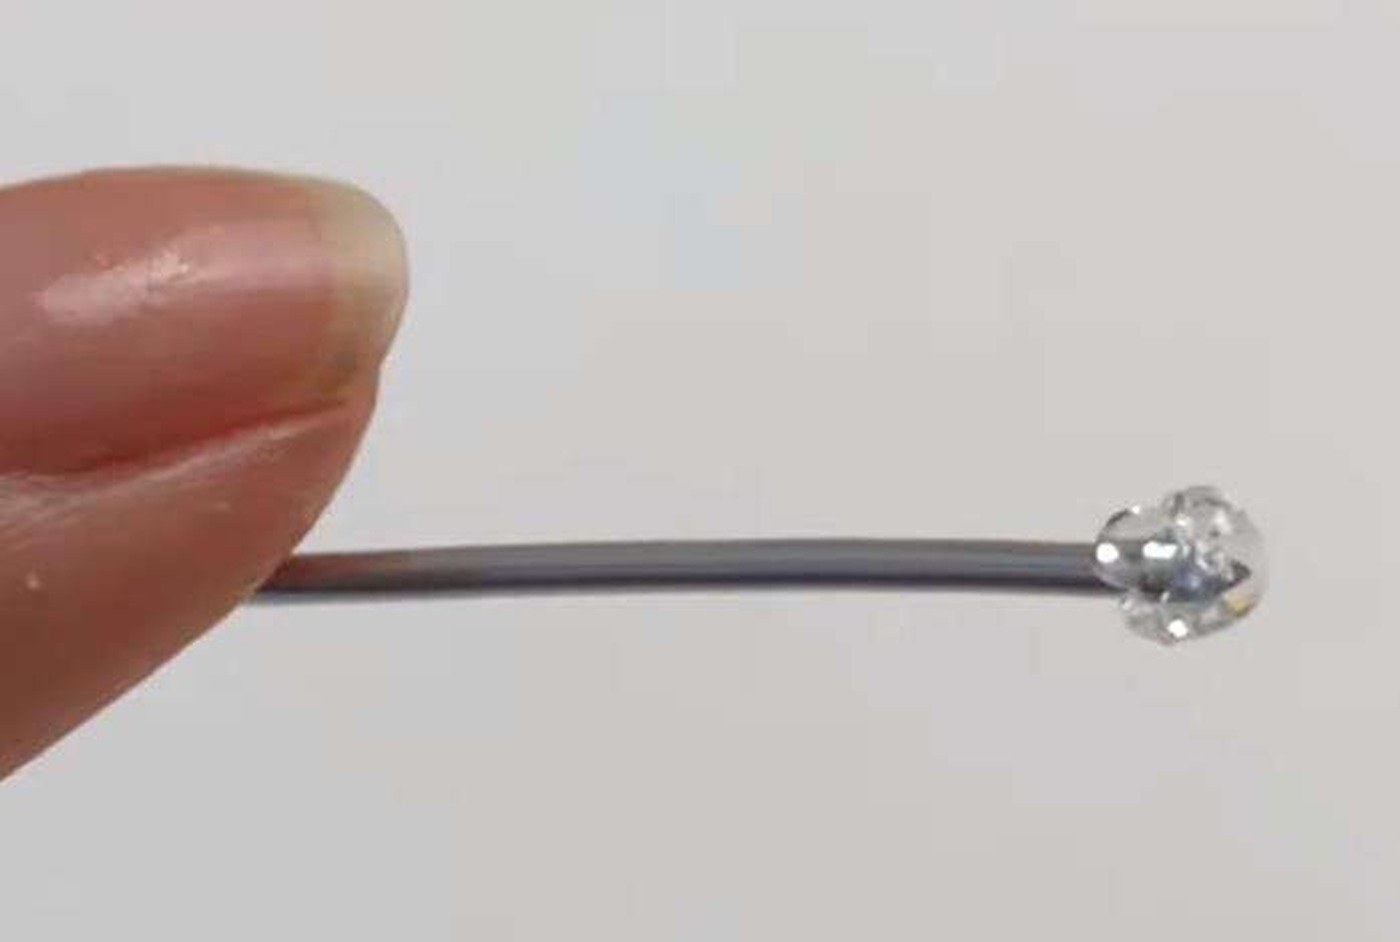
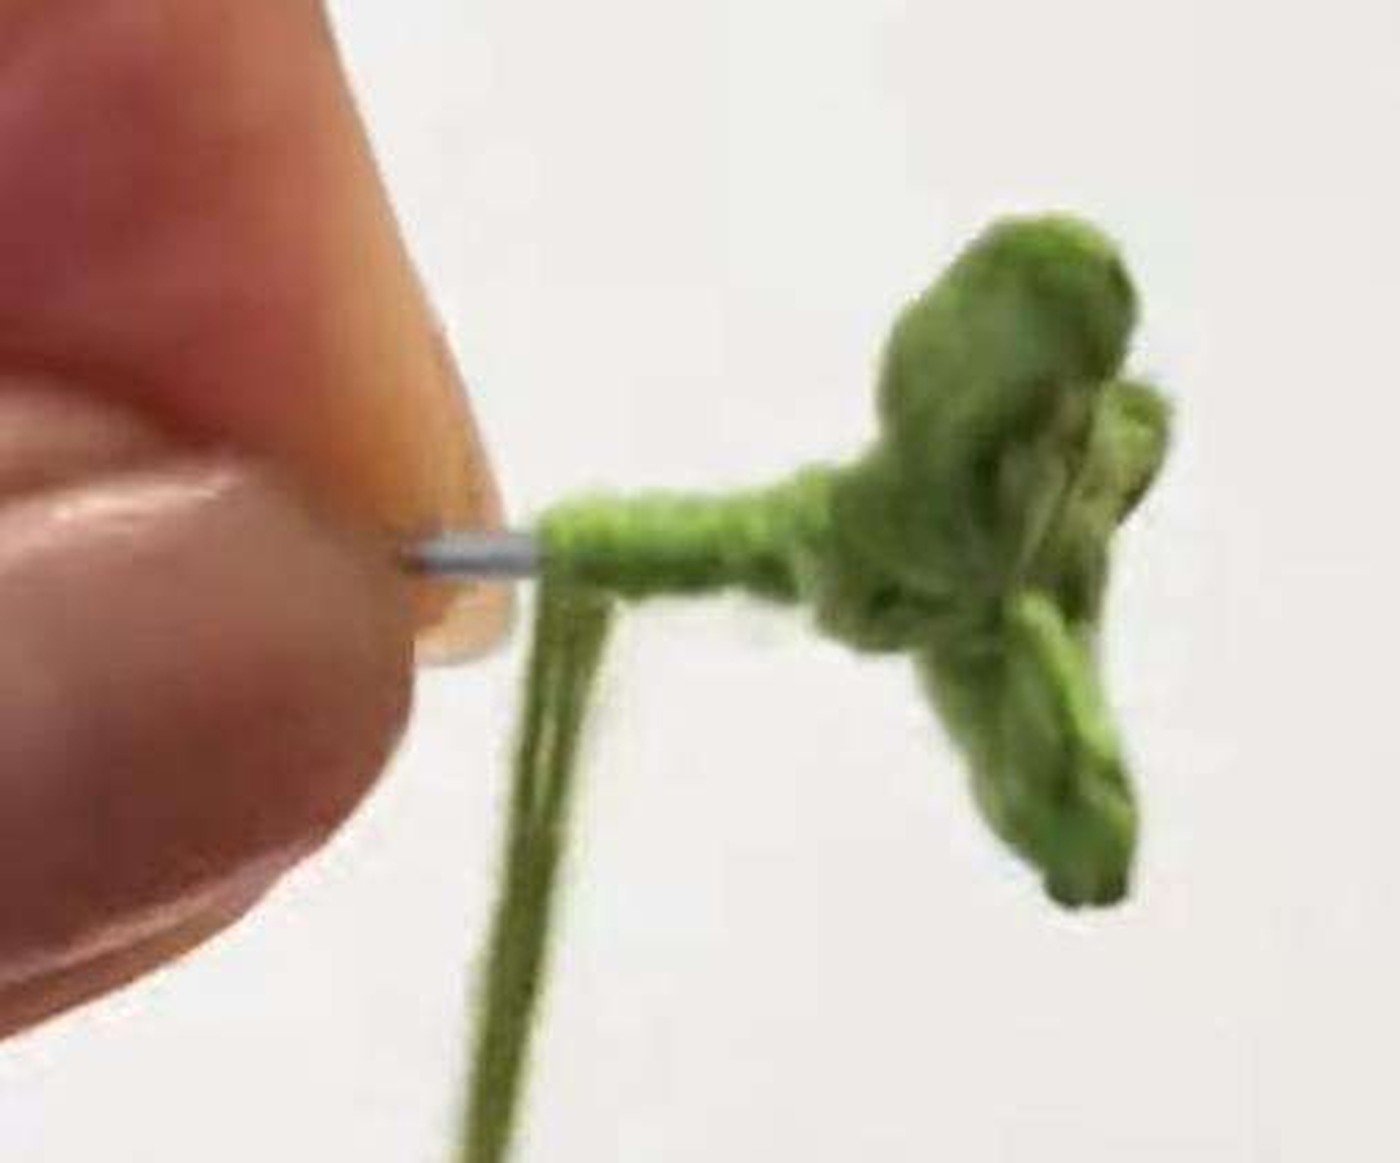
- Cut 12–18 in of 1.2 mm stem wire and secure the stigma to the top.
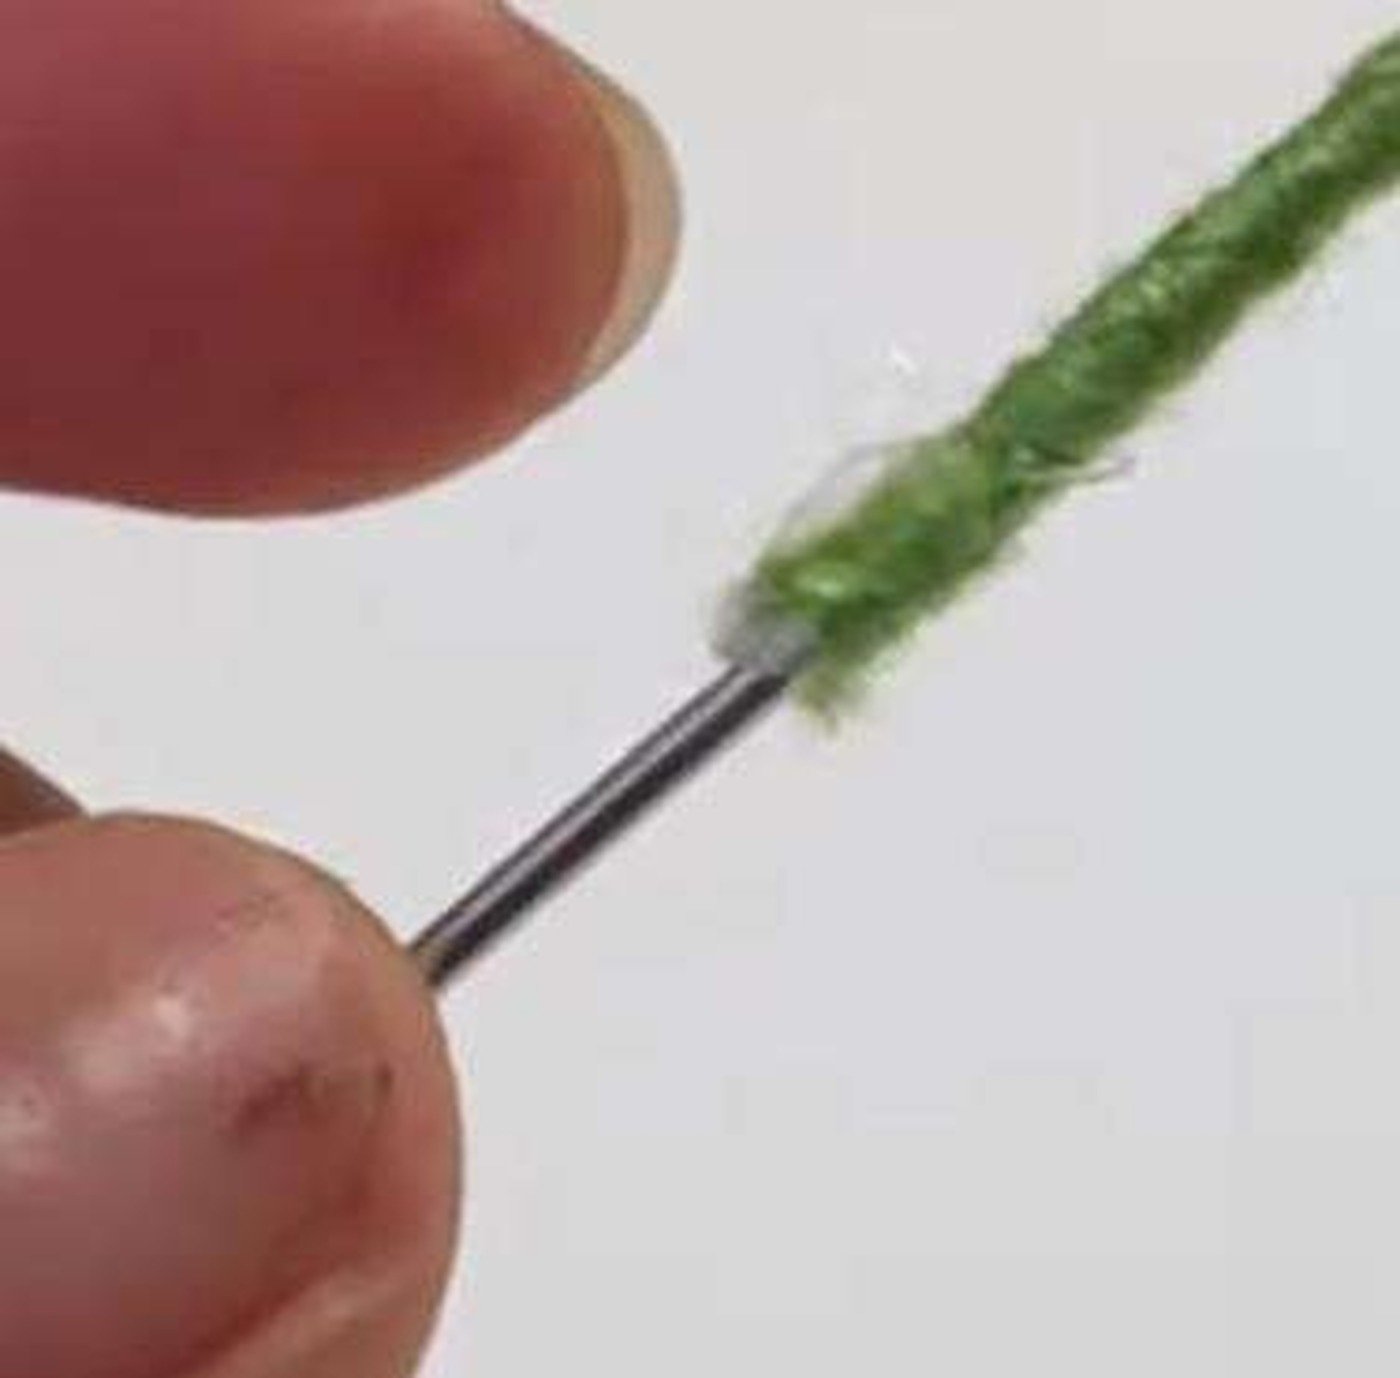
- Wrap the long stigma yarn tail tightly down about two-thirds of the stem and secure it.
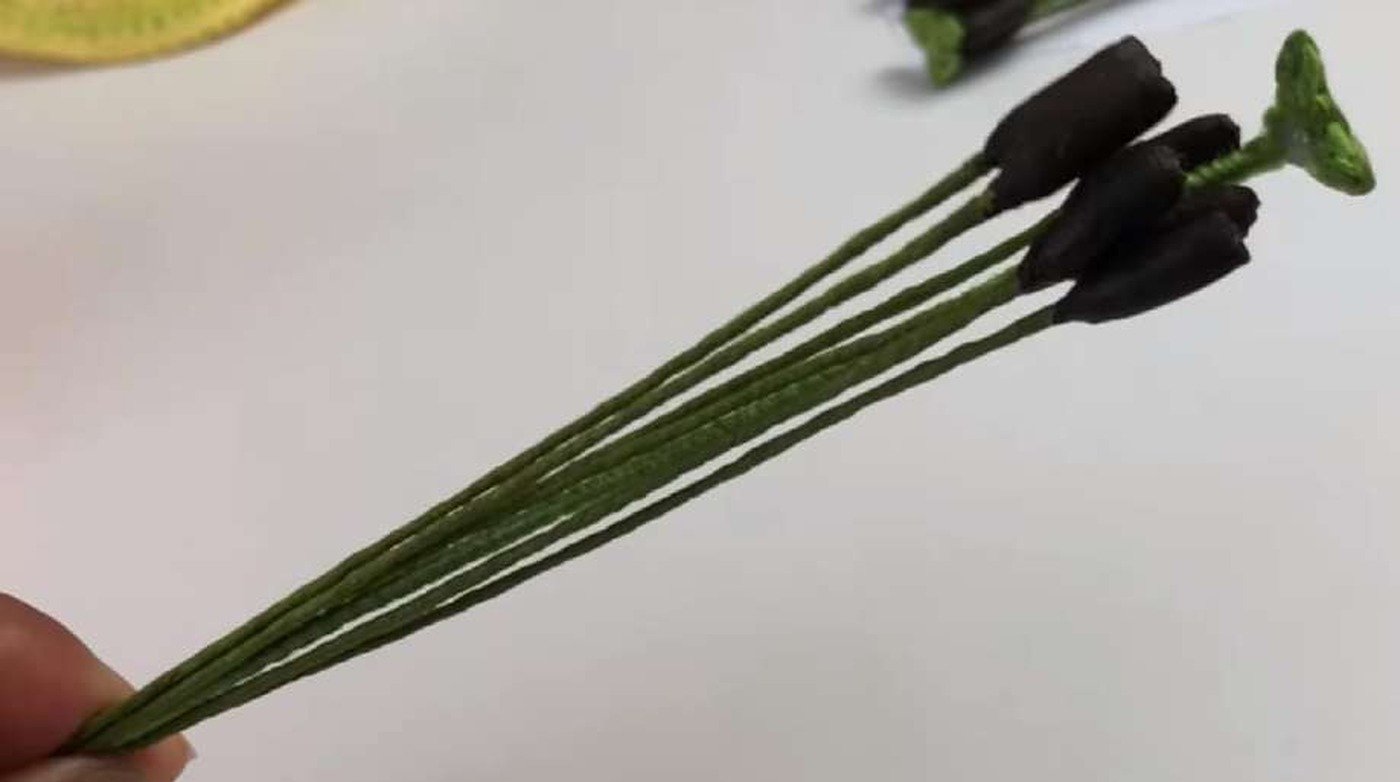
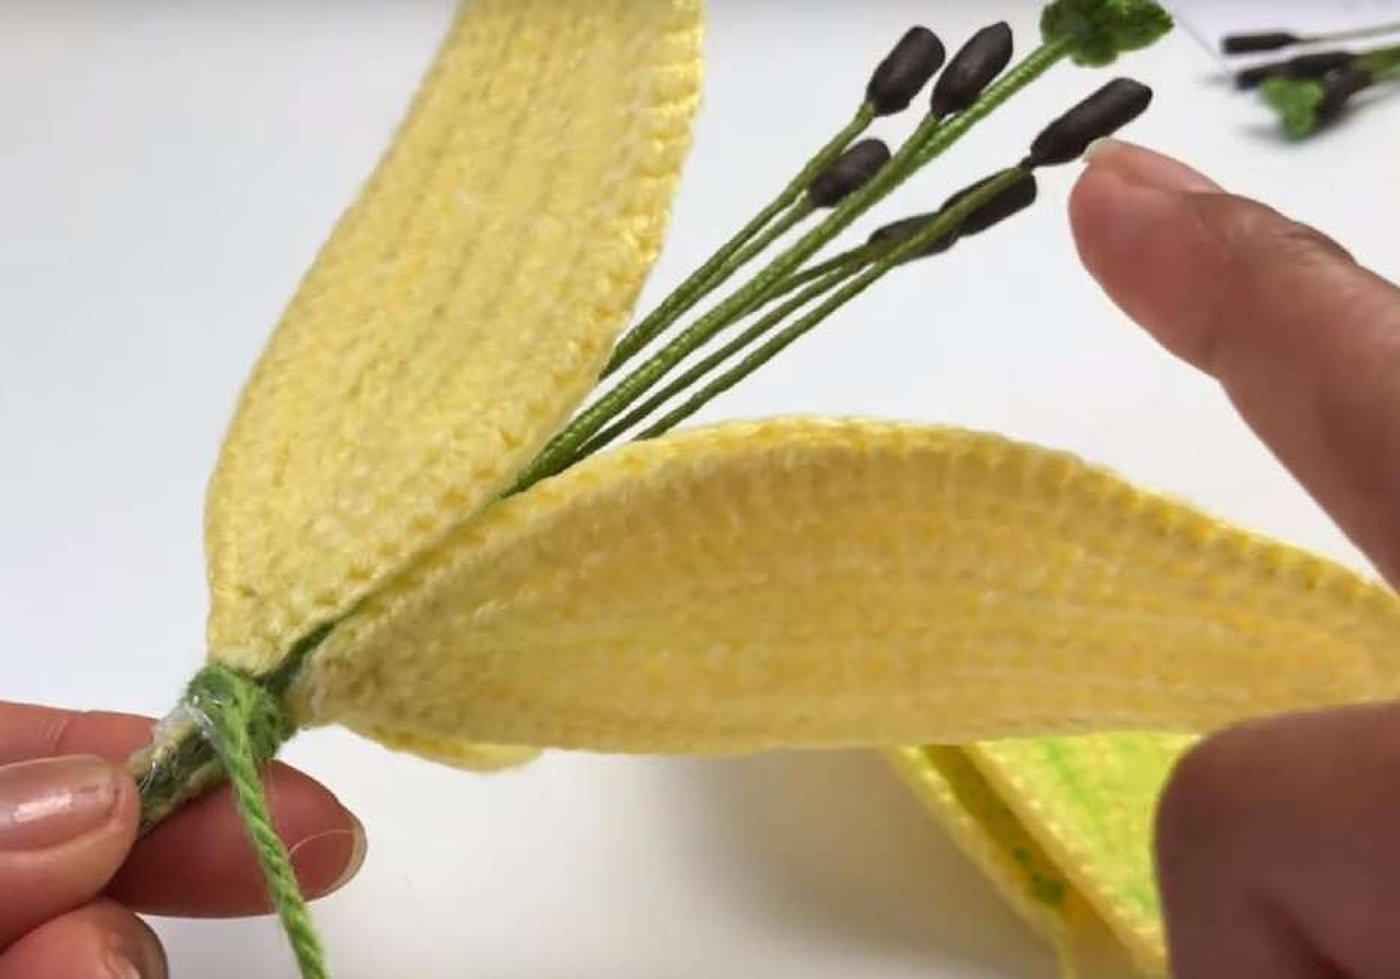
- Arrange six stamens evenly around the stigma, with their heads about ½ in lower.
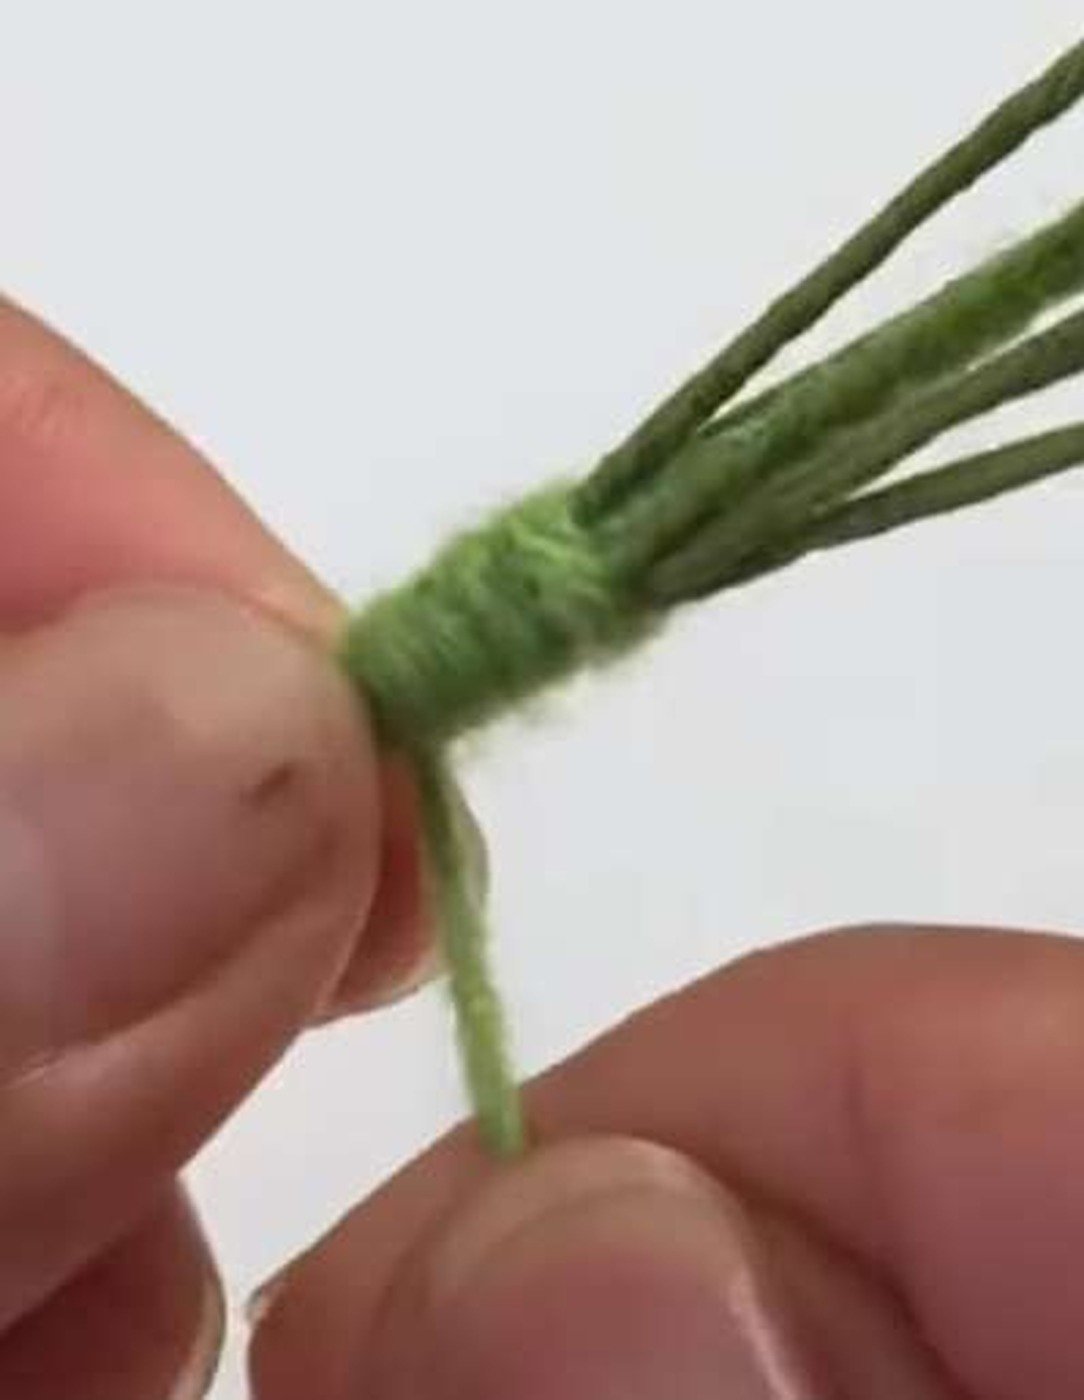
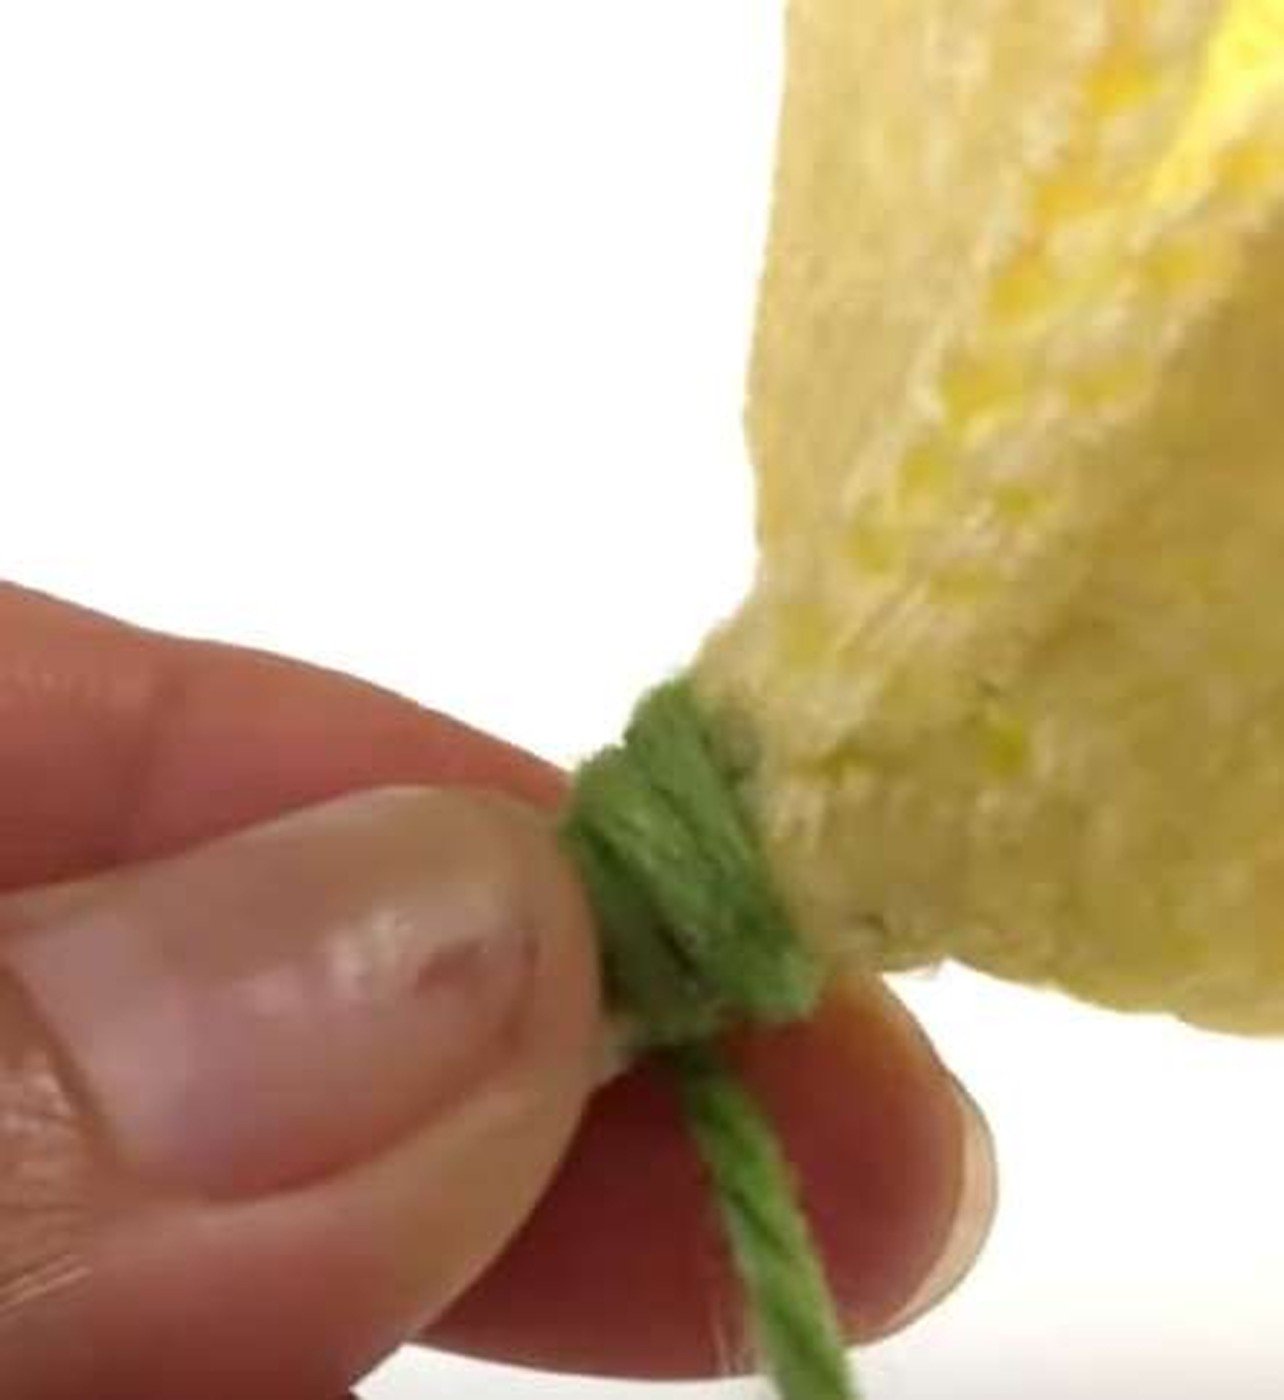
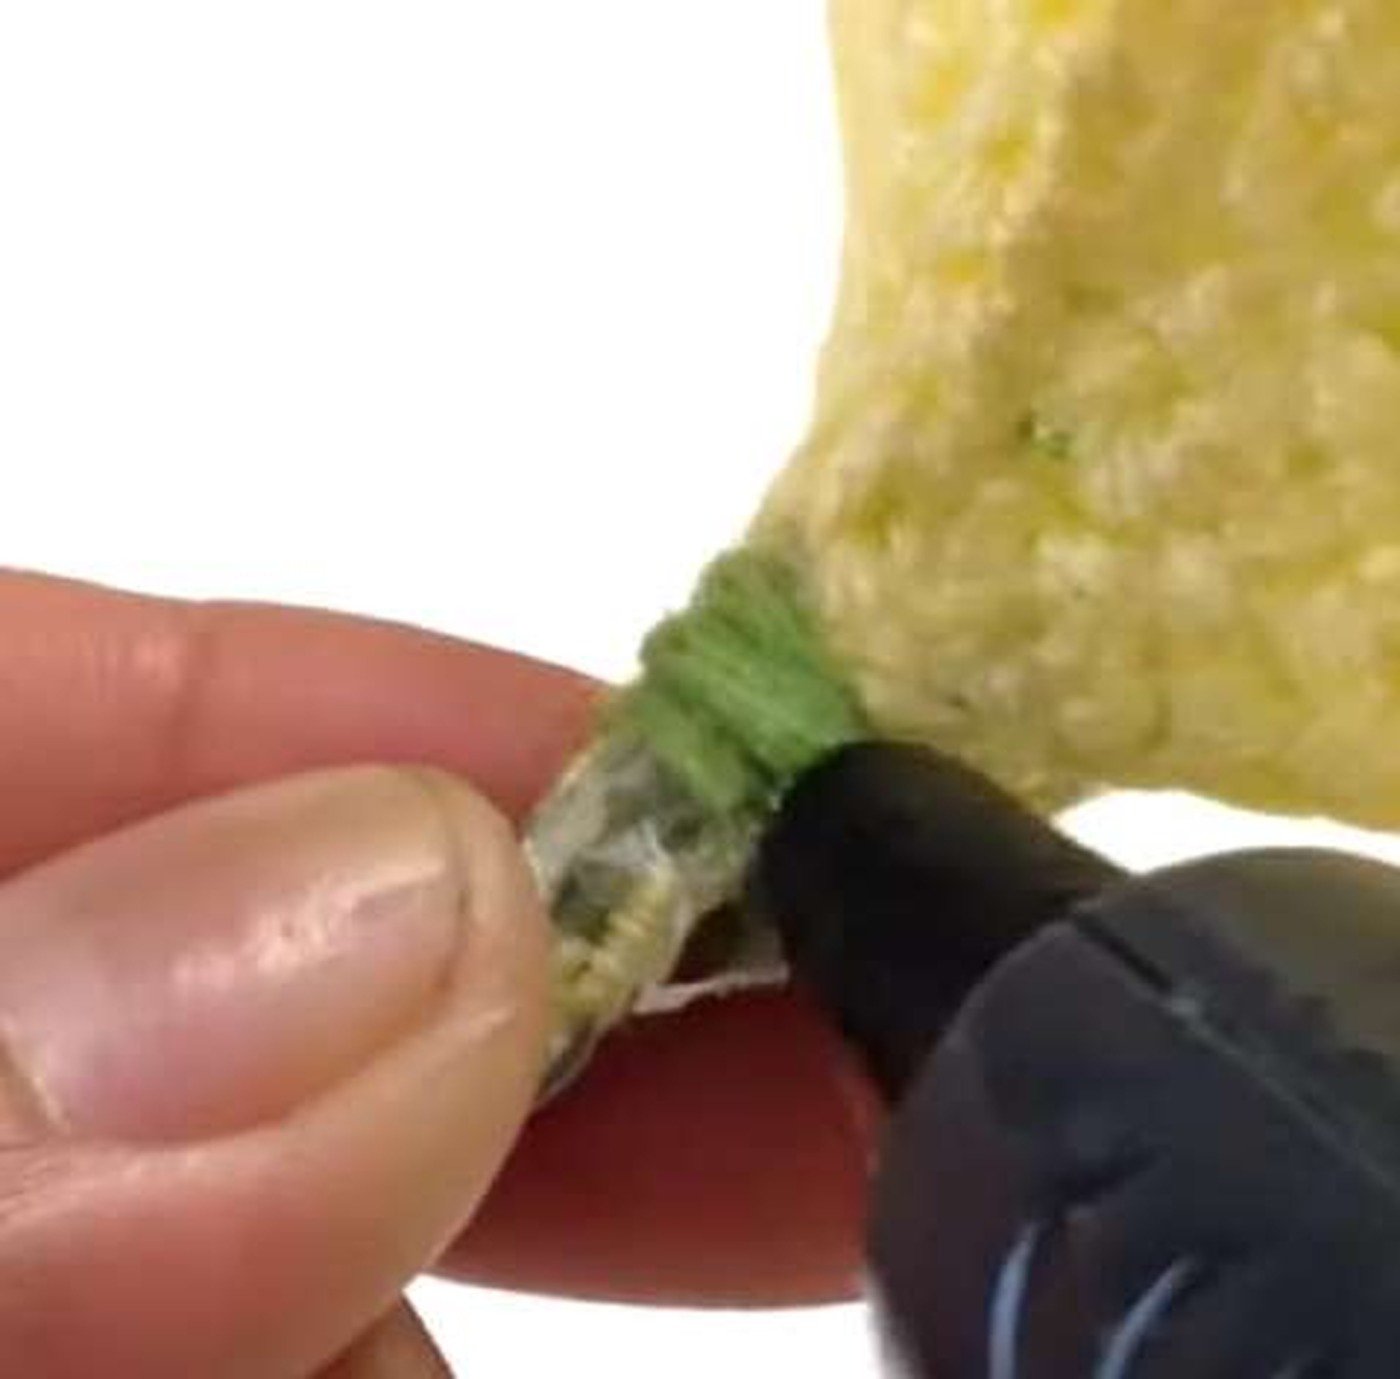
- Wrap green yarn around the stamen wires, secure, and cover every sharp end.





Assemble the Full Lily Bloom
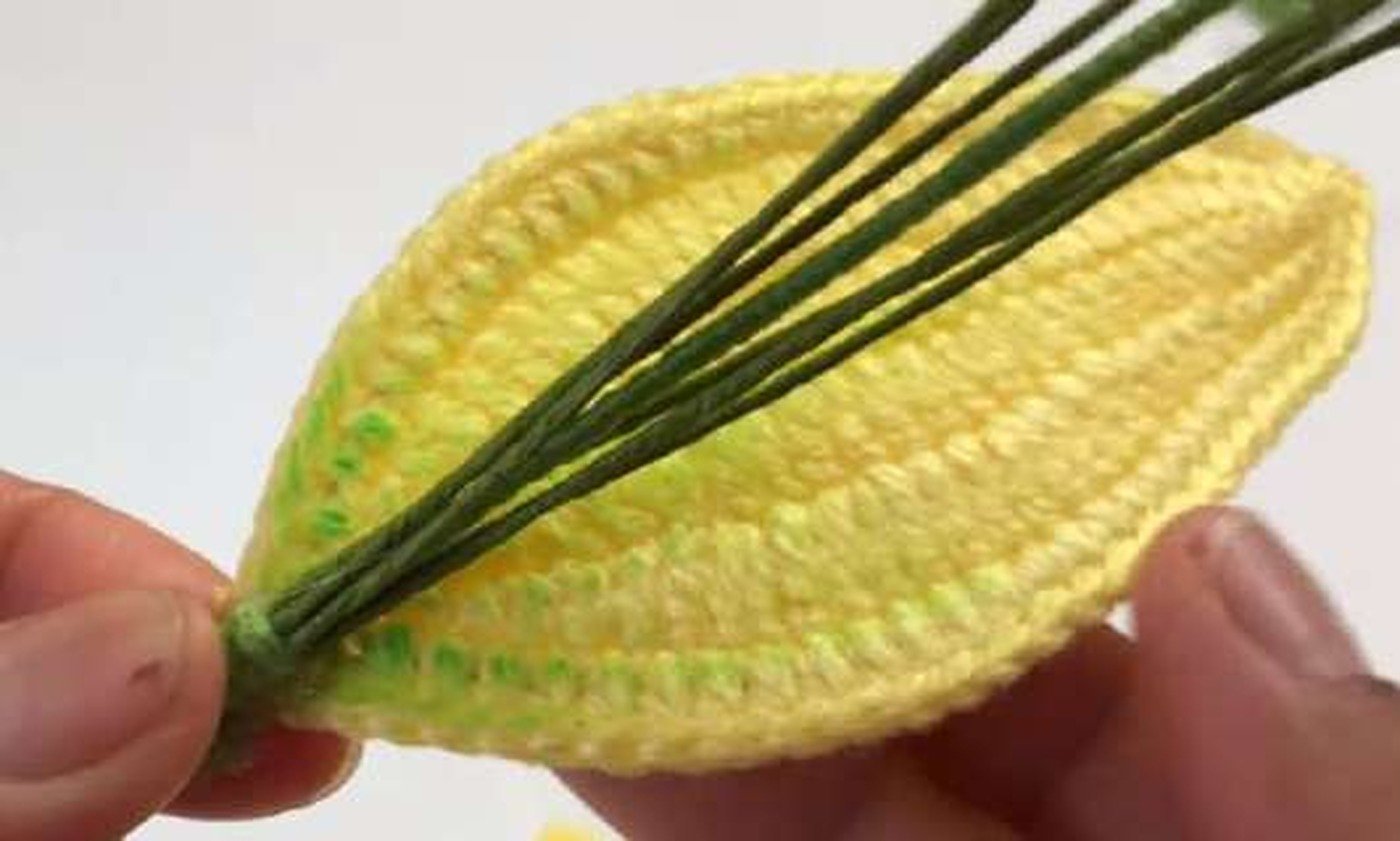
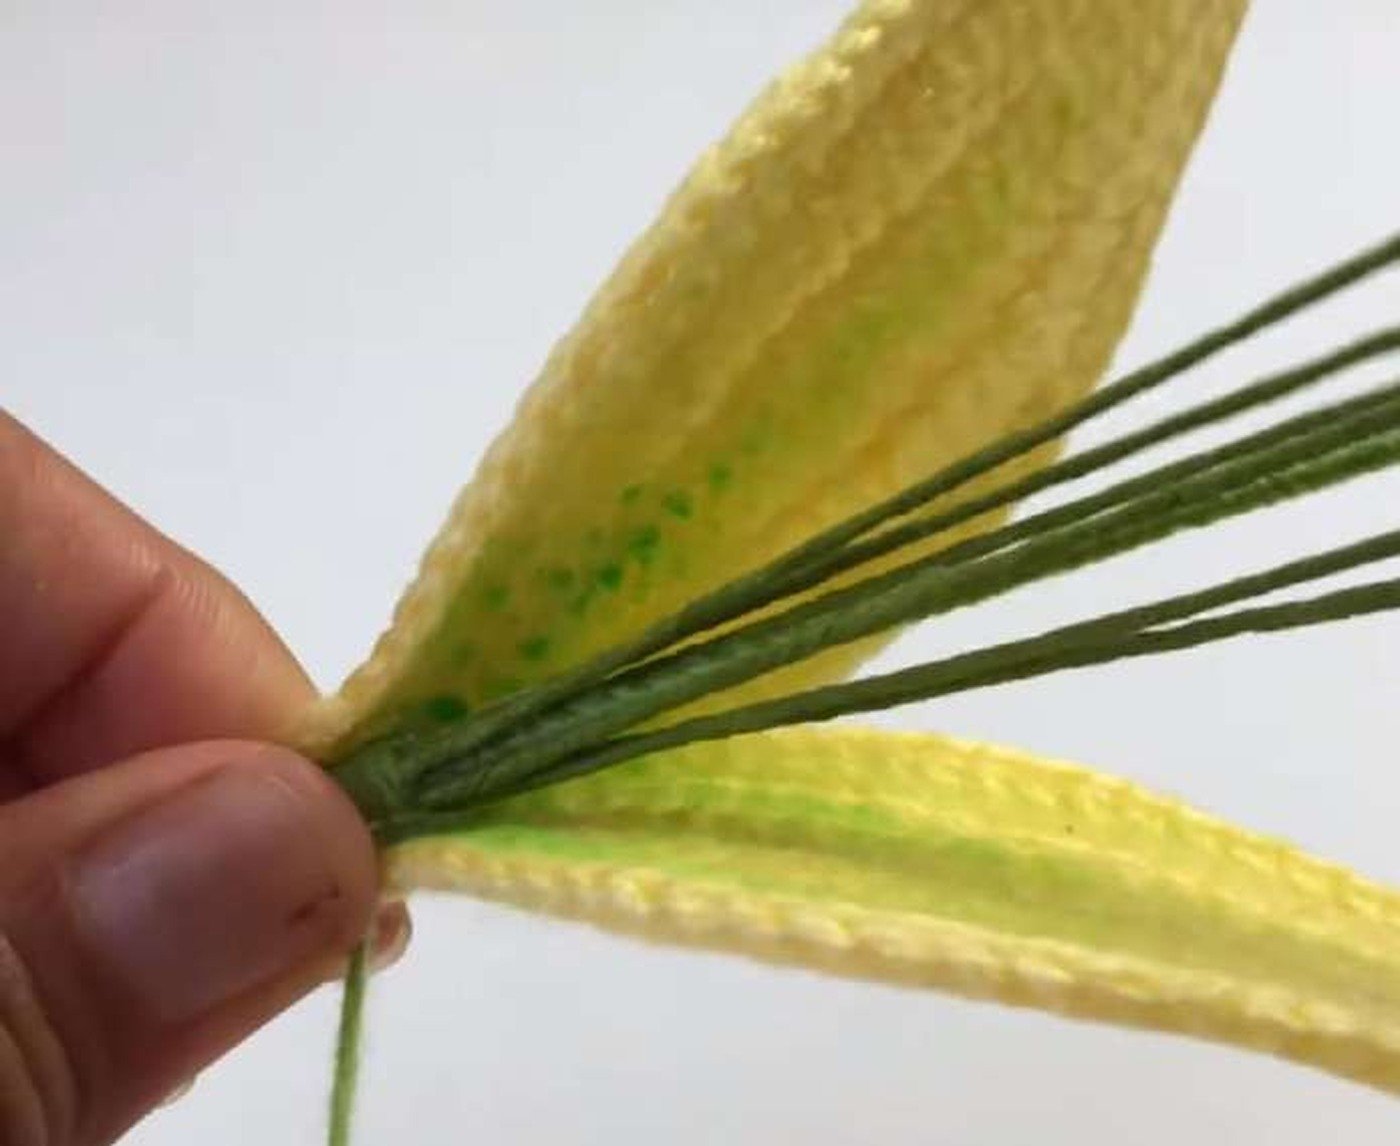
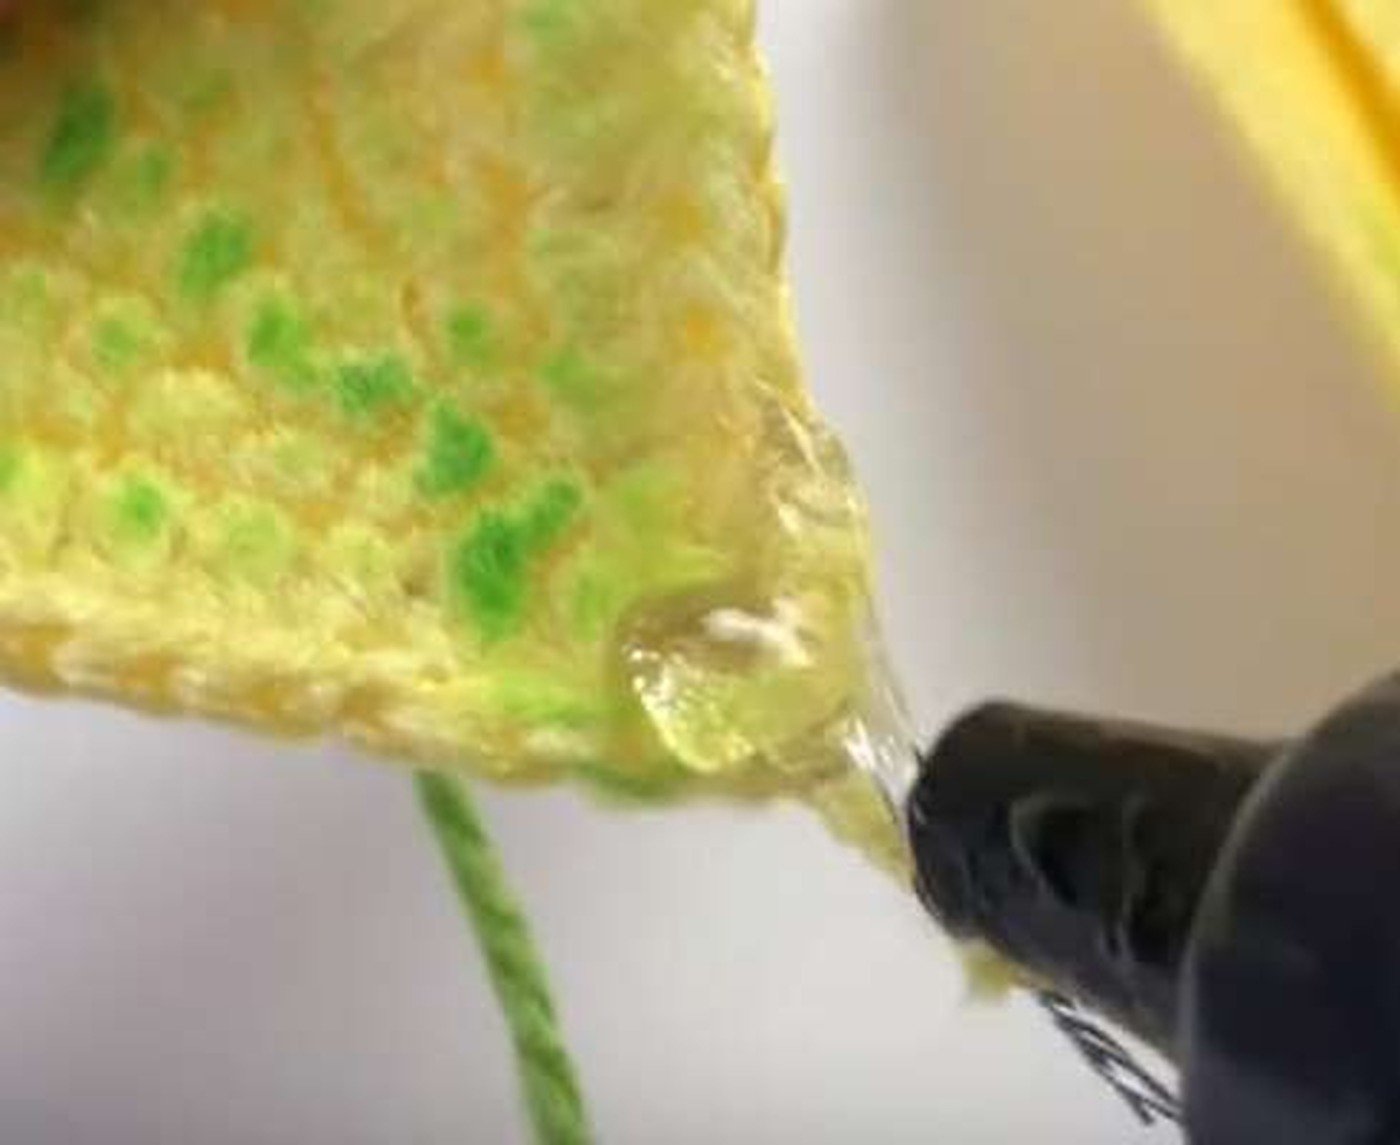
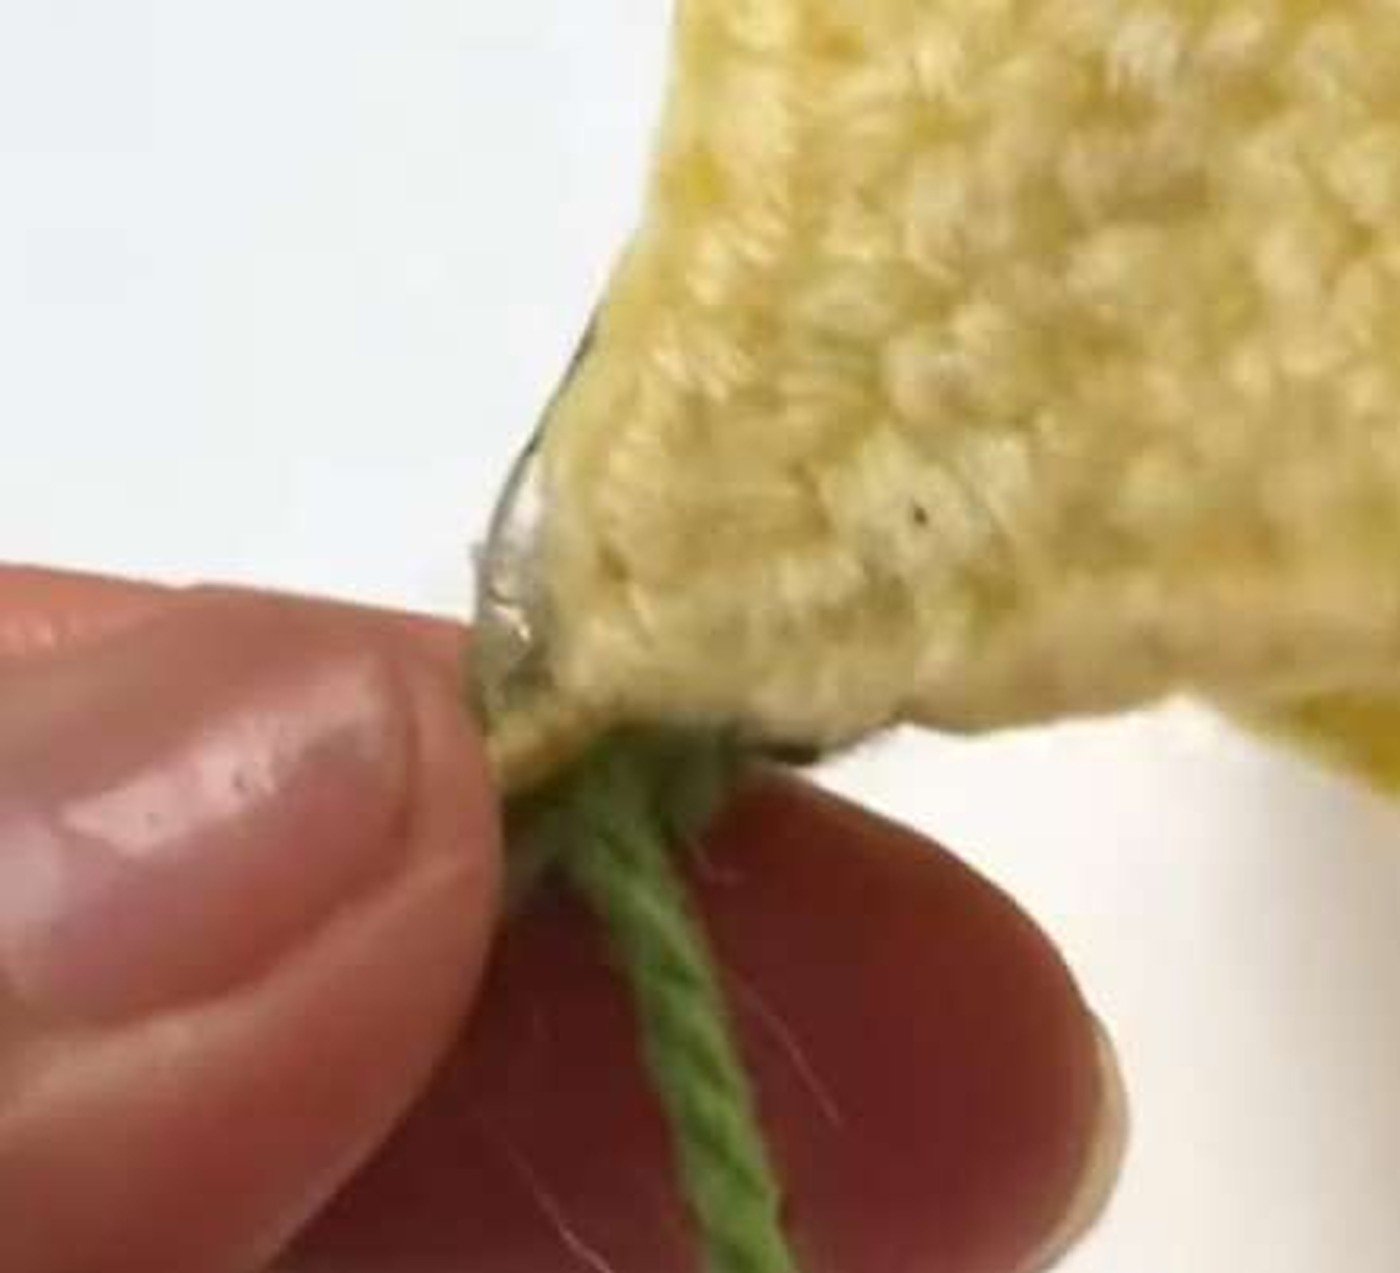
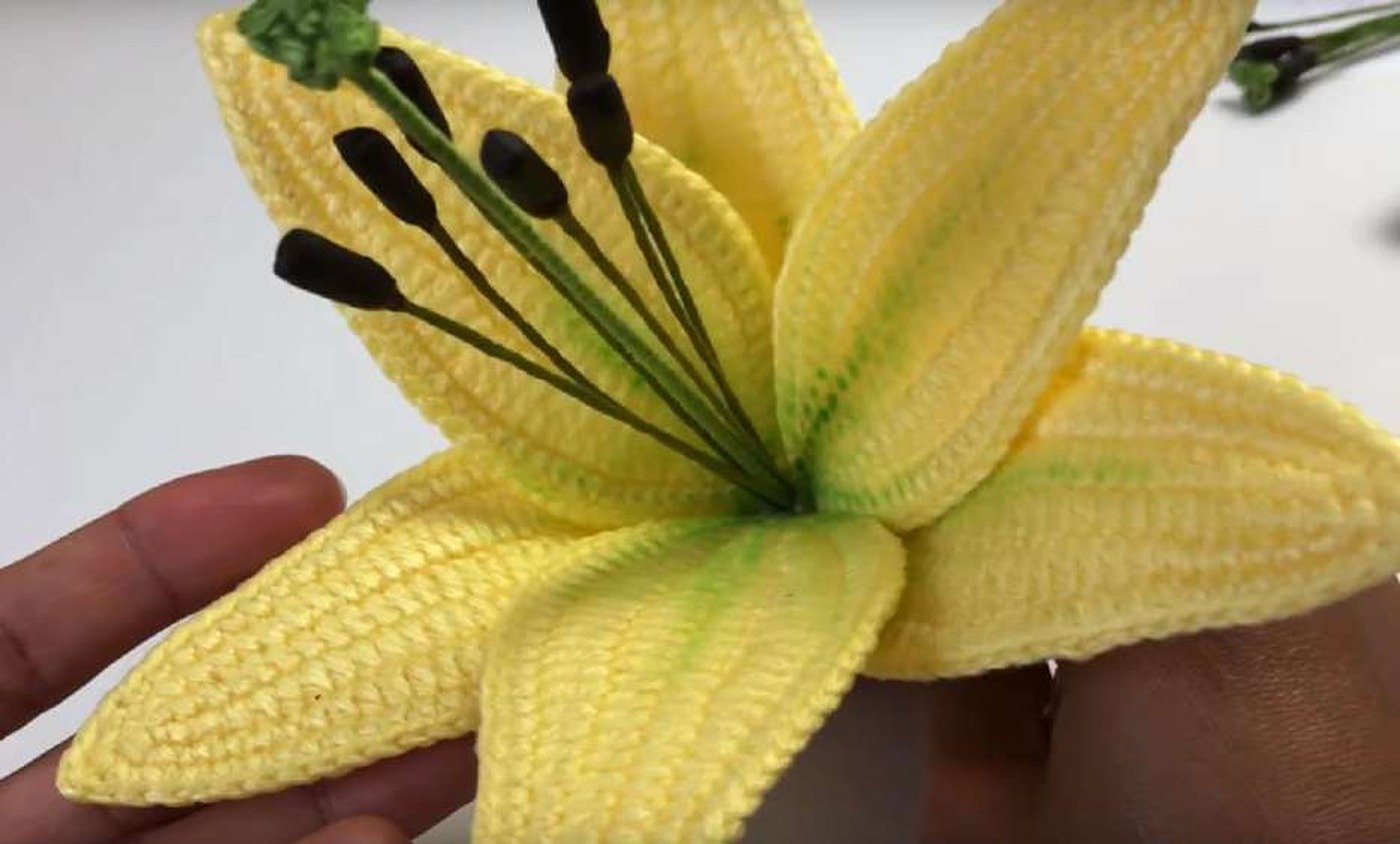
- Attach three Petal A pieces evenly around the stem to create the inner layer.
- Place three Petal B pieces around the stem, each centered between two Petal A pieces.
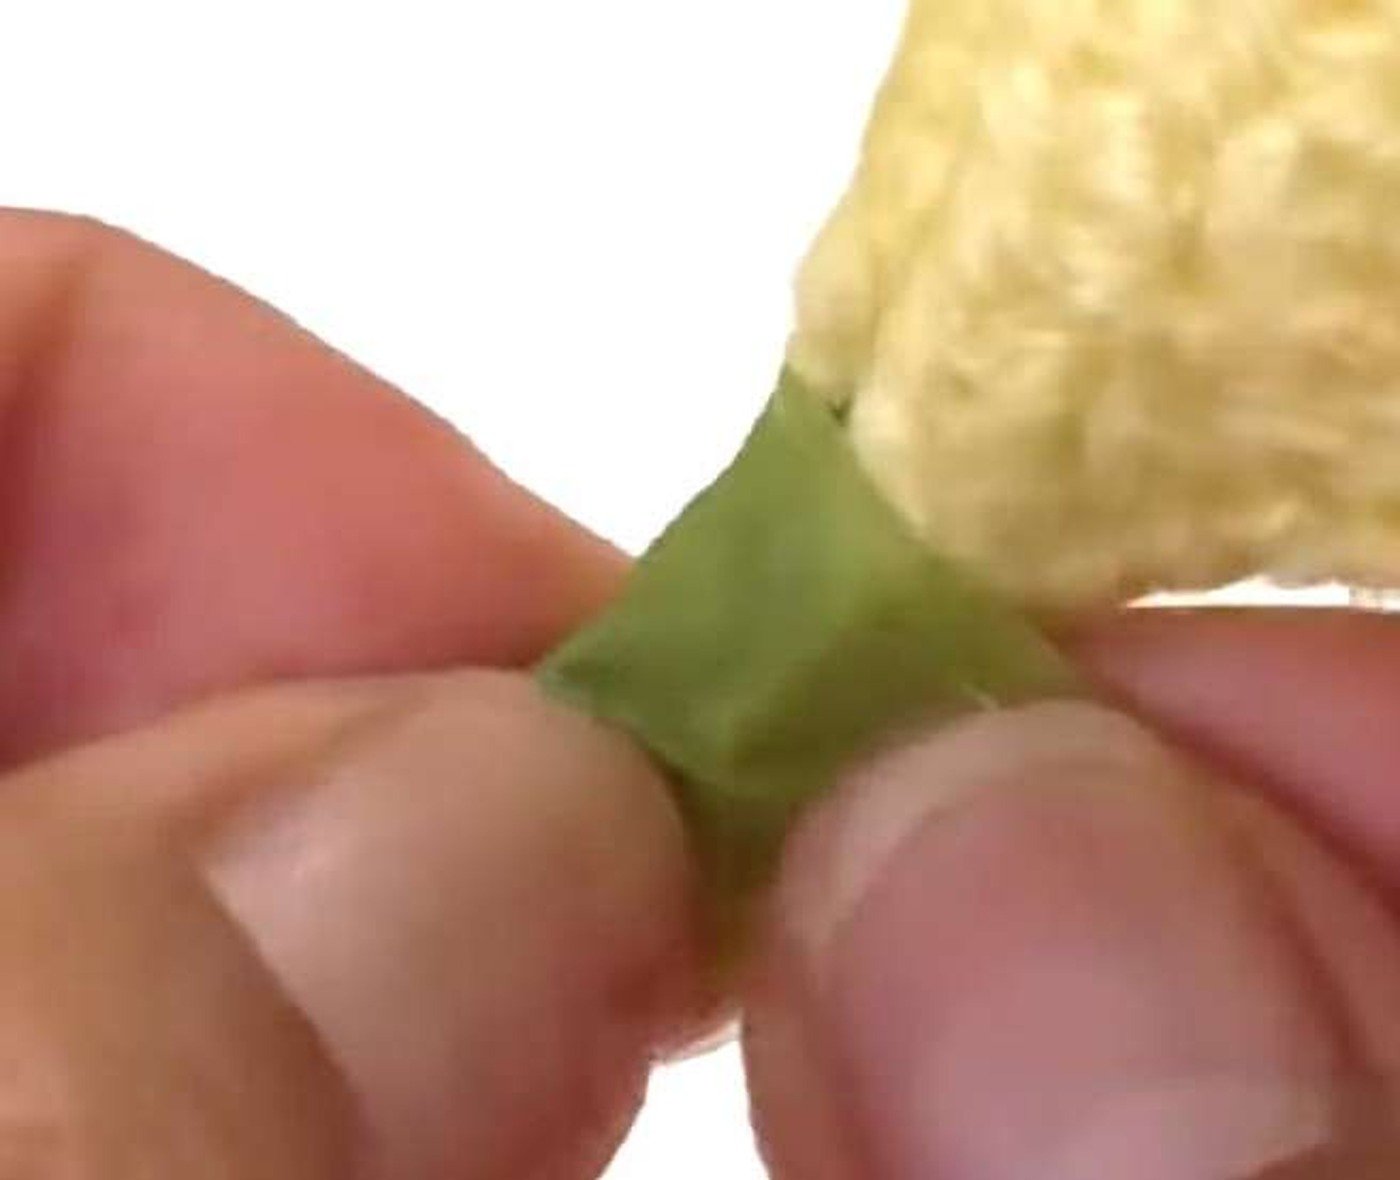
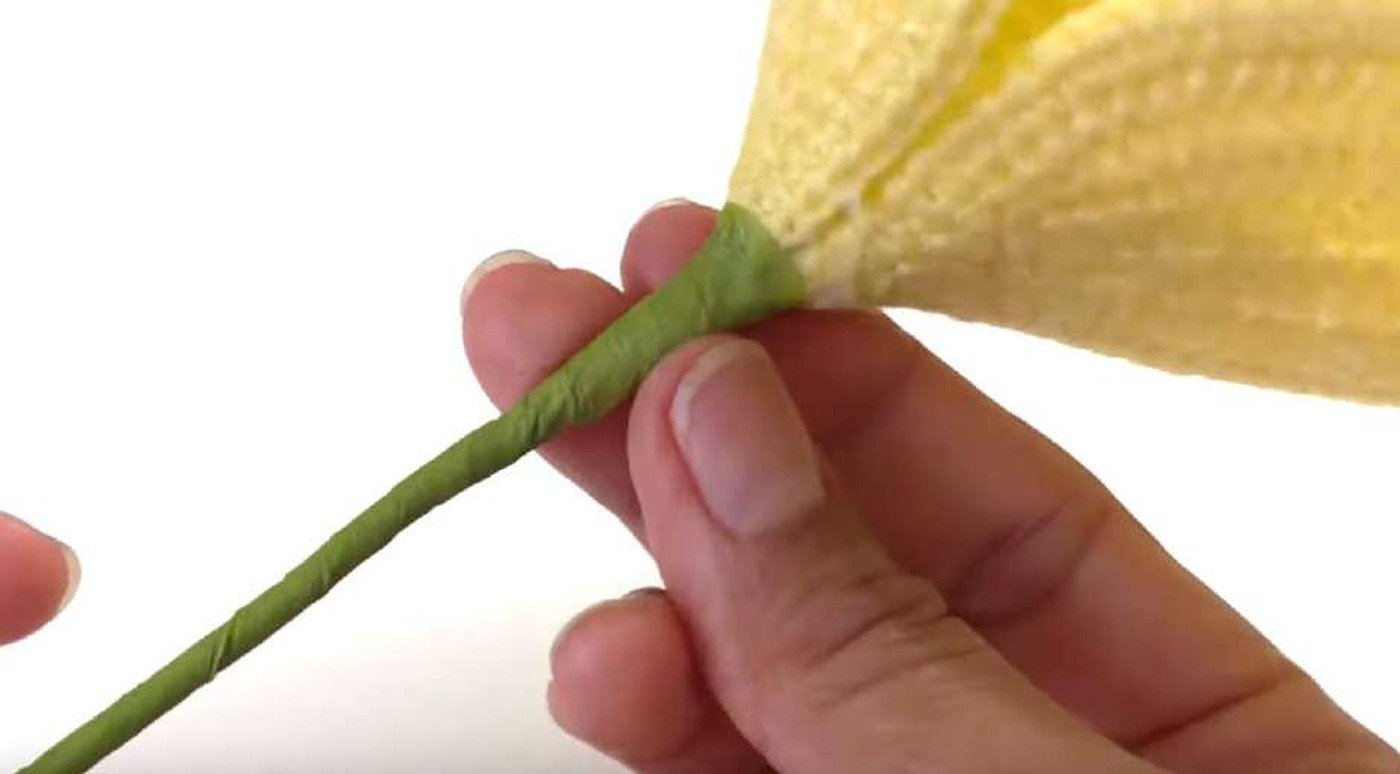
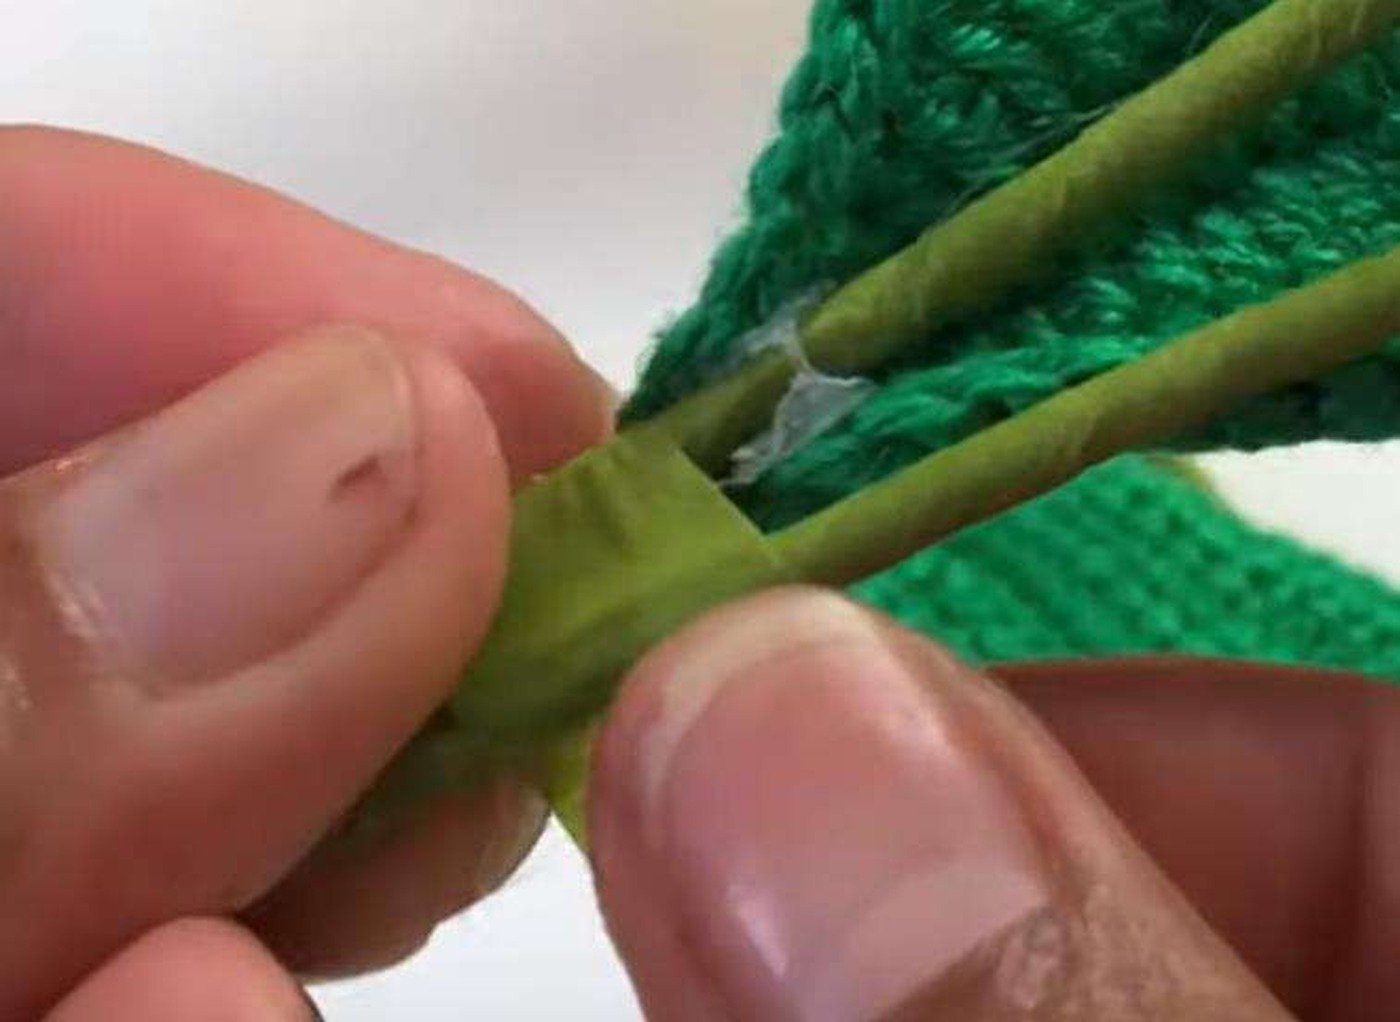
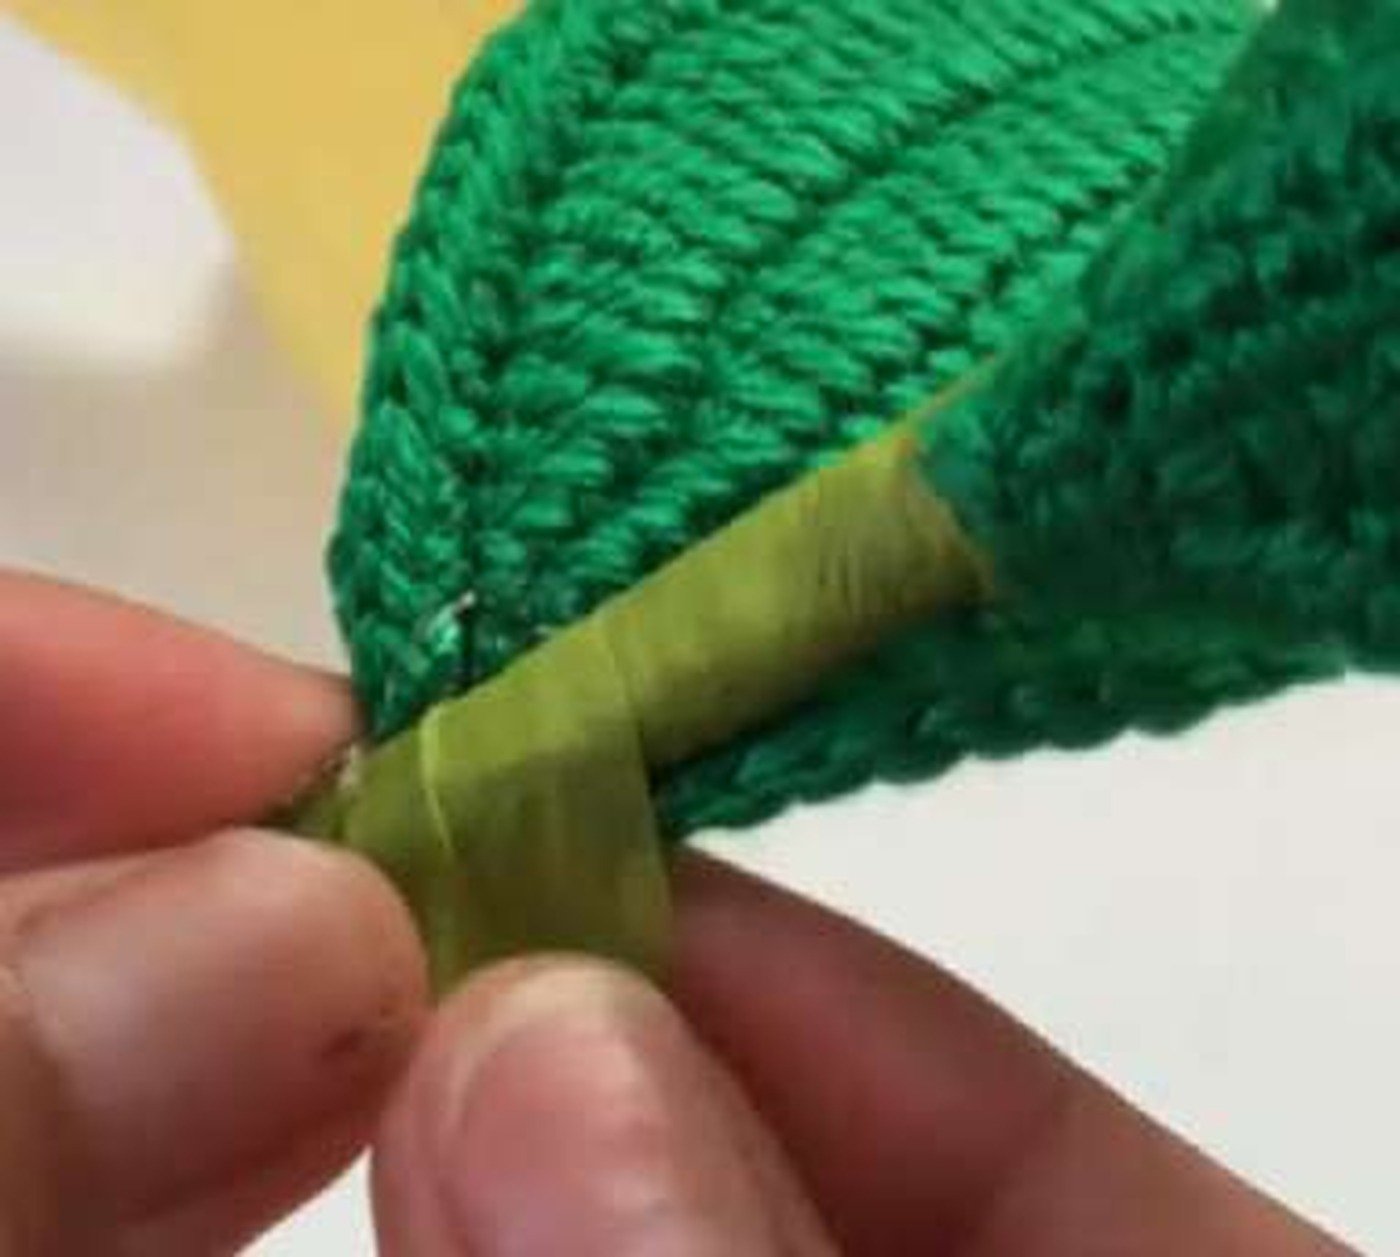
- Wrap green floral tape five times at the flower base, then cover the entire stem.
- Build approximately five tape layers along the stem, finishing at the bottom.
- Gently bend the six stamens outward and shape all petals.
Assemble a Closed Bud
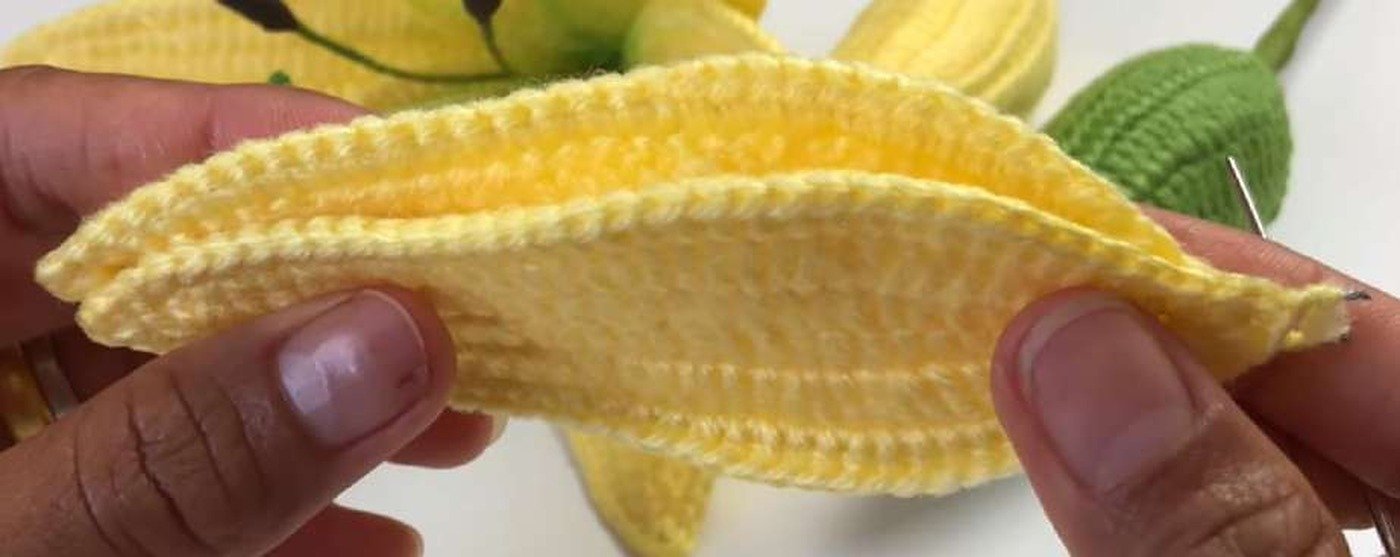
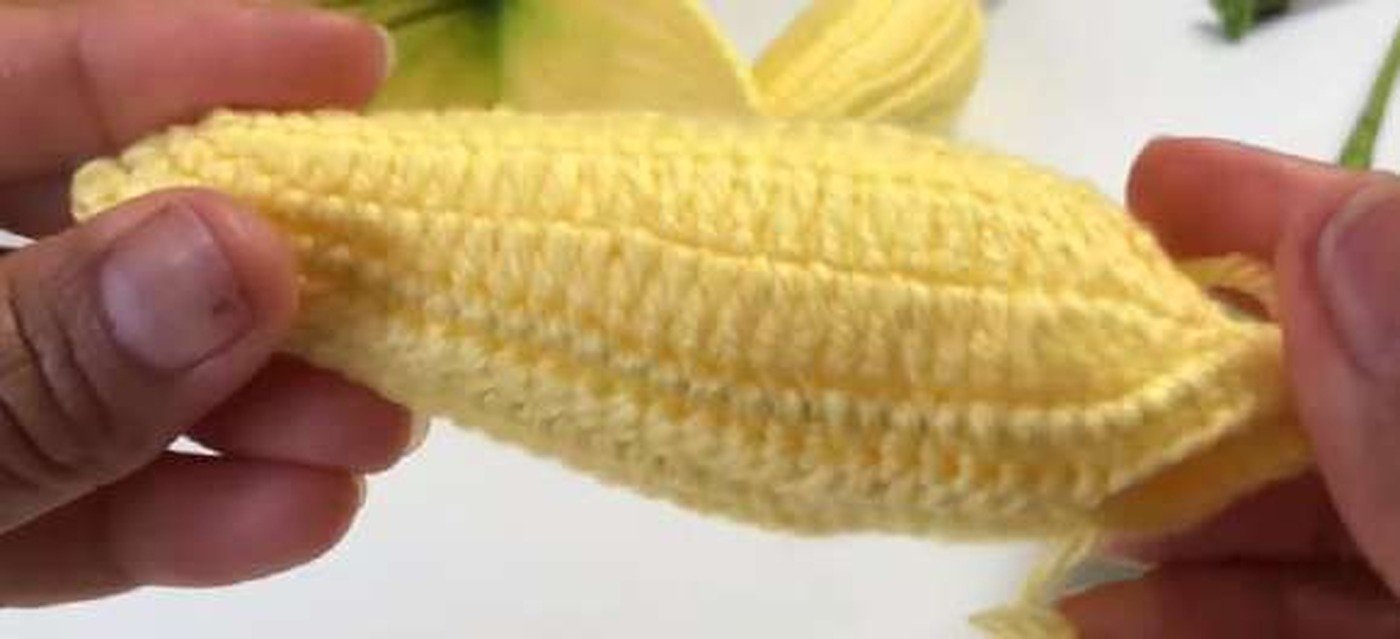
- Choose two matching Petal A pieces for a small bud or two matching Petal B pieces for a larger bud.
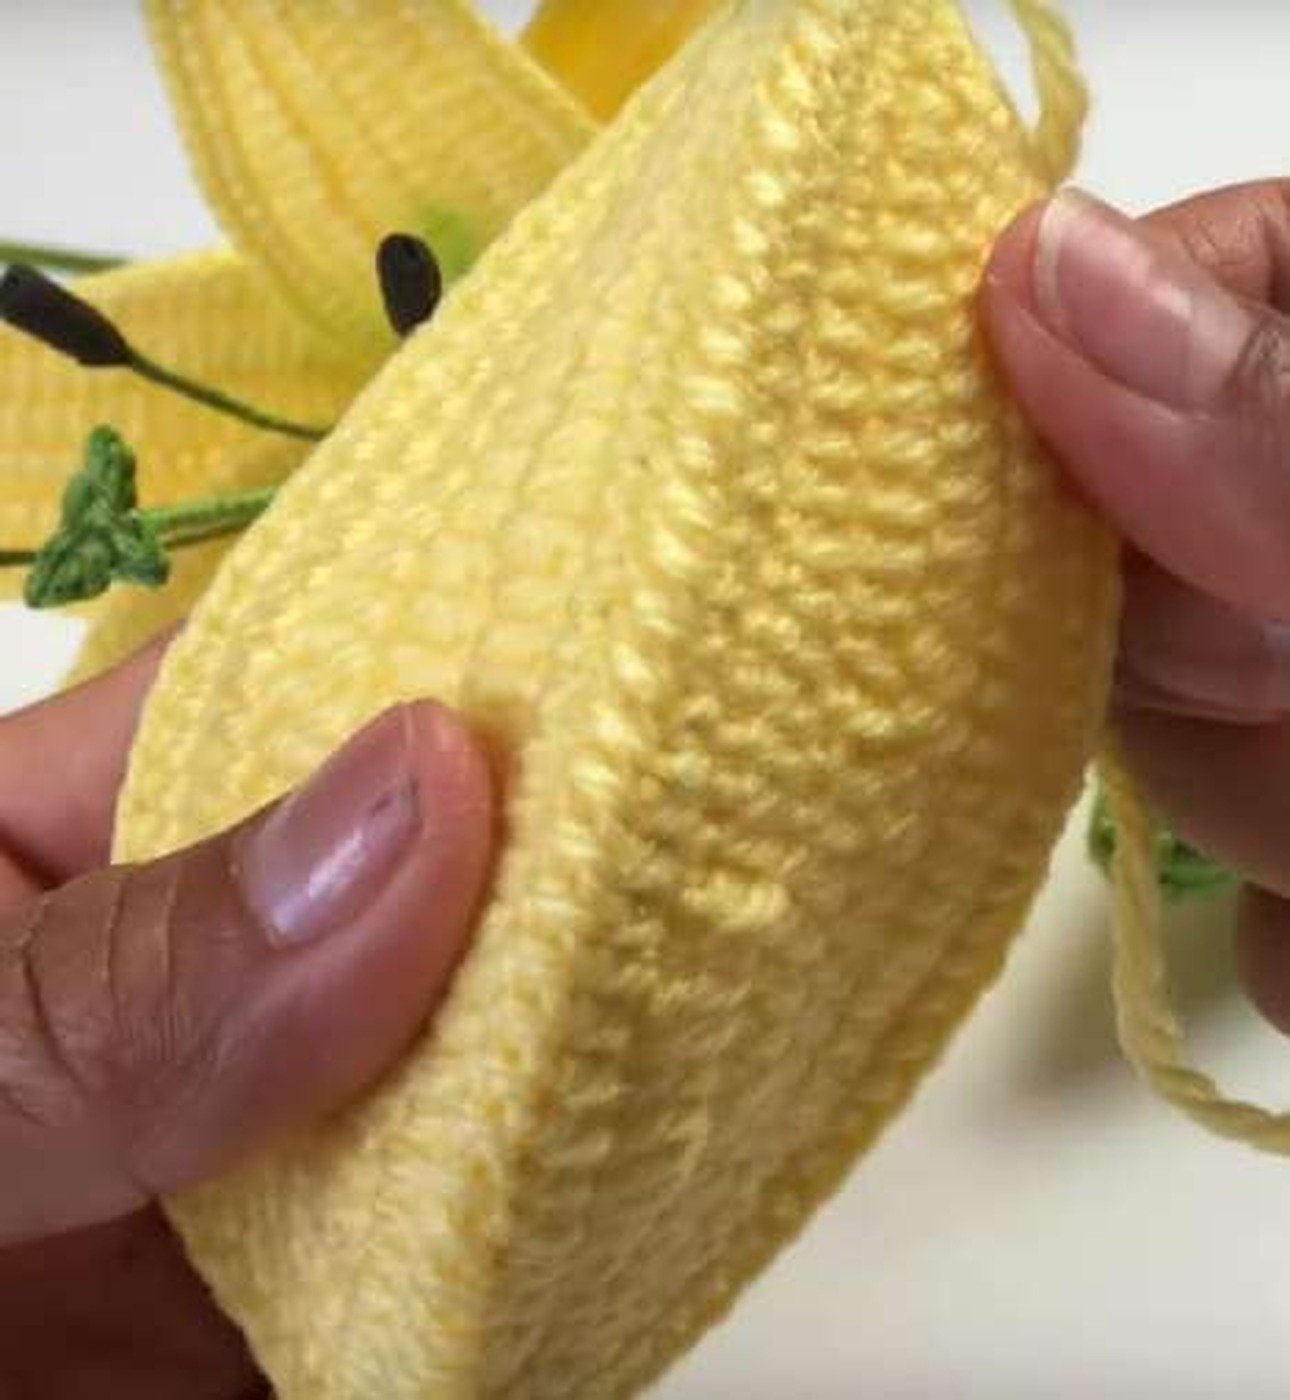
- Place them back-to-back with right sides facing outward.
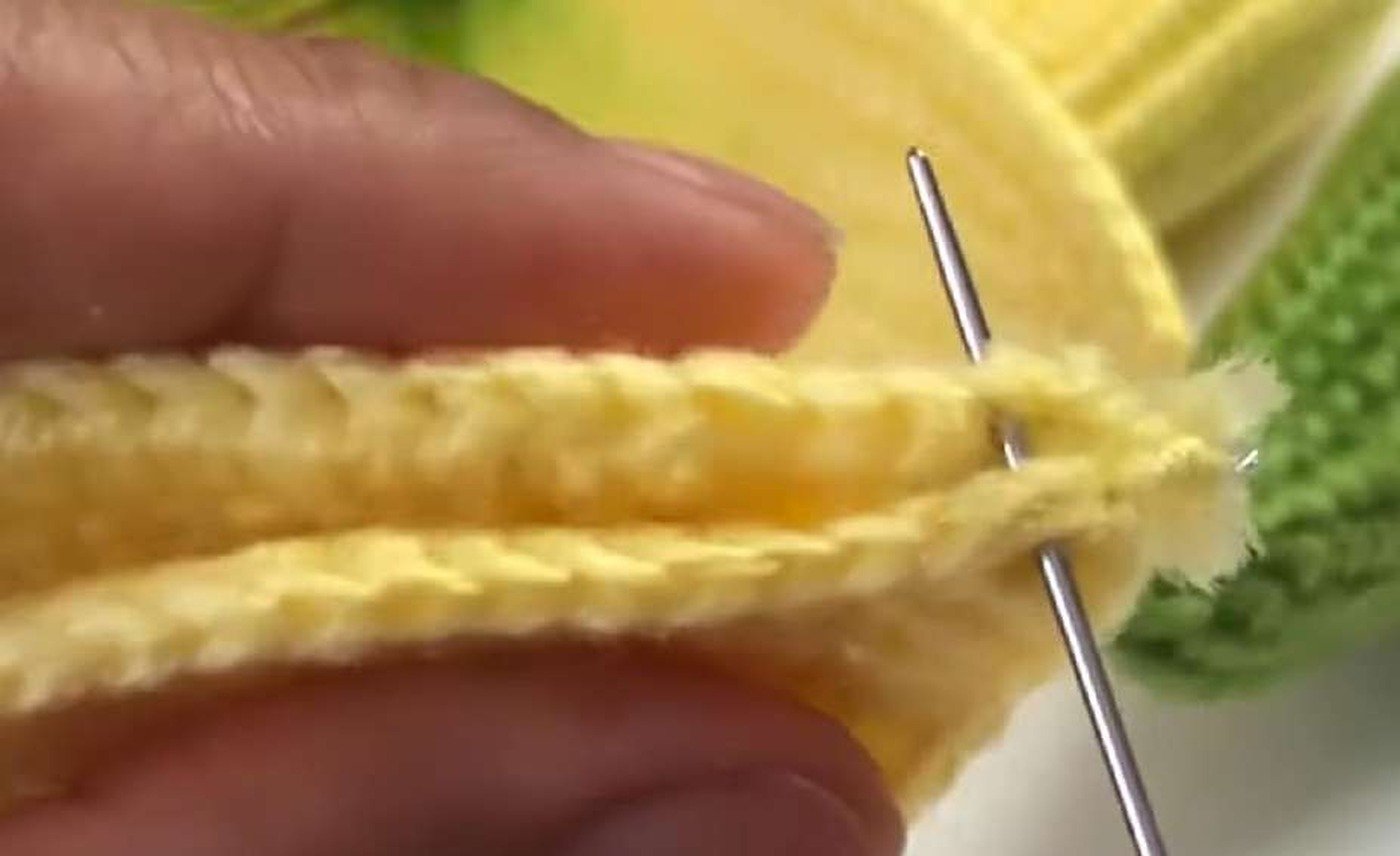
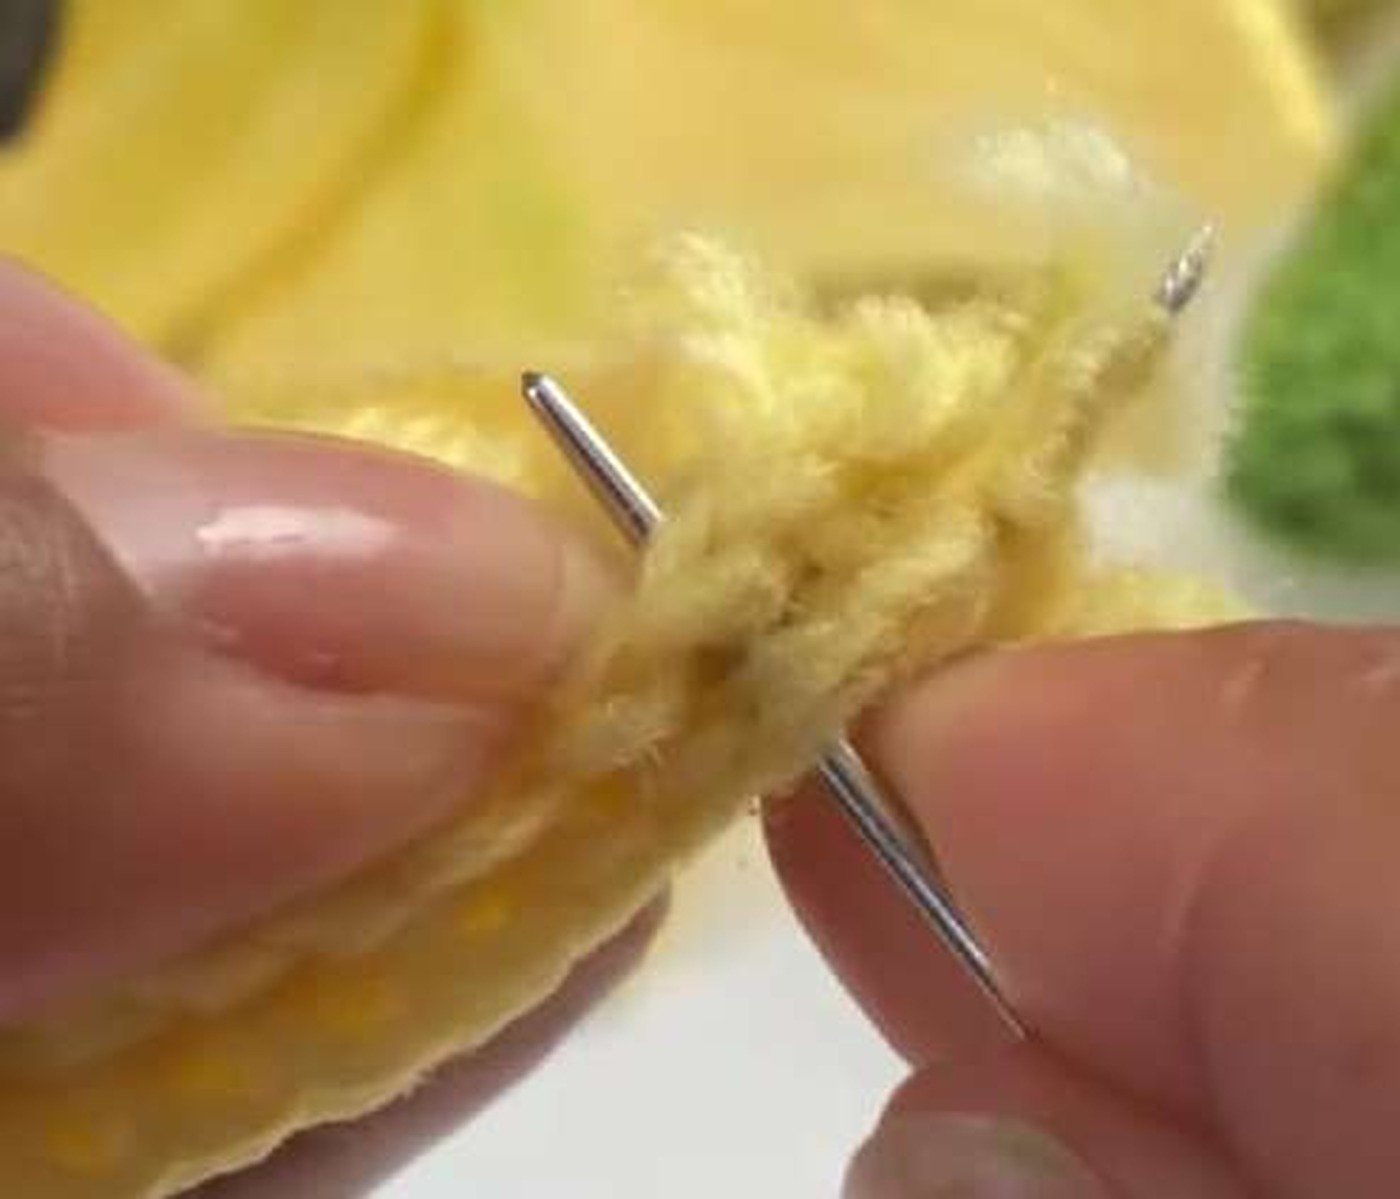
- Sew aligned stitches up one side and down the other, stopping with about 10 stitches open.
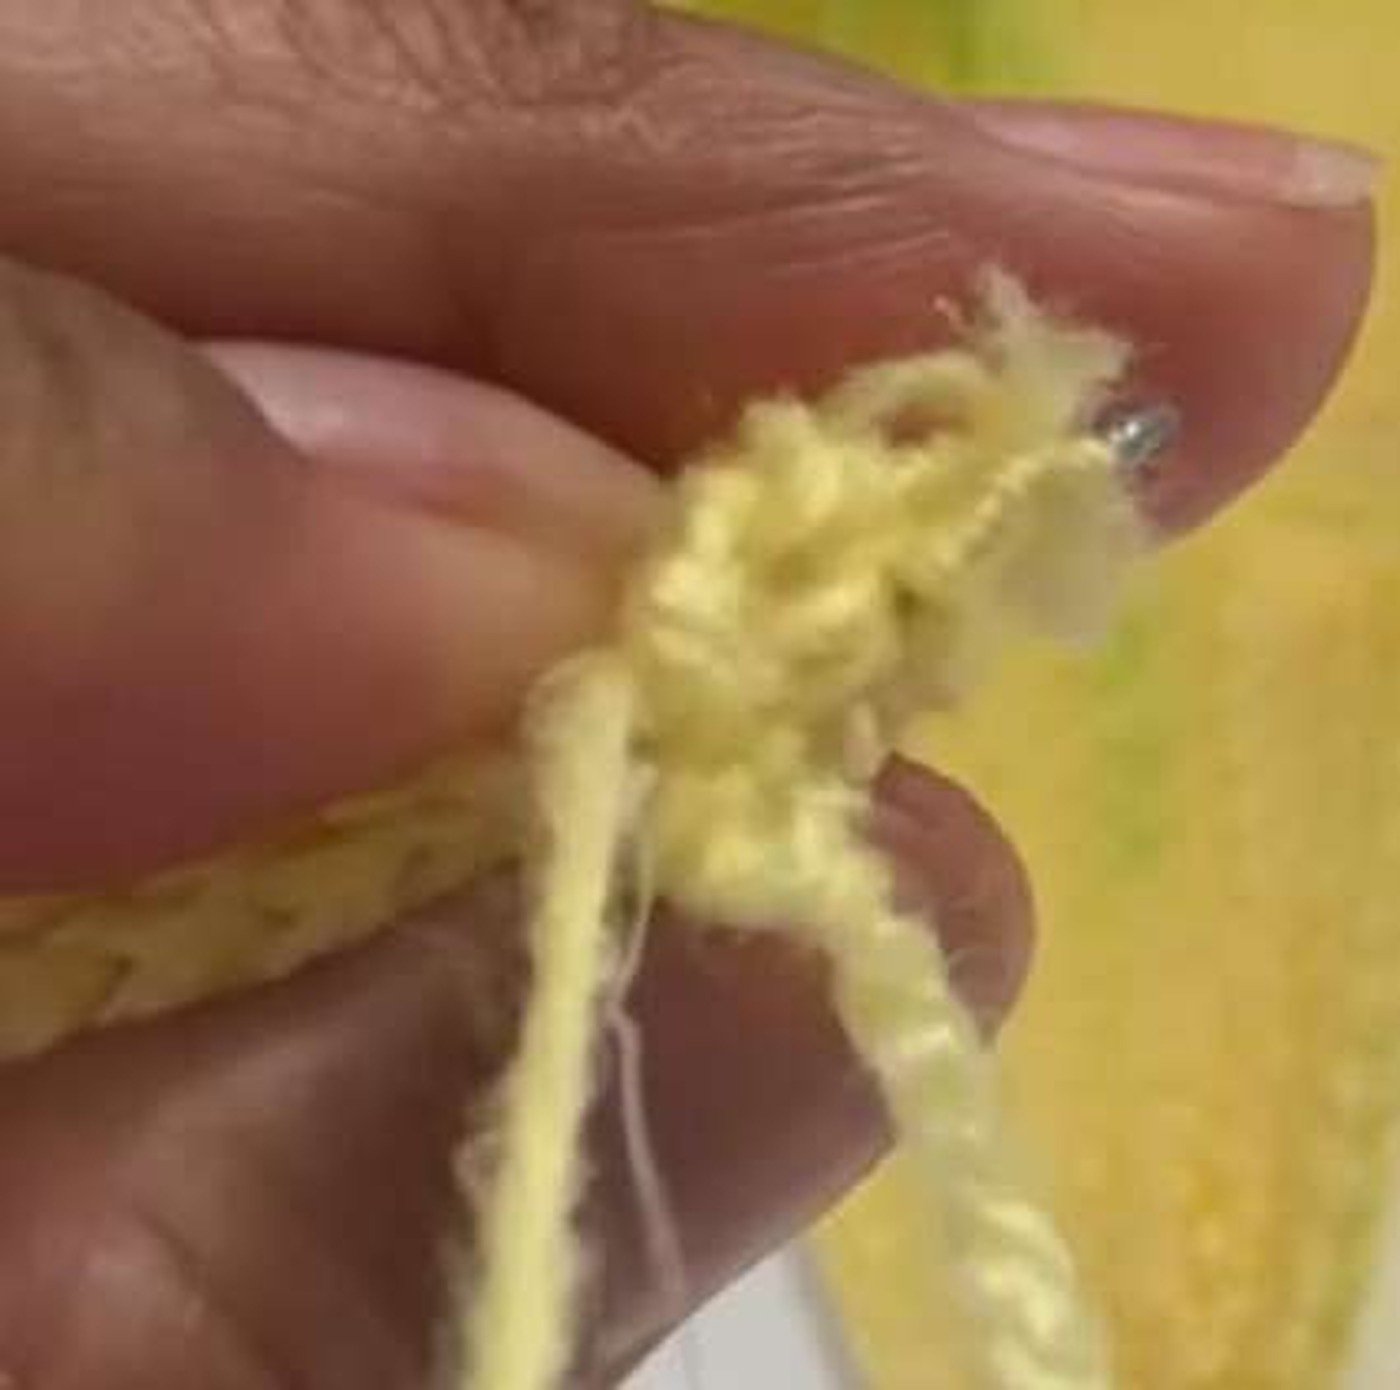
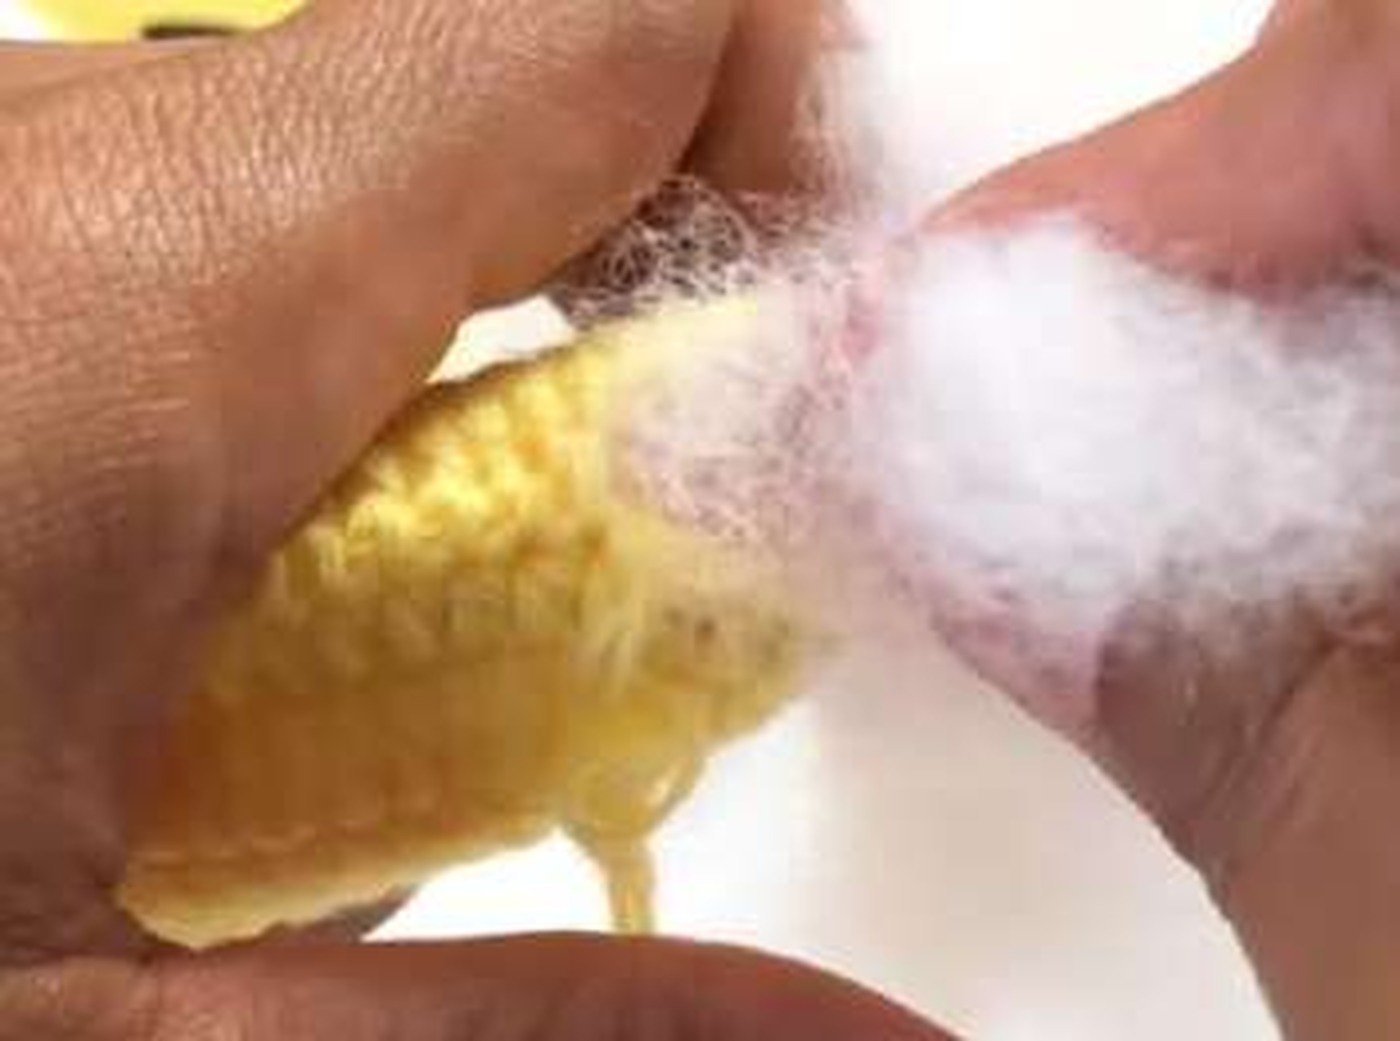
- Stuff firmly to the tip, close the remaining seam, and secure the yarn.
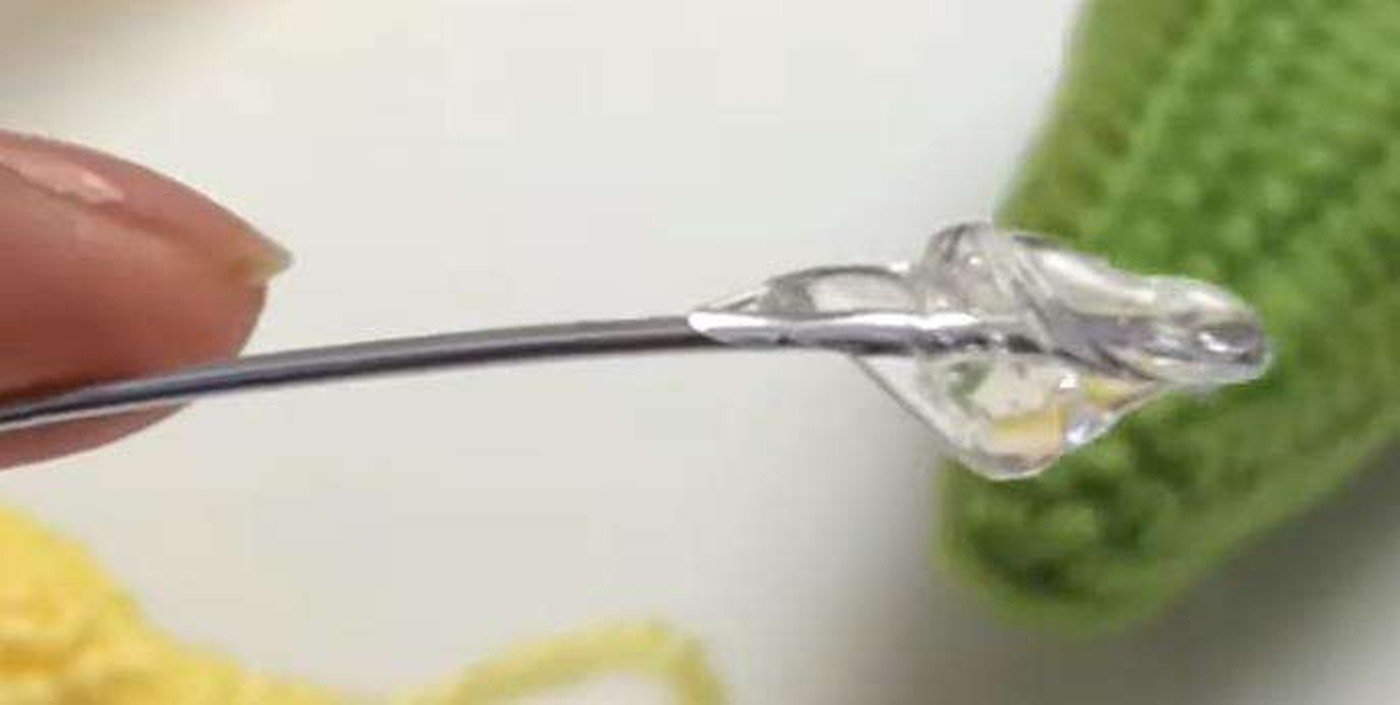
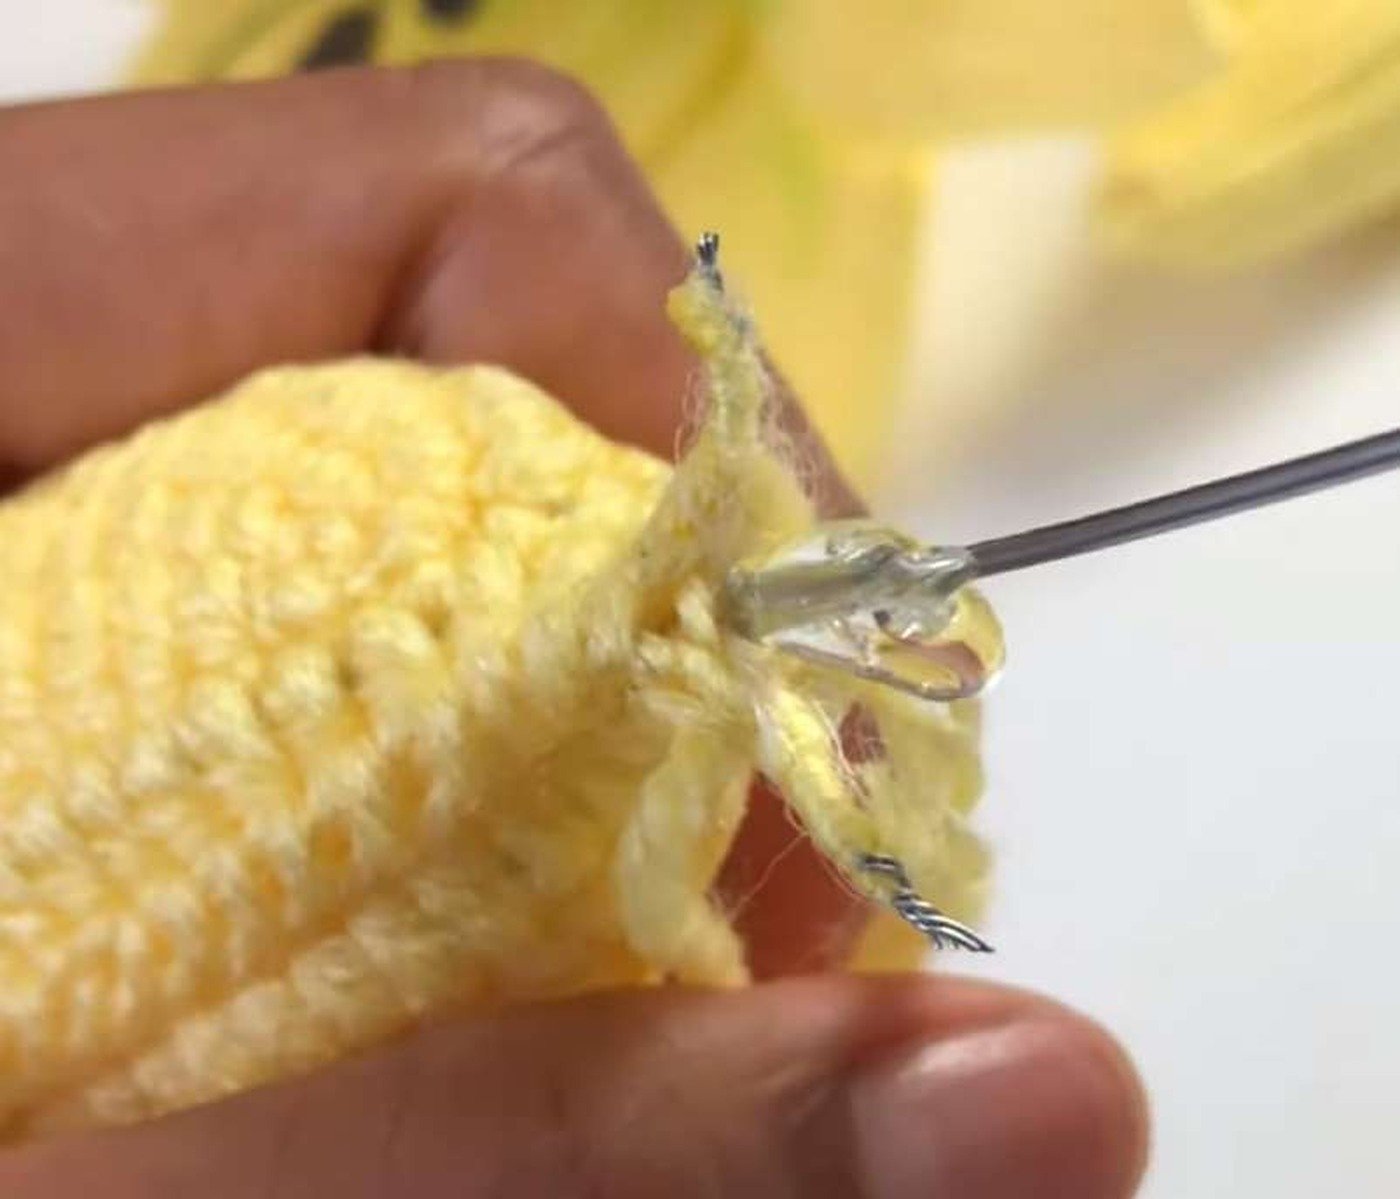
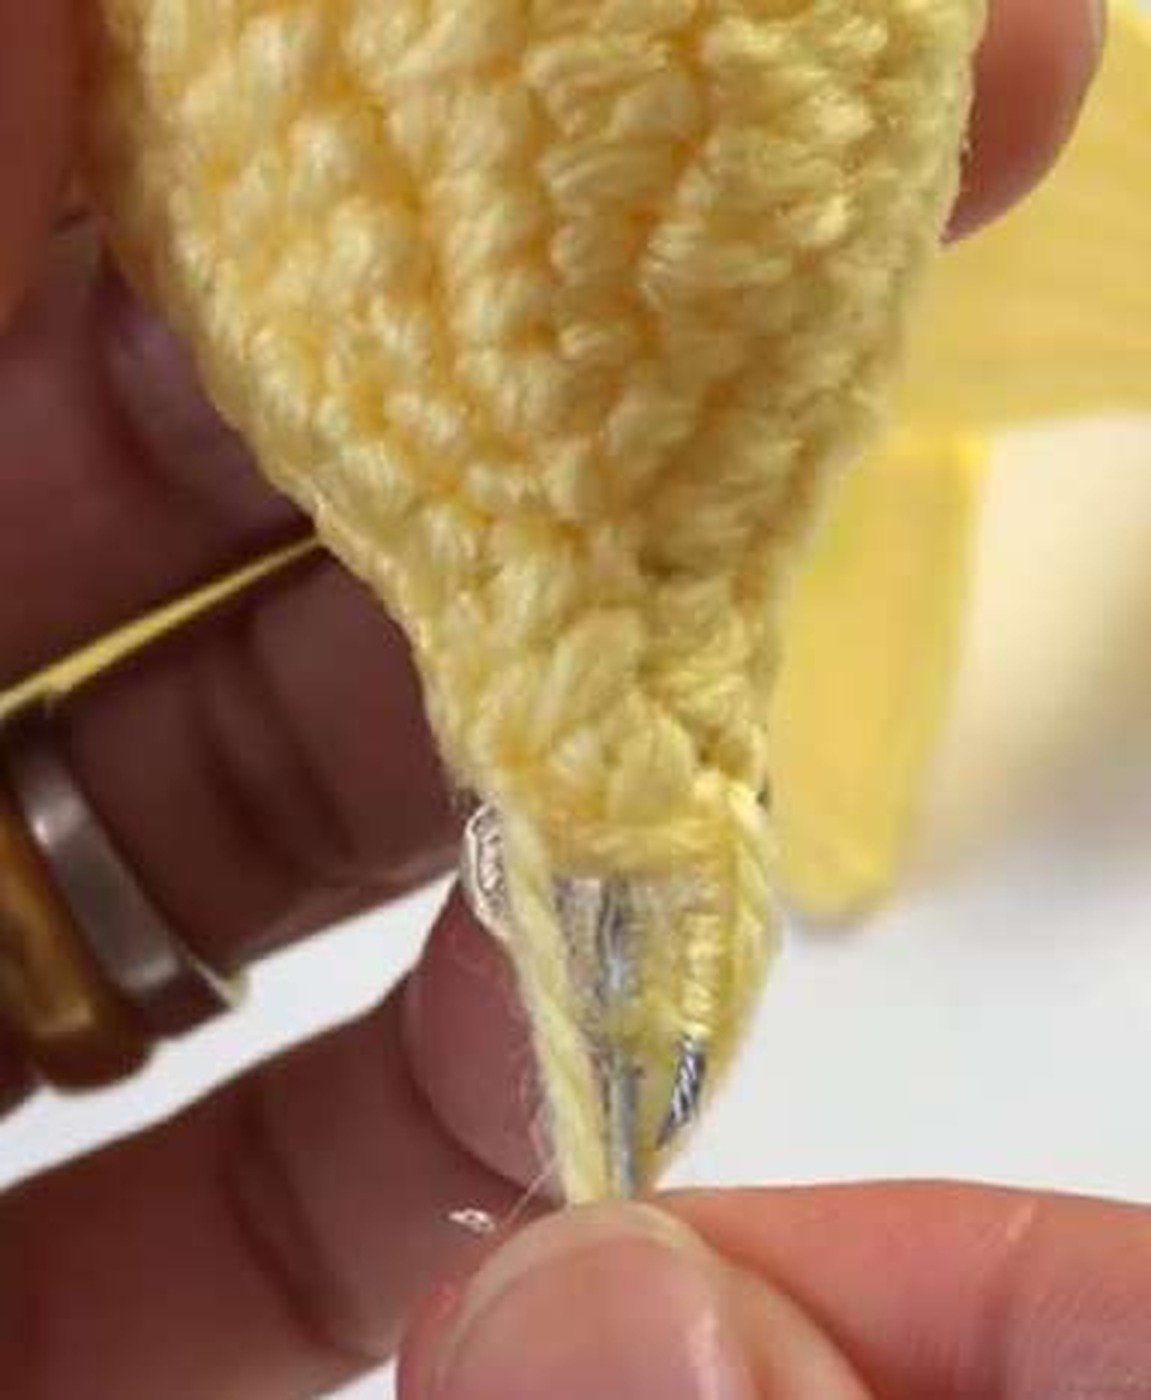
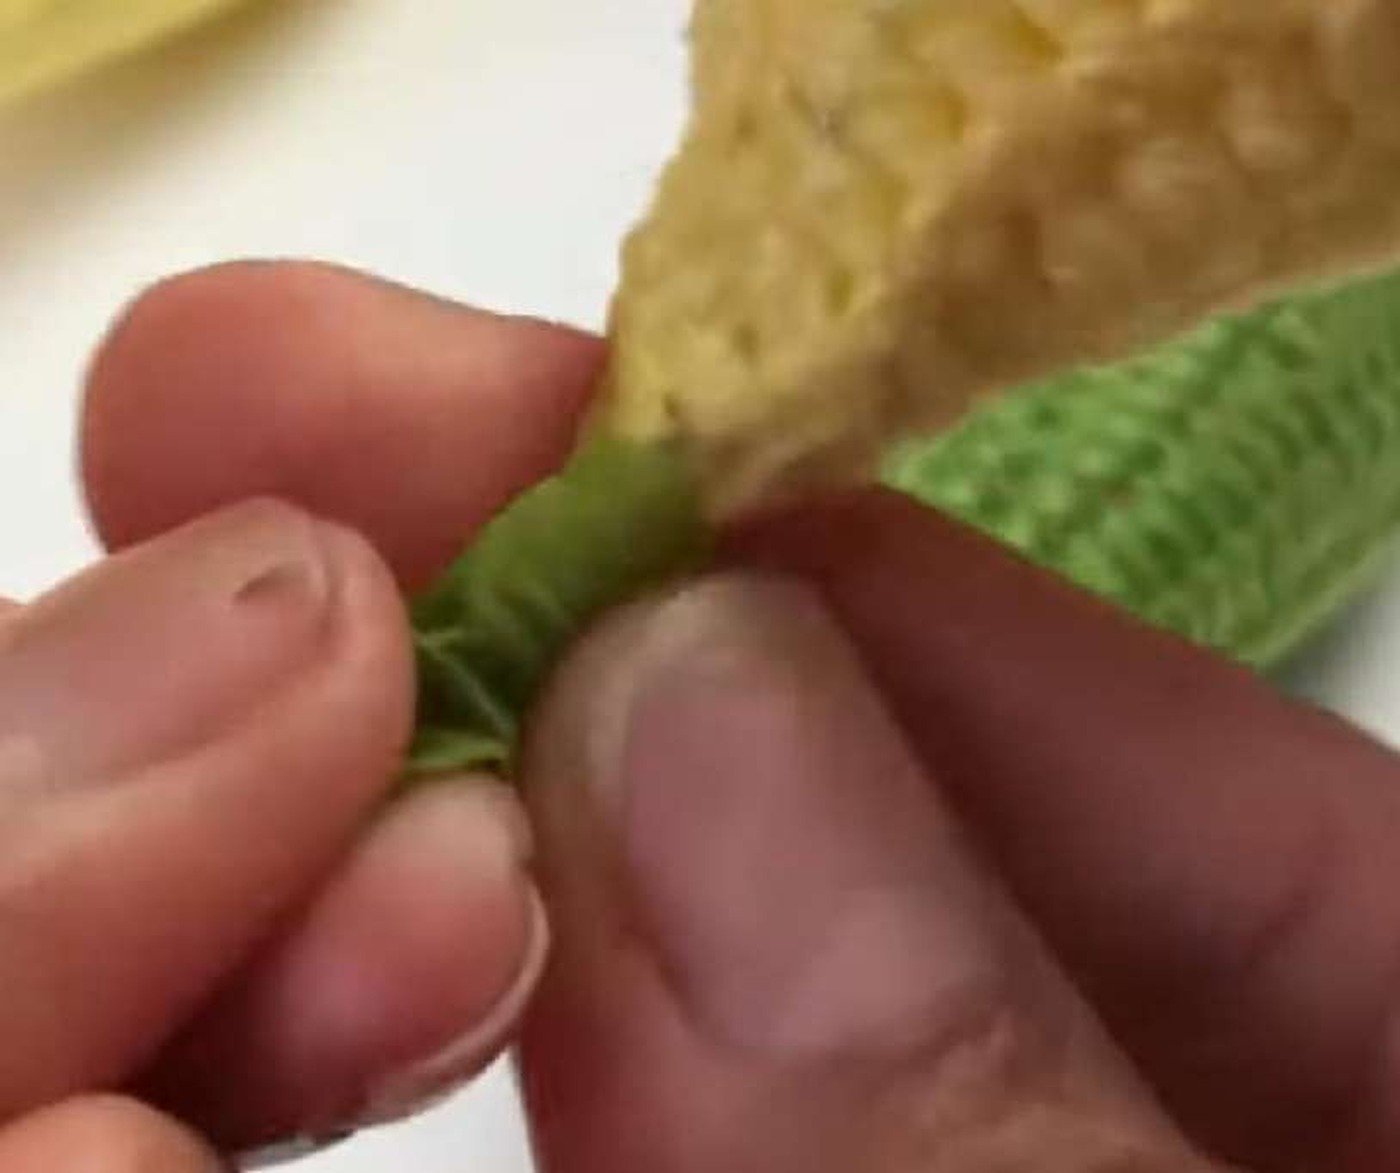
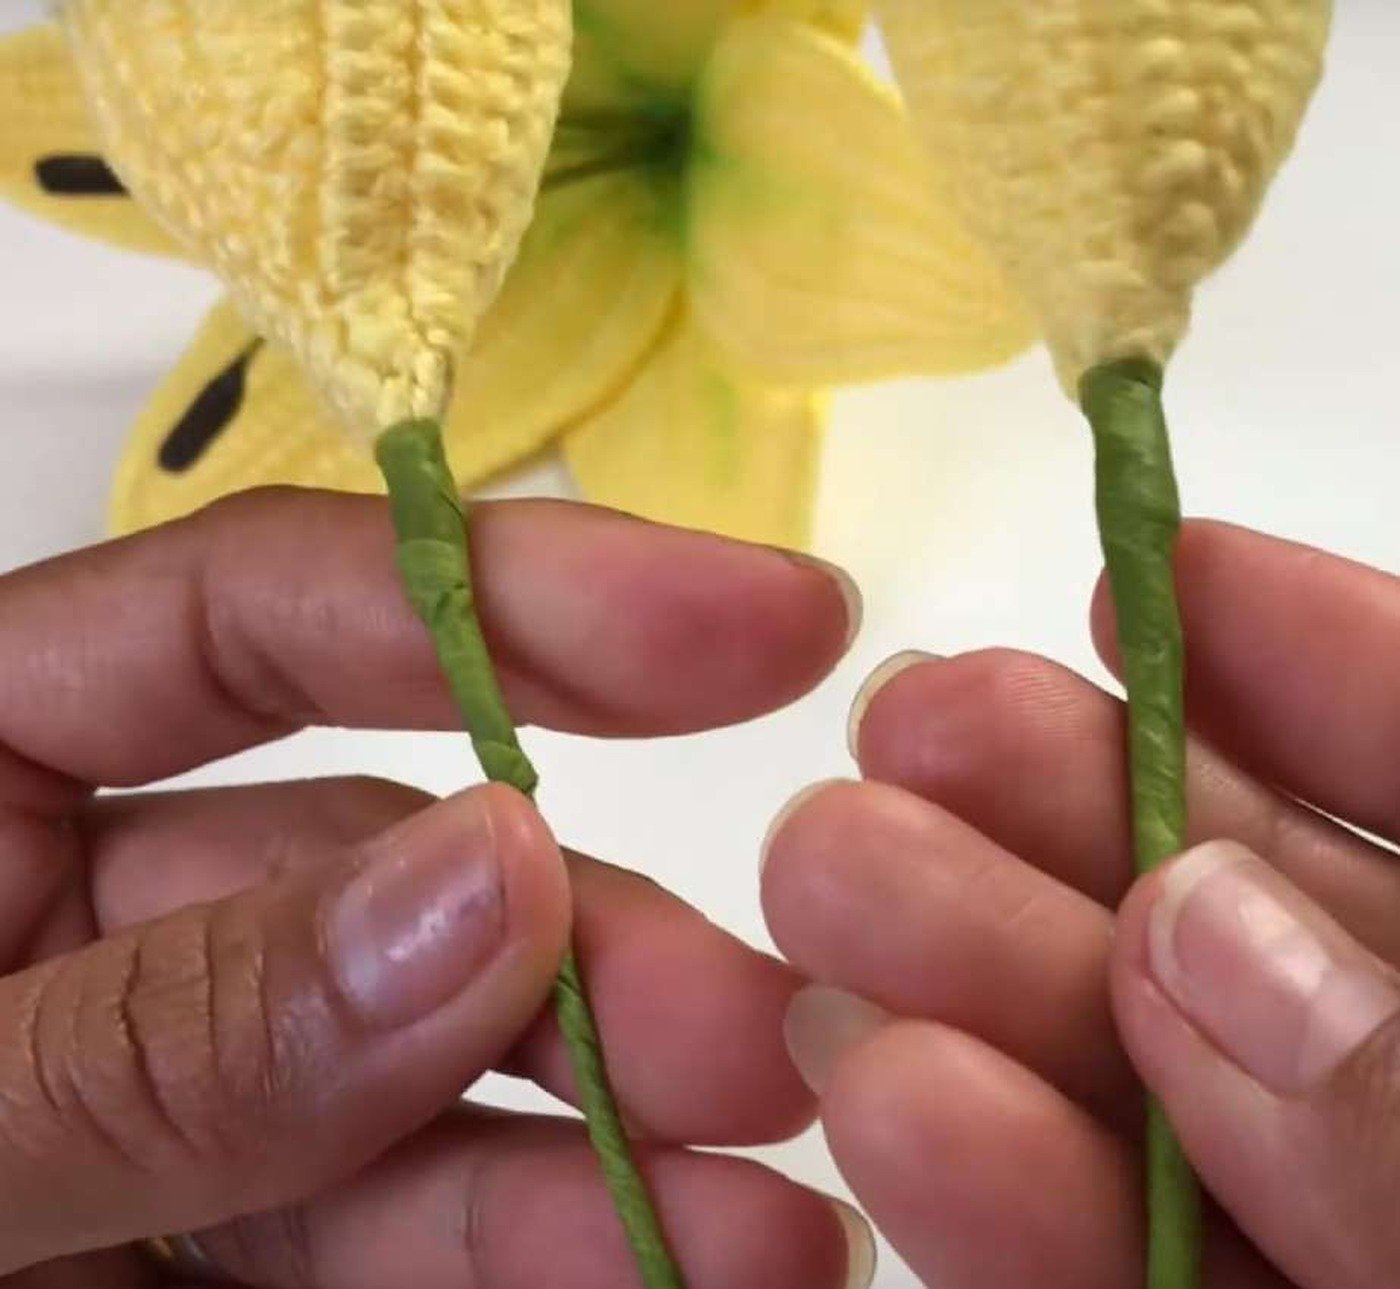
- Insert about 2 in of a prepared 12–18 in stem wire into the base and secure it.
- Wrap the bud base and full stem with green floral tape.

Assemble the Arrangement
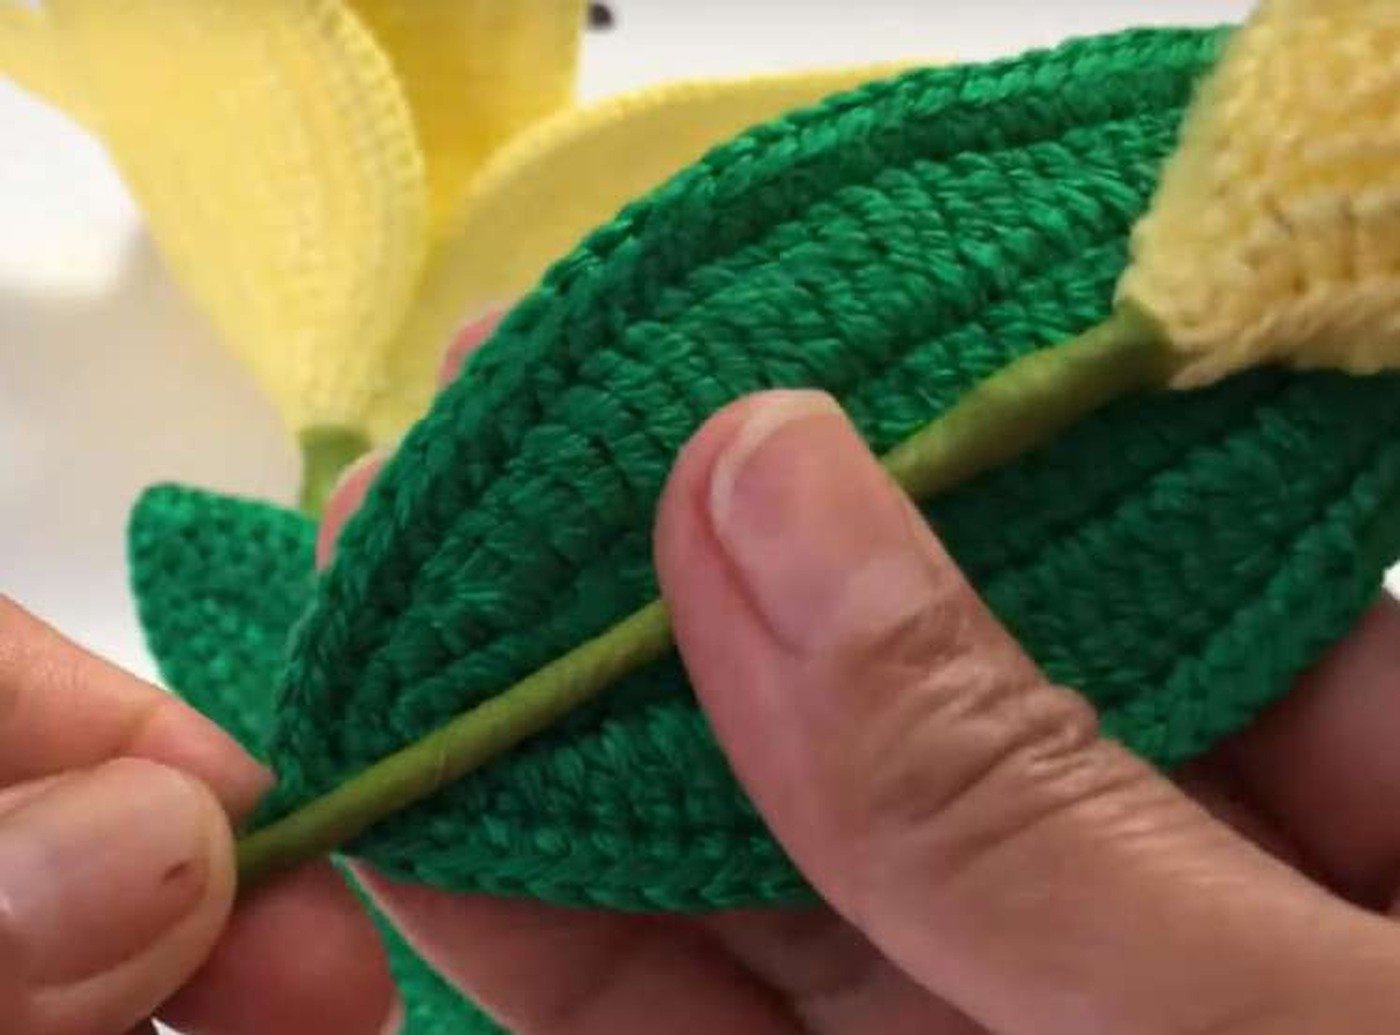
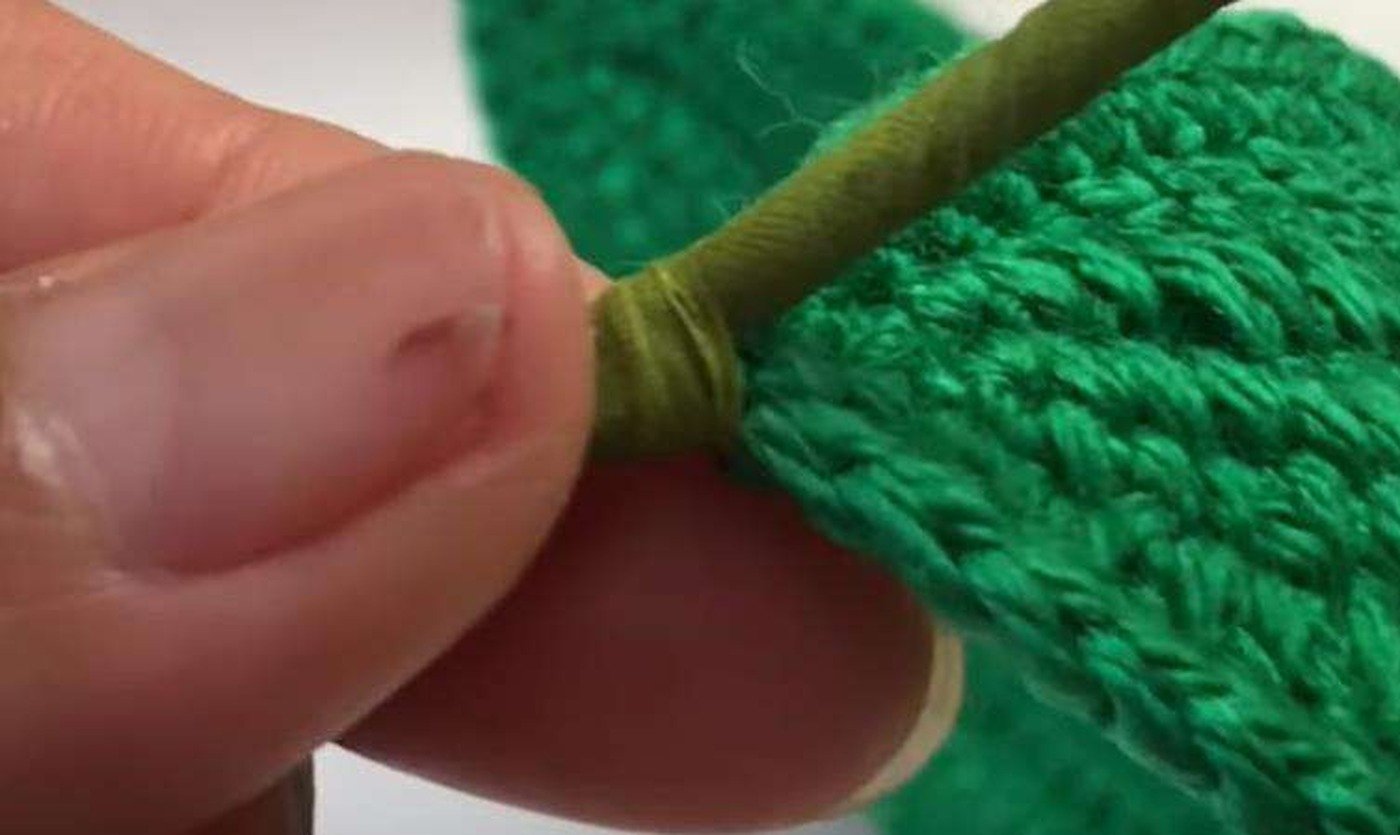
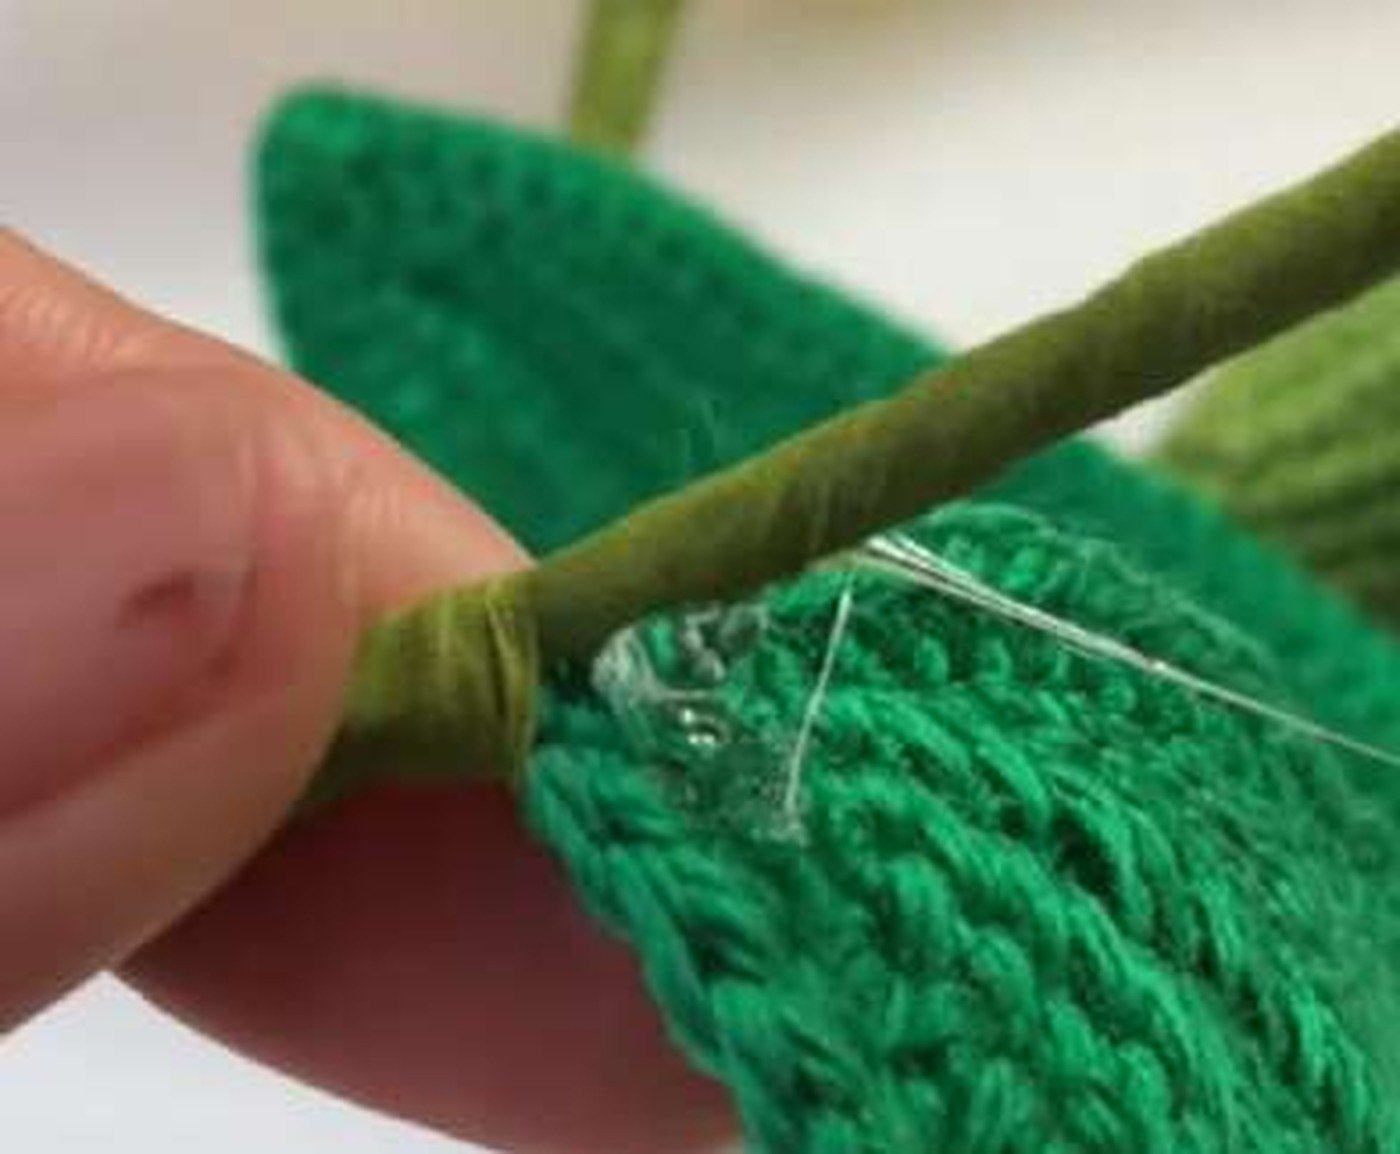
- Attach one leaf near the top third of the first bud stem and tape down about 1 in.
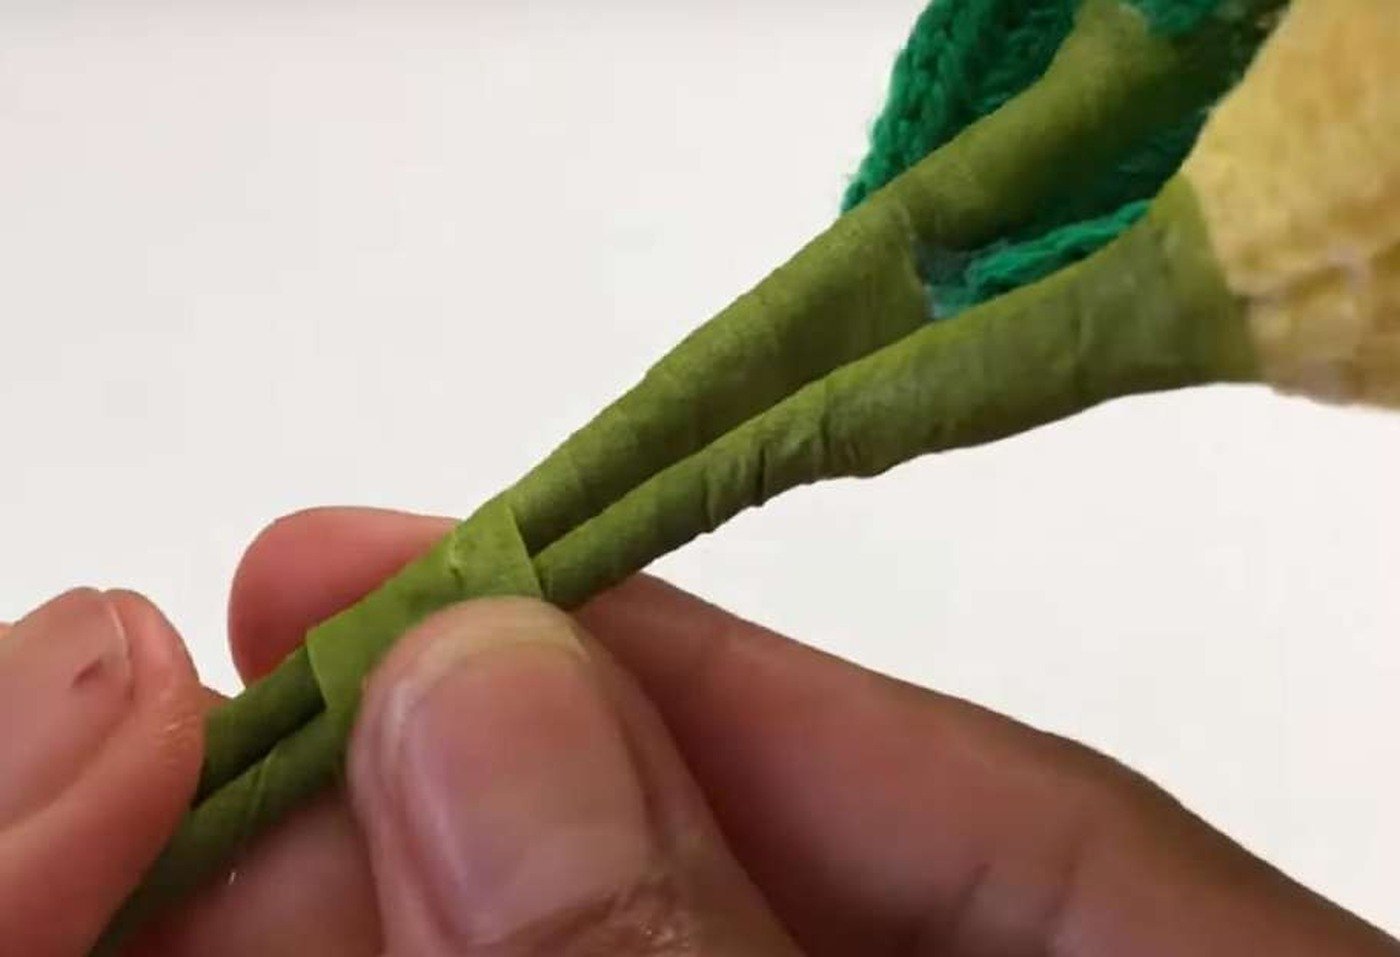
- Add a second bud above the first and tape both stems together.
- Add the second leaf about 1 in lower, staggered to the opposite side.
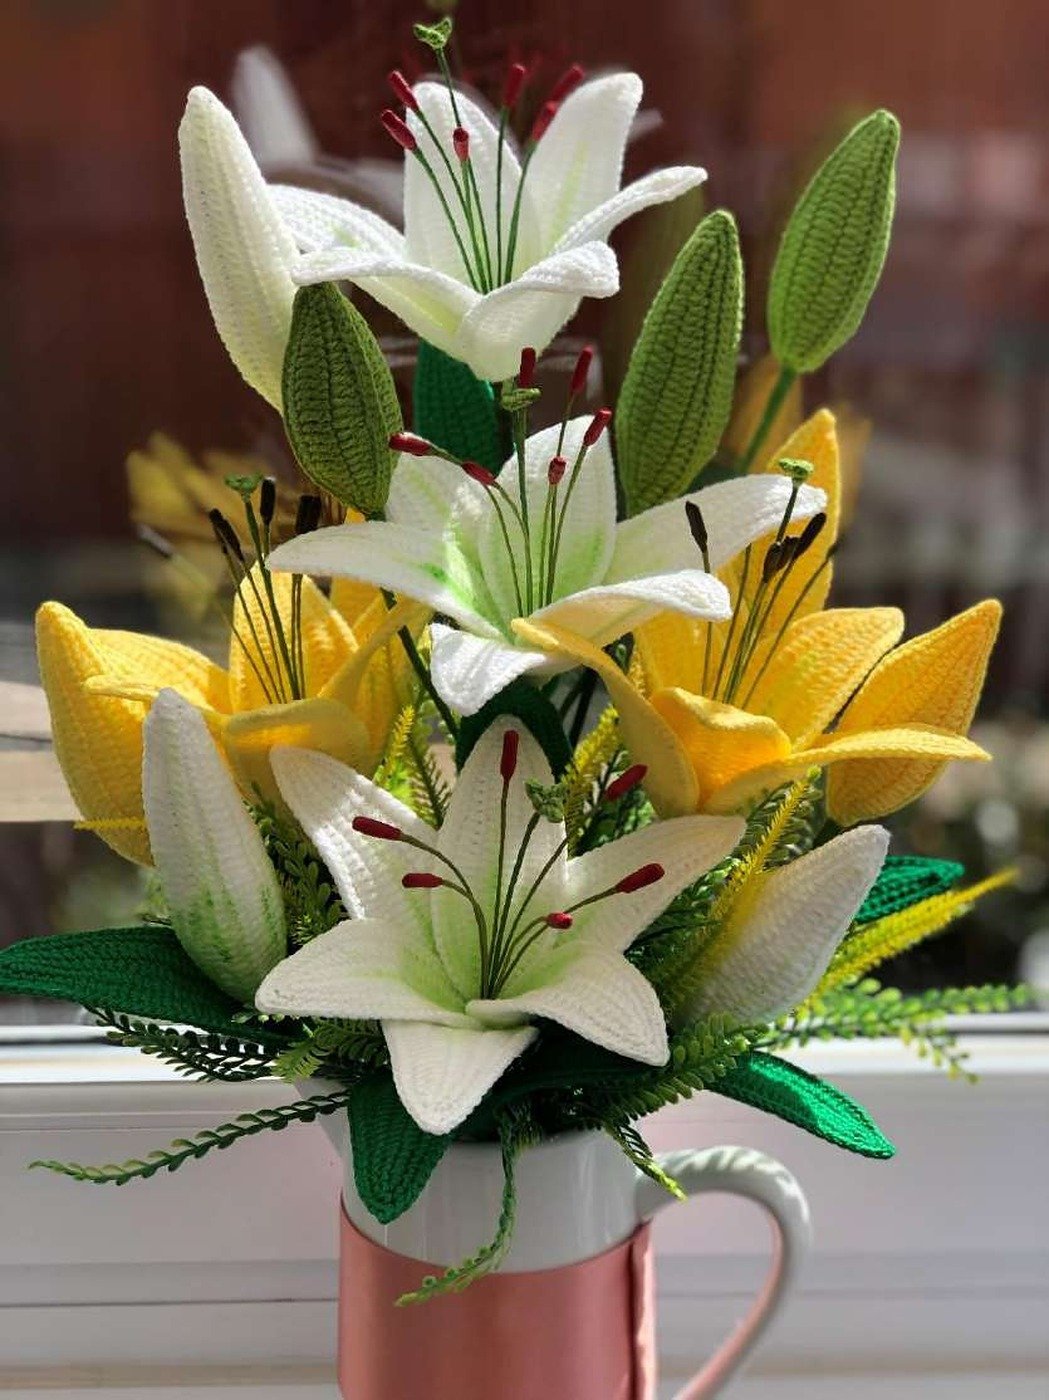
- Add the full bloom below the buds.
- Wrap all remaining exposed stems completely with floral tape and shape the arrangement.


Count and Assembly Checks
| Part | Full bloom | Closed bud |
|---|---|---|
| Petal A | 3 | 2 for small bud |
| Petal B | 3 | 2 for large bud |
| Stigma | 1 | — |
| Stamens | 6 | — |
| Leaf | 2 per arrangement | As desired |
- Petal A foundation uses CH 26; Petal B uses CH 28; leaf uses CH 35.
- Every petal and leaf has two trimmed wire tails at its base.
- The three Petal B tips sit between the three Petal A tips.
- All cut wire ends must be fully covered before display.
Step 1 of 10
Prepare tools and wire
Gather DK yarn, a 1.5 mm hook, both wire gauges, floral tape, cutters, glue, needle, and stuffing.
Before finishing this crochet lily flower pattern, compare the petal counts and wire placement with the original photos above.
Crochet Lily Flower Pattern Questions
Can I make only one flower?
Yes. One open bloom needs three Petal A pieces, three Petal B pieces, one stigma, six stamens, and one stem.
Can I omit the wire?
The wire supplies the shape and structure used by this design. Without it, the petals, leaves, and stems will drape differently.
Can I wash the finished arrangement?
Do not machine wash. The project contains wire, floral tape, glue, and optional crayon shading. Dust gently with a soft dry brush.
Is this suitable for children?
No. Sharp wire ends, small parts, and glue make this a decorative item rather than a toy.
Leave a Reply