
Free crochet flower tutorial
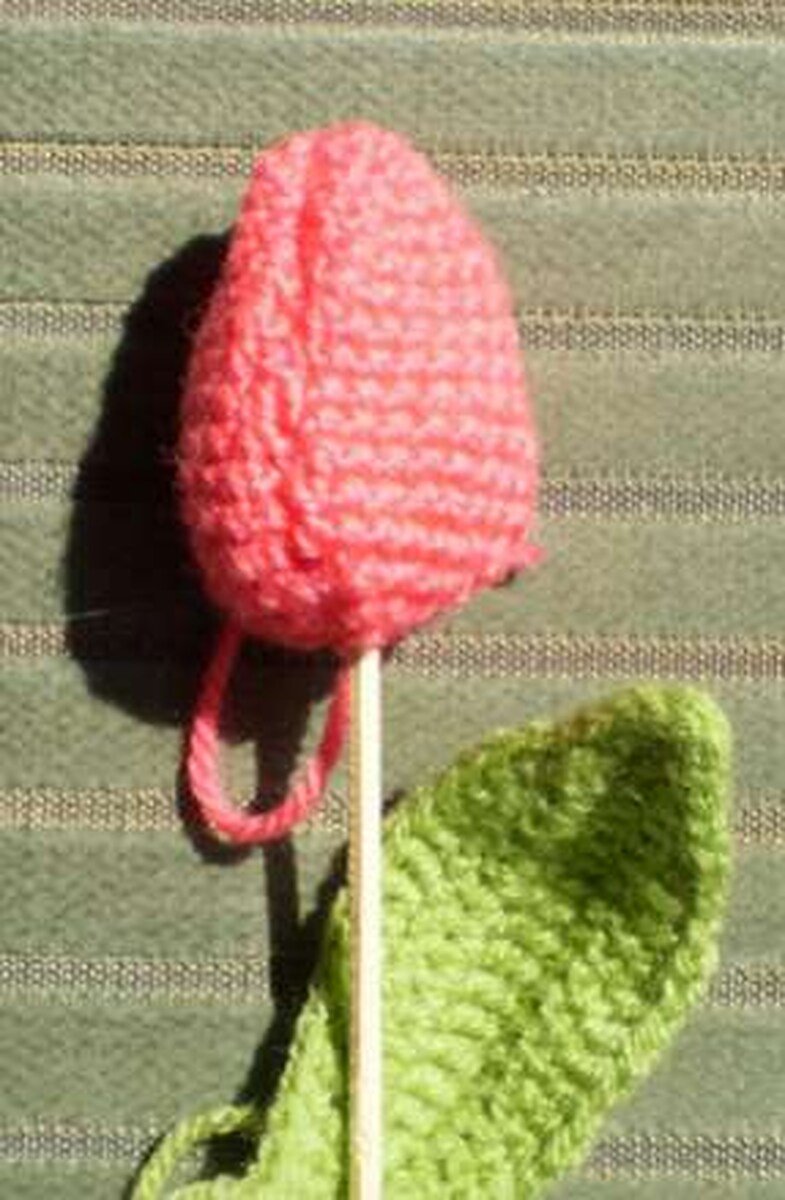
This realistic crochet tulip pattern builds each flower from six shaped petals: three slim inner petals and three larger outer petals. Finish it with a fitted green calyx, yarn-wrapped stem and sculpted leaf, or use the included variation to make a closed tulip bud.
The construction is detailed but logical, making this an enjoyable floral project for crocheters comfortable with amigurumi shaping and hand sewing.

Materials
- Yarn in your chosen tulip color
- Green yarn for the calyx, stem wrapping and leaf
- Crochet hook that creates a firm fabric with your chosen yarn
- Smooth wooden stick or dowel sized to suit the yarn
- Yarn needle
- Scissors
- Craft glue
- Optional small amount of fiberfill for the closed bud
- Stitch marker
US Crochet Abbreviations
The translated instructions use standard US terminology. See the Craft Yarn Council crochet abbreviations for a wider reference.
| Abbreviation | Meaning |
|---|---|
| MR | Magic ring |
| ch | Chain |
| sc | Single crochet |
| hdc | Half double crochet |
| dc | Double crochet |
| sl st | Slip stitch |
| inc | 2 sc in the same stitch |
| dec | Invisible single crochet decrease |
- Work the individual petals in continuous rounds and mark the first stitch.
- Do not stuff the open flower petals. Flatten each petal before assembly.
- Leave a long sewing tail on every petal.
- Round totals have been checked and are shown in parentheses.
- The source labels the leaf section “stem” a second time; it is translated here as the leaf for clarity.
Large Outer Petals — Make 3
- R1: 4 sc in MR. (4)
- R2: (inc, 1 sc) × 2. (6)
- R3: (inc, 2 sc) × 2. (8)
- R4: (inc, 3 sc) × 2. (10)
- R5: (inc, 4 sc) × 2. (12)
- R6: sc around. (12)
- R7: (inc, 5 sc) × 2. (14)
- R8–R9: sc around for 2 rounds. (14)
- R10: (inc, 6 sc) × 2. (16)
- R11: sc around. (16)
- R12: (inc, 7 sc) × 2. (18)
- R13–R14: sc around for 2 rounds. (18)
- R15: (dec, 1 sc) × 6. (12)
- R16: dec × 6. (6)
Fasten off with a long sewing tail. Flatten the petal without stuffing.
Small Inner Petals — Make 3
- R1: 4 sc in MR. (4)
- R2: (inc, 1 sc) × 2. (6)
- R3: (inc, 2 sc) × 2. (8)
- R4–R10: sc around for 7 rounds. (8)
Fasten off with a long tail and flatten each petal.
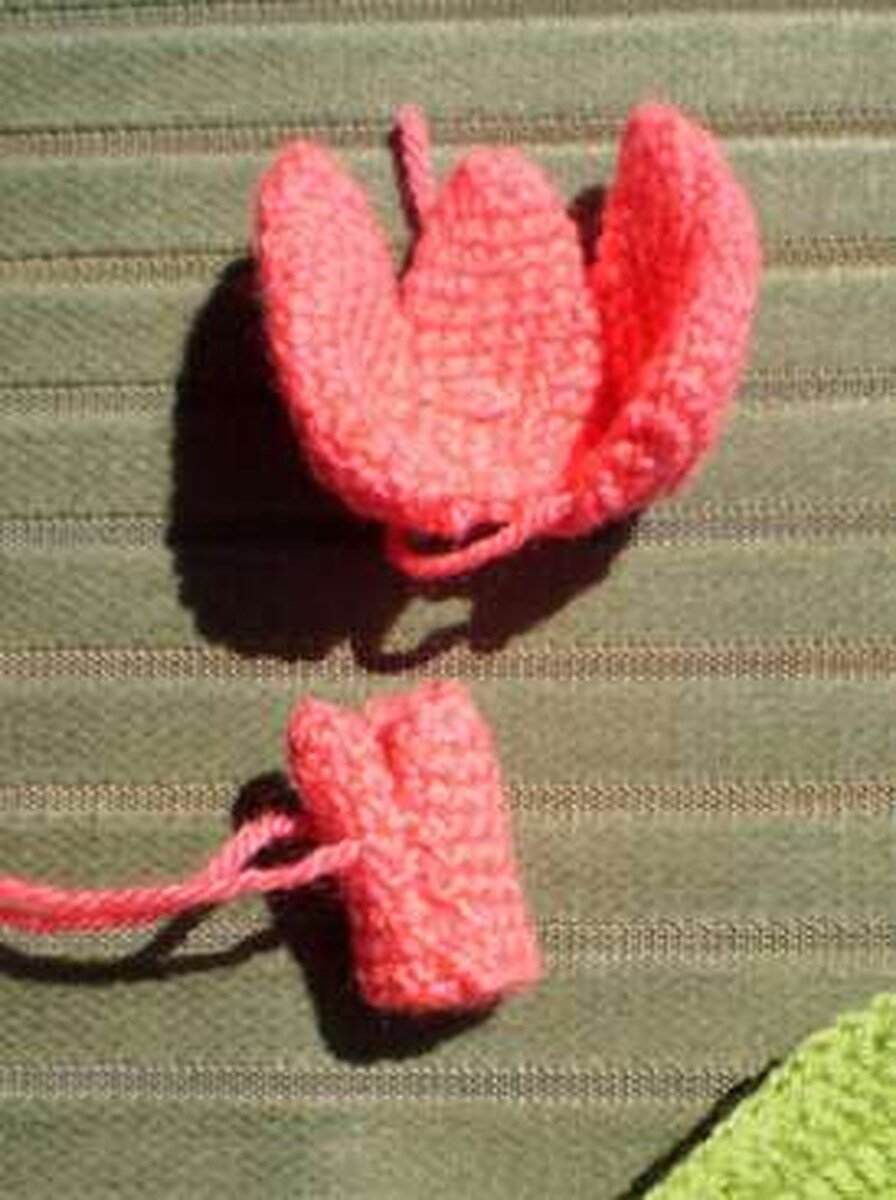
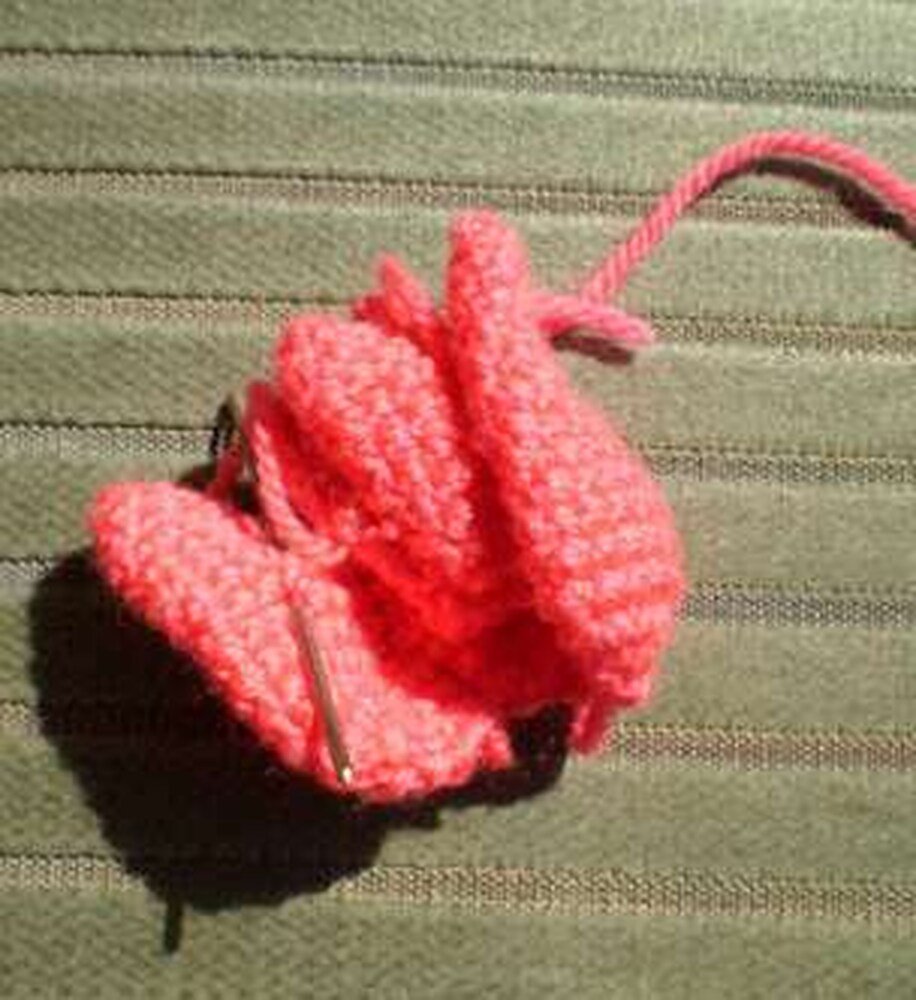
Assemble the Open Tulip
Join the inner petals
- Place two inner petals side by side with their lower edges aligned.
- Using one long tail, sew the bottom edges securely so no gap remains.
- Continue joining the touching side edges to approximately halfway up the petals.
- Add the third inner petal to the second in the same way.
Join the outer petals
Sew the first and second large petals together from the base to about Round 7. Join the second and third petals the same way. Leave the final side open temporarily.
Combine both petal groups
- Place the joined inner petals inside the outer-petal group.
- Position them so the inner and outer tips reach approximately the same height.
- Sew the inner group securely to the inside of the outer petals.
- Close the remaining outer-petal side, but leave a small opening in the center of the base for the stem.
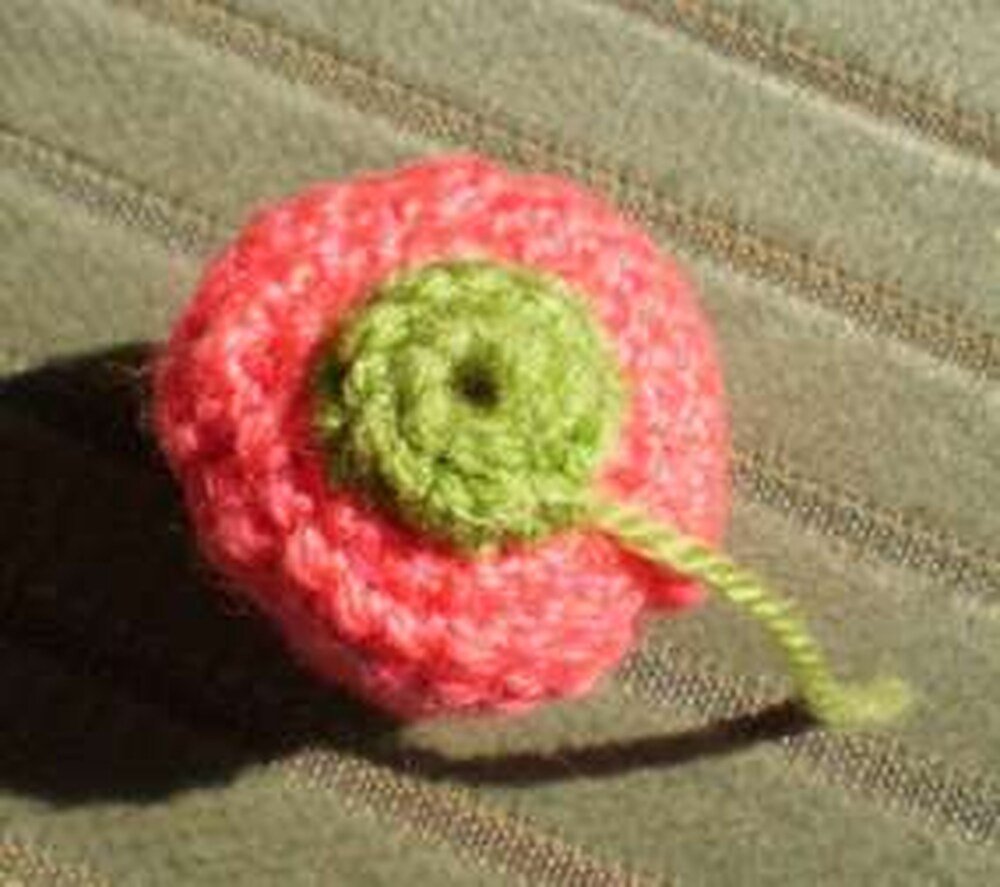
Crochet the Calyx and Wrap the Stem
Green base
- R1: 6 sc in MR. Do not pull the ring completely closed. (6)
- R2: inc in each stitch around; join the last stitch to the first with a sl st. (12)
Fasten off with a long sewing tail. Sew the green circle to the underside of the flower, keeping the adjustable center hole open. Let the starting tail from the magic ring remain free between the stitches.
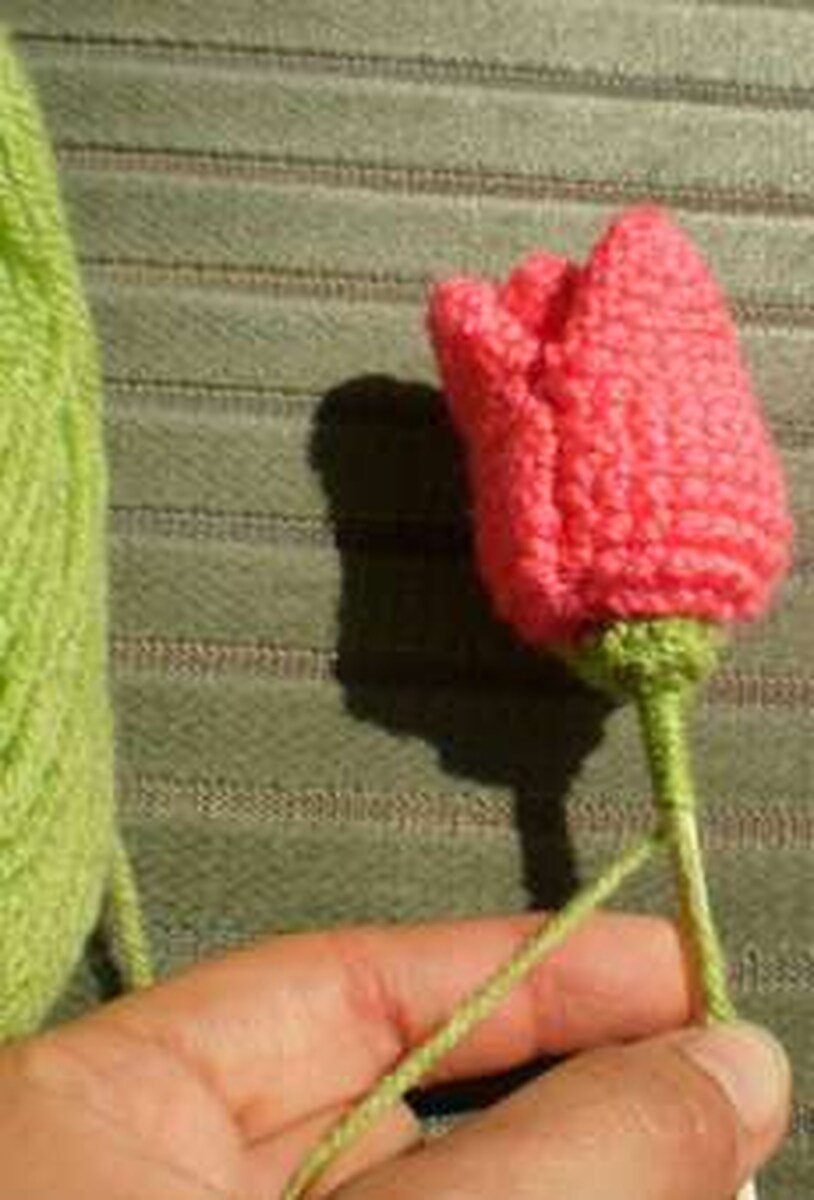
Insert and cover the wooden stem
- Push the wooden stick through the adjustable hole and into the flower until it meets the inner petal group.
- Pull the magic-ring tail firmly to tighten the calyx around the stick and secure the yarn.
- Anchor a fresh length of green yarn at the flower base.
- Hold the yarn tail lengthwise against the stick, then wrap working yarn closely around both the stick and tail.
- Continue to the desired stem length and secure the yarn with glue.
Crochet the Tulip Leaf
Foundation: ch 21.
Row 1
Starting in the second chain from the hook, work 5 sc, 1 hdc, 10 dc, 1 hdc, 3 sc. Turn and ch 1. (20 stitches)
Row 2
Work 2 sc, 1 hdc, 12 dc, 2 hdc, 2 sc, 1 sl st. Ch 2, curve around the end, and sl st into the first of those two chains. Sl st into the last sc of Row 1 on the opposite side, working into the remaining free loop of the foundation chain.
Continue along that side with 2 sc, 2 hdc, 11 dc, 2 hdc, 2 sc. Turn and ch 1.
Row 3 and edging
Work 6 sc, 2 hdc, 4 dc, 2 hdc, 2 sc, 5 sl st. You have reached the leaf tip. Continue along the second edge with 5 sl st, 2 sc, 2 hdc, 4 dc, 2 hdc, 6 sc.
Fasten off with a long tail. Wrap the lower end of the leaf around the stem and sew it firmly in place.

Alternative: Closed Crochet Tulip Bud
For a closed tulip, make only the three large outer petals. Sew all three together from the base to the tips, closing every side completely. Add a small amount of stuffing if the bud needs extra support, then attach the calyx, stem and leaf in the same way as the open flower.
Interactive Step-by-Step Reader
Open one step at a time while you crochet.
Step 1 — Crochet three outer petals
Step 2 — Crochet three inner petals
Step 3 — Join the inner group
Step 4 — Join and layer the outer petals
Step 5 — Make the green calyx
Step 6 — Insert and wrap the stem
Step 7 — Crochet and attach the leaf
Step 8 — Choose open flower or bud
Finishing Tips
- Pin the six petals temporarily before sewing so their tips stay evenly spaced.
- Use the same flower yarn for all sewing to hide joins.
- Wrap the stem yarn tightly and push each wrap against the previous one.
- Shape the long leaf gently after attaching it.
- Make several tulips at different stem lengths for a natural bouquet.
Realistic Crochet Tulip Pattern FAQ
These answers address common questions about the realistic crochet tulip pattern.
Do I stuff the open tulip?
No. The open flower is shaped by its layered flattened petals. Stuffing is optional only for the closed bud variation.
What hook size should I use?
The source does not specify a hook size. Choose a hook that makes a dense fabric without gaps with your yarn.
Can I replace the wooden stick?
You may use another smooth, rigid floral support of a similar diameter. It must be strong enough to hold the six-petal flower upright.
Why is the magic ring left open on the calyx?
The adjustable opening lets the wooden stem pass through. After insertion, pull the starting tail to tighten the green base neatly around the stem.
How many petals are needed?
An open tulip uses three inner and three outer petals. The closed bud uses only three outer petals.
Leave a Reply