
Crochet Bonsai Tree Pattern
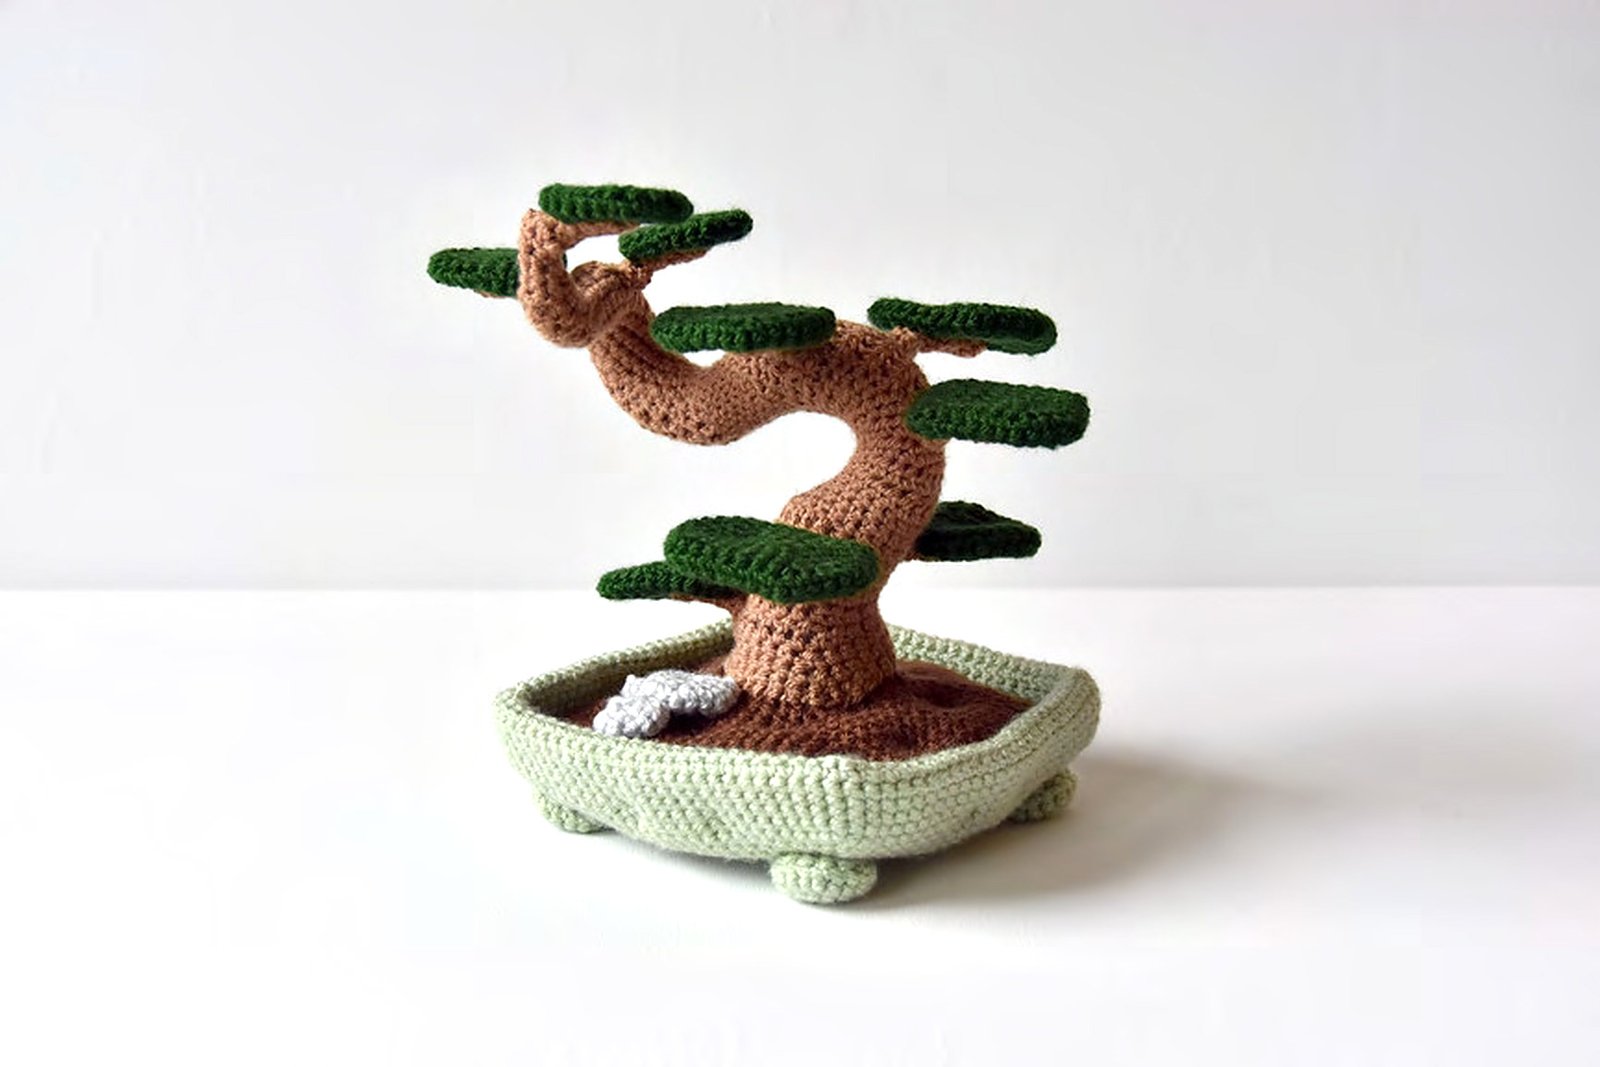
This crochet bonsai tree pattern creates a sculptural 22 cm decorative tree with a curved trunk, nine flattened leaves, natural-looking soil, three stones, and a square footed pot. Follow the verified US instructions, exact stitch counts, enhanced original photos, and interactive step reader.
Start step reader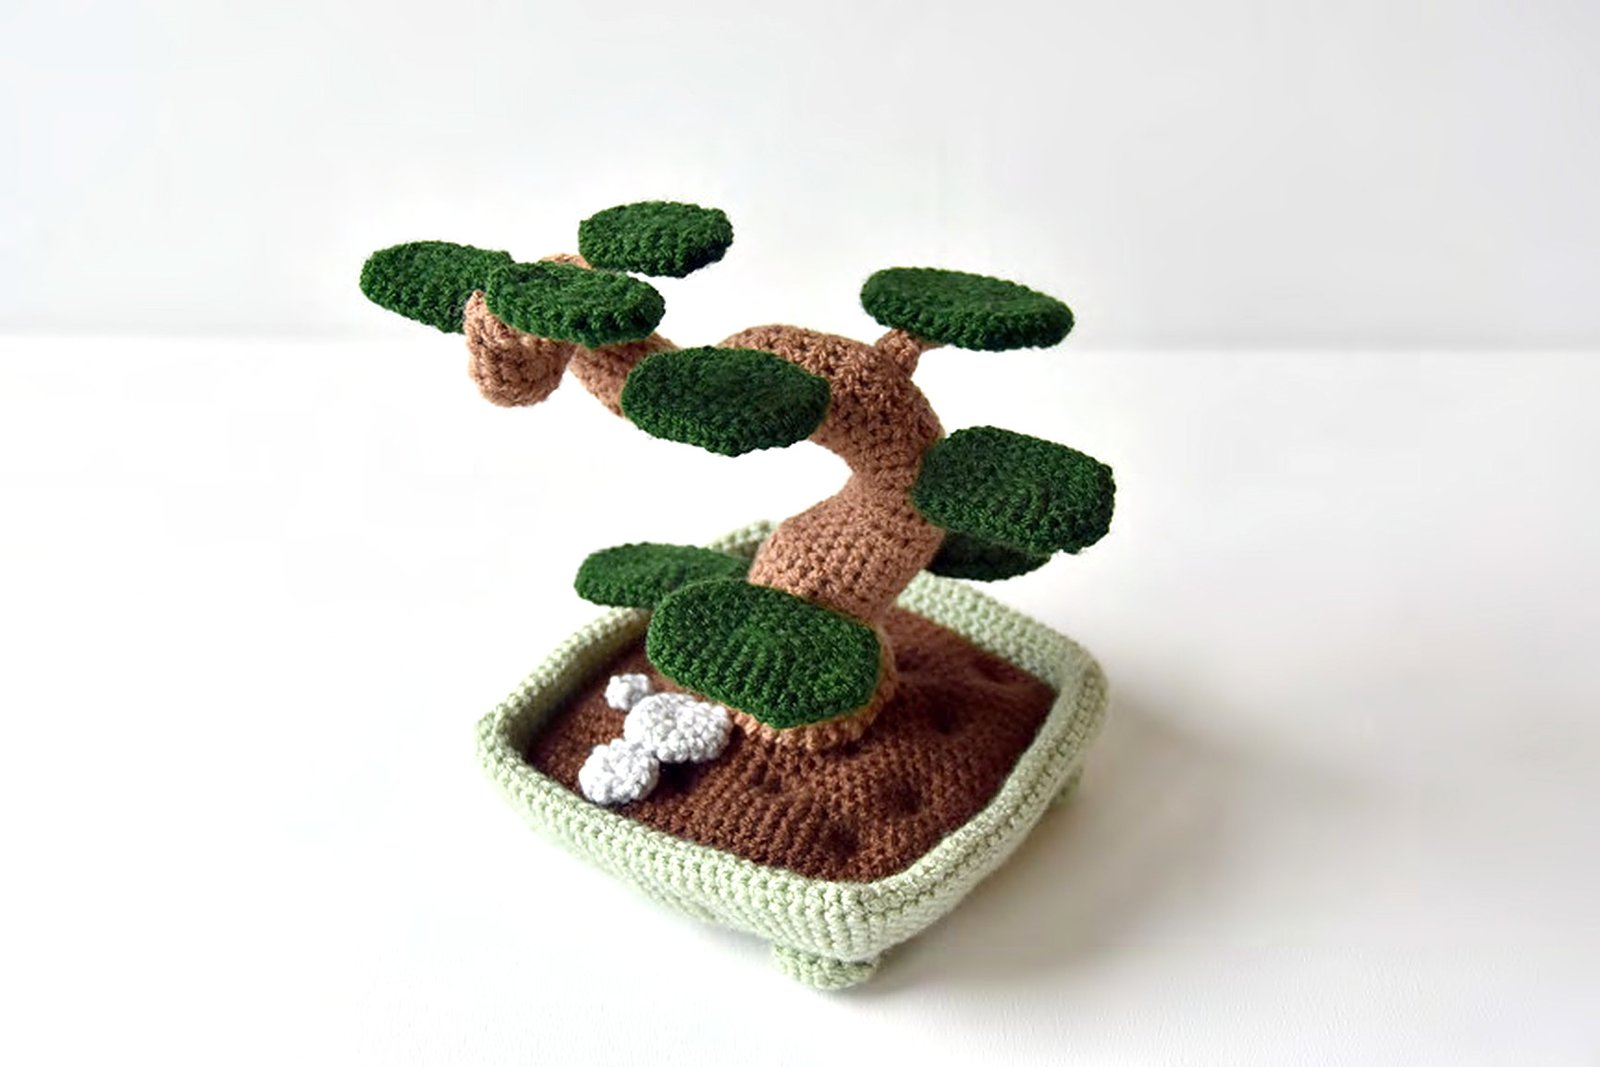
Before you start the crochet bonsai tree pattern
Most pieces are worked in continuous spirals. Leaves begin around both sides of a foundation chain and flatten into three graduated sizes. Mark the first stitch of every round and stuff the trunk frequently so its shaped curves remain smooth.
Balance the tree by placing two large leaves low, four medium leaves through the lower and middle sections, and three small leaves near the top.
Materials and finished size
- 4 mm crochet hook
- DK or light worsted yarn
- Light green: 160 m; dark green: 72 m
- Light brown: 80 m; dark brown: 80 m
- Light gray: 10 m
- Tapestry needle, marker, and fiberfill
| Detail | Measurement |
|---|---|
| Height | About 22 cm / 9 in |
| Width | About 25 cm / 10 in |
| Construction | Spirals and flattened leaves |
| Level | Intermediate |
US stitch key
| Abbreviation | Meaning |
|---|---|
| MR / ch / sl st | magic ring / chain / slip stitch |
| sc / hdc / dc | single / half double / double crochet |
| inc1sc / inc2sc | work 2 sc / 3 sc in the next stitch |
| sc2tog / sc3tog | decrease 2 / 3 stitches together |
| FLO / BLO | front / back loop only |
Square pot, supports, and soil
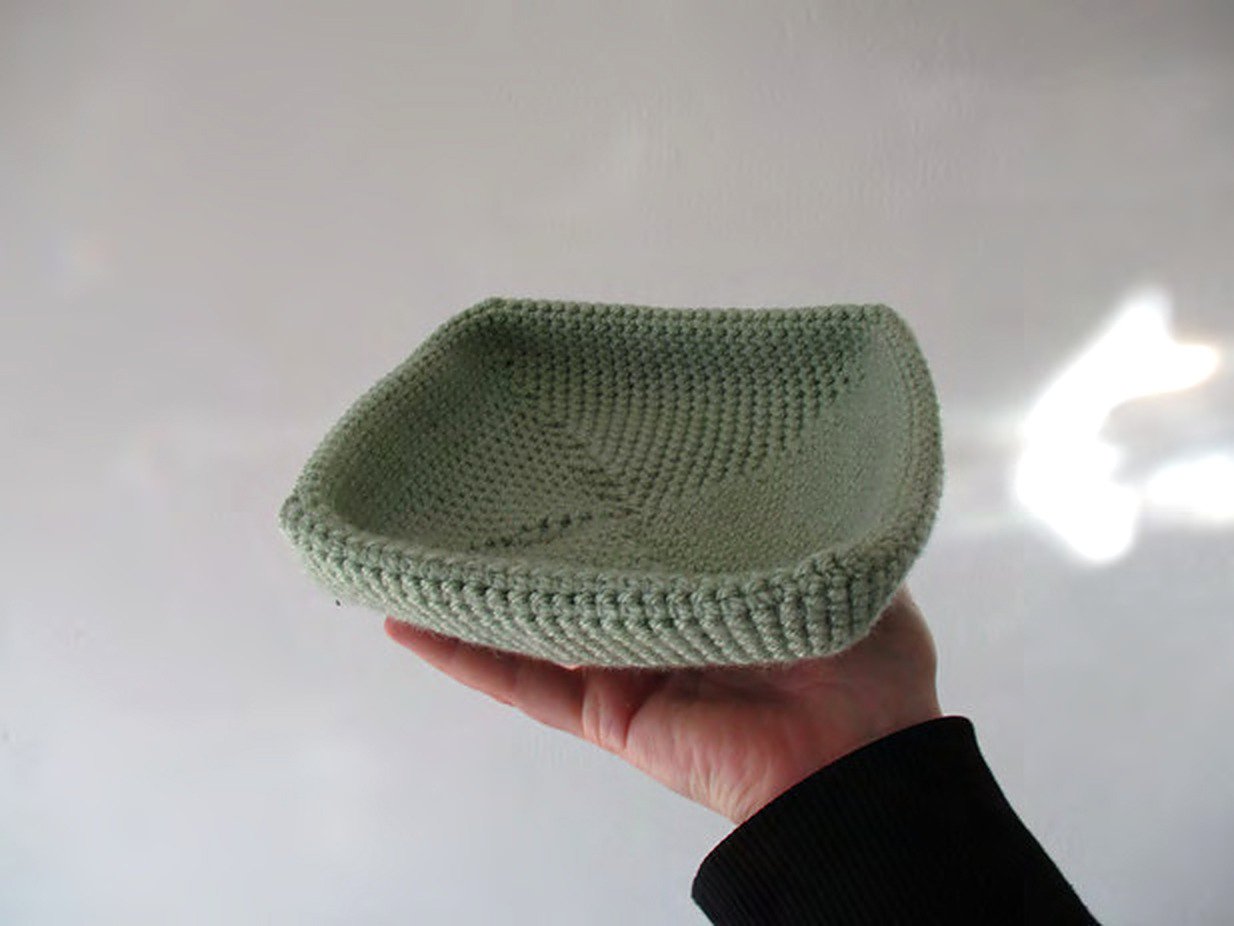
Pot: Start with MR4 and increase in four corners through 12, 20, 28, 36, 40, 44, 52, 56, 60, 68, 72, 76, 84, 88, 92, 100, and 108 stitches. Work five even rounds, then reverse the shaping to four stitches and fold the double layer.
Supports: Make four lightly stuffed feet. Each increases from 6 to 18 stitches, decreases to 6, and sits under one corner.
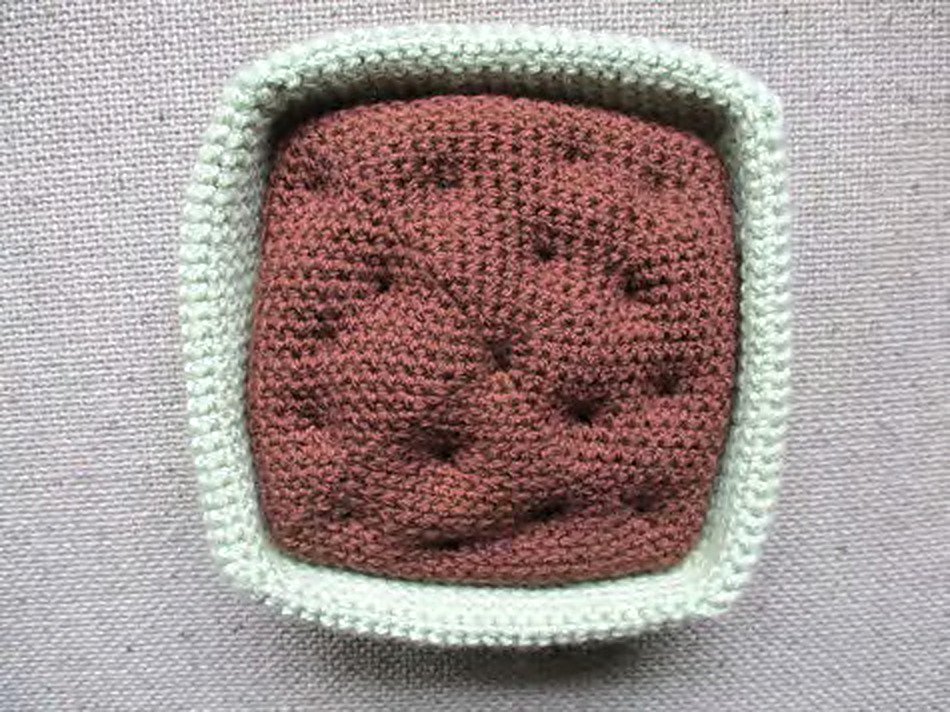
Soil: Shape the dark-brown insert to 92 stitches, decrease to four, stuff, and add sixteen tension knots for natural dents.

Shape the curved tree trunk
Chain 30 and join. Work 30 stitches, then decrease through 27, 24, and 21. Alternating sc, hdc, and dc sections creates the first curve. Continue shaped sections with 18, 14, 13, 12, 11, 10, 9, and 8 stitches before tapering to three.
Stuff at every marked interval. Rotate the trunk after each filled section to keep the broad base stable and the upper tip light.
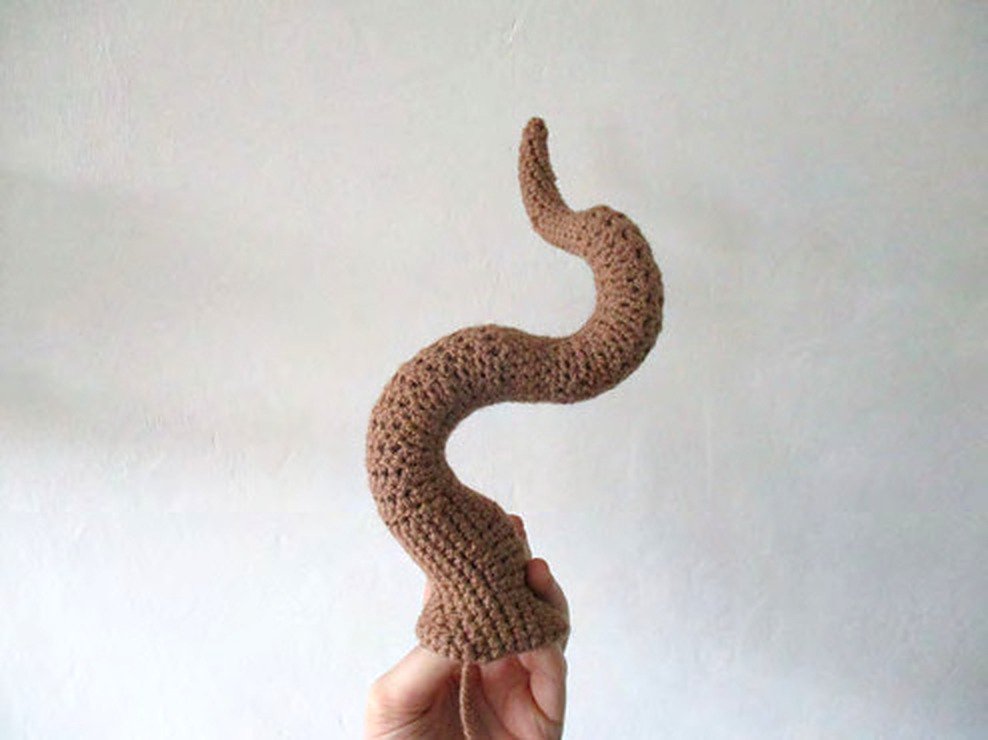
Leaves, branches, and stones
| Part | Make | Verified shaping |
|---|---|---|
| Leaf A | 2 | 12 → 18 → 24 → 30 → 36, then decrease to 8 |
| Leaf B | 4 | 12 → 18 → 24 → 30, then decrease to 8 |
| Leaf C | 3 | 12 → 18 → 24, then decrease to 8 |
| Branch A | 2 | 6 → 5 → 4; five even rounds; finish at 3 |
| Branch B | 4 | 6 → 5 → 4; four even rounds; finish at 3 |
| Branch C | 3 | 5 → 4; four even rounds; finish at 3 |
| Stones | 3 | Three small unstuffed magic-ring shapes |
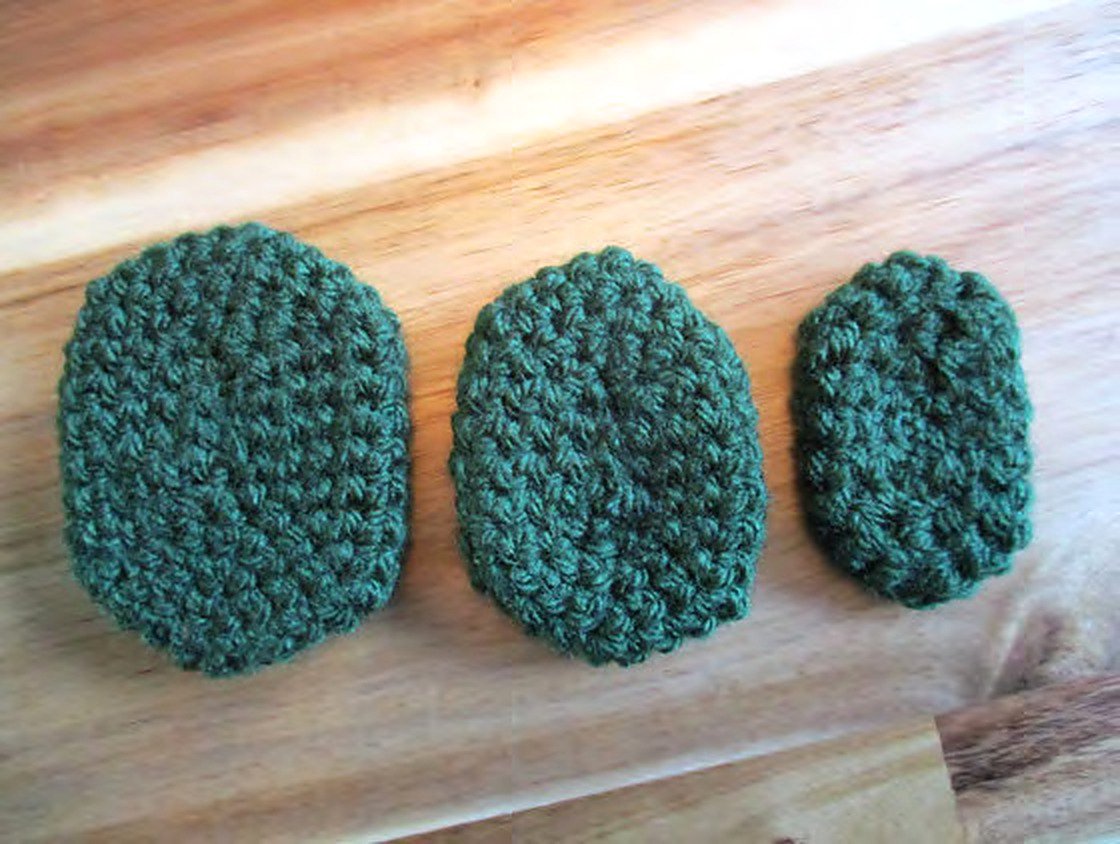
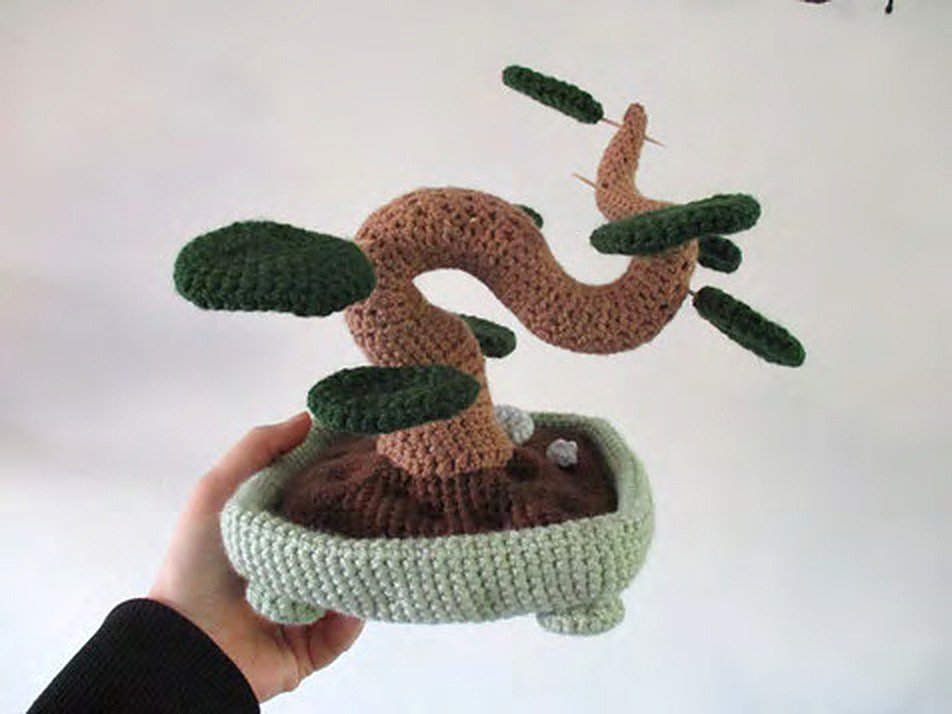
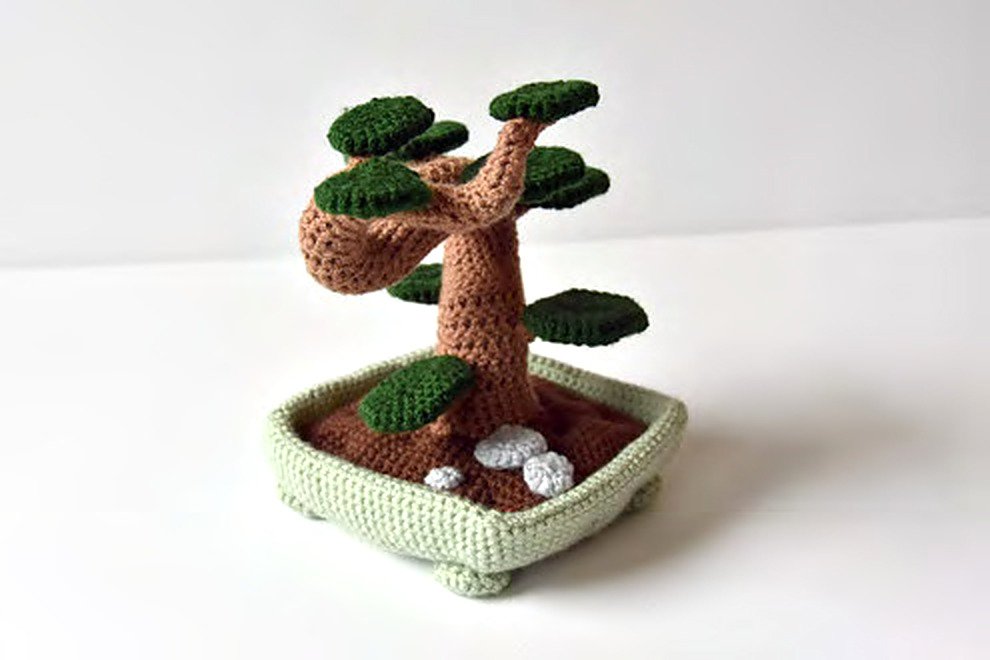
Assembly order
- Fold the pot and secure the final slip stitch at the starting ring.
- Sew one support under each corner.
- Texture the stuffed soil and sew it inside the pot.
- Center the trunk on the soil and stitch firmly.
- Arrange the three stones beside the trunk.
- Pin branches for balance: large low, medium low and middle, small high.
- Sew each branch, then its matching leaf close to the trunk.
- Turn all leaves in the same general direction and check every side.
1. Shape the square pot
Increase four corners to 108 stitches, work the sides, reverse the shaping, and fold the double layer.
Crochet bonsai tree pattern: final checks
- Pot sits flat on four supports.
- Soil fills the rim evenly.
- Trunk is centered and firmly stuffed.
- Stones lie flat beside the trunk.
- Large leaves remain low.
- Medium leaves balance the middle.
- Small leaves keep the top light.
- Each leaf matches its branch.
- Leaves point in one direction.
- The finished tree stands without tipping.
Leave a Reply