
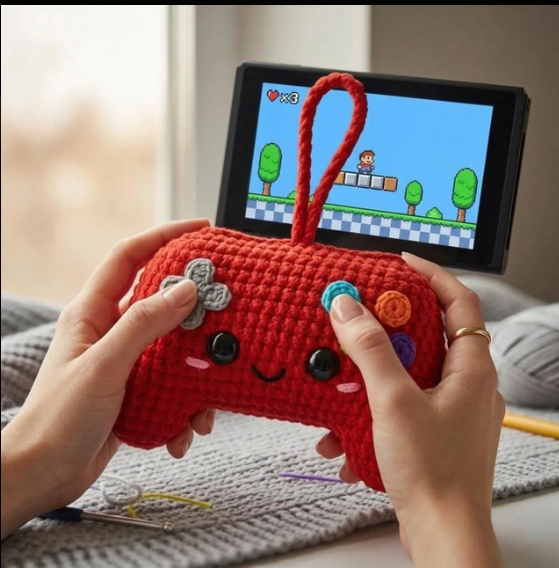
A game controller you can squeeze, display, or give to a gamer friend: this free crochet game controller plushie pattern builds two little grips, joins them into a 36-stitch body, and finishes with four bright action buttons. Turn it over and there is a second surprise—a smiling face. The complete US-terms pattern is here, including the optional keychain loop.
Project: stuffed crochet game controller · Category: Amigurumi & Toys · Body hook: 4.0 mm with plush yarn or 3.0 mm with cotton · Detail hook: 1.9 mm · Main yarn: approximately 50 g red · Construction: two handles joined by a chain bridge · Crochet terms: US. The source does not state gauge or finished size.
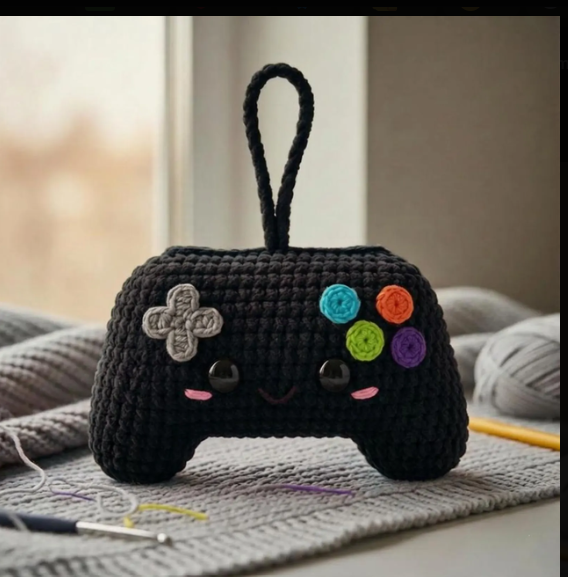
Image note: The supplied visuals are illustrative styling, not a photographed step-by-step sample of these exact instructions. Follow the written placement directions for the buttons and the face.
Why You’ll Love This Crochet Game Controller
It is a playful gamer gift with a simple construction story: make two rounded grips, connect them with six chains, then work the main body as one piece. The colored circles and embroidered D-pad make the controller recognizable, while the face on the opposite side gives it a second look. This is best suited to a maker comfortable with magic rings, continuous rounds, decreases, and sewing on small parts.
Materials and Tools
Follow the pattern’s material list below for yarn colors, hook sizes and stuffing. Optional supplies from our current crochet tool list include plush chenille yarn for a soft body (check your hook and tension), Poly-Fil stuffing, locking stitch markers for counting the rounds, and bent-tip tapestry needles for the sewn details. These are optional shopping suggestions, not substitutions for the original instructions. Some links are affiliate links; Stella Crochet may earn a commission at no extra cost to you.
Before You Begin
Keep the working yarn attached to Handle #2. The six-chain bridge in the joining section is worked on both sides; the published total for Round 6 is 36 stitches. The four action buttons are separate circles. The black eyes belong on the opposite side or back, with the tiny embroidered smile and cheeks. If making this for a young child, sew every part firmly and omit the optional loop if it could pose an entanglement risk.
Follow the Controller in Five Steps
Use these shortcuts to navigate. The complete instructions and counts appear below.
01 · Crochet two grips →
02 · Join the body →
03 · Stuff and close →
04 · Make buttons and eyes →
05 · Add embroidery and finish →
Free Crochet Game Controller Plushie Pattern: Full Instructions
The technical pattern below follows the supplied final file. Work the rounds and assembly in order.
What You Will Need
- Main Color: Red (approx. 50g of Plush/Velvet yarn or Cotton yarn)
- Detail Colors: Small scraps of Cyan, Yellow, Purple, Lime Green, Black, White, and Gray (Cotton yarn works best for details)
- Hooks:
- 4.0 mm for a plush body (or 3.0 mm for a cotton body)
- 1.9 mm for all the small buttons and eyes
- Stuffing: Polyester fiberfill
- Extras: Yarn needle, scissors, and stitch markers
Stitch Key (US Terms)
- MR: Magic Ring
- SC: Single Crochet
- Inc: Increase (2 stitches in one hole)
- Dec: Invisible Decrease (use the front loops only to join 2 stitches into 1)
- Sl St: Slip Stitch
- Ch: Chain
Part 1: The Body Handles (Make 2)
We start by making the two “grips.” Use your Main Color and your larger hook.
- Round 1: Make a MR. Place 6 SC inside. Pull tight.
- Round 2: Inc in every stitch around. (12)
- Rounds 3–5: SC in each stitch around. (12)
- Finish Handle #1: Cut the yarn, leaving a short tail. Pull it through.
- Finish Handle #2: Do NOT cut the yarn. We will use this one to connect the whole controller.
Part 2: Joining and the Main Body
- The Join: From the second handle, Ch 6.
- Round 6:
- Pick up Handle #1. SC into the first stitch to join them.
- Work 11 more SC around Handle #1. (12 total on handle)
- Work 6 SC along one side of the chain bridge.
- Work 12 SC around Handle #2.
- Work 6 SC along the other side of the chain bridge. (Total: 36 stitches)
- Rounds 7–14: SC in each stitch around. (36 per round). This creates the rectangular body.
Part 3: Closing the Top
Start stuffing the controller firmly as you go.
- Round 15: (2 SC, 1 Dec) repeat 9 times. (27)
- Round 16: (1 SC, 1 Dec) repeat 9 times. (18)
- Round 17: (1 SC, 1 Dec) repeat 6 times. (12)
- Final Stuffing: Make sure the corners and handles are nice and squishy.
- Round 18: Dec 6 times. (6)
- Finish: Cut the yarn, weave the tail through the remaining 6 stitches, and pull tight to close. Hide the tail inside the body.
Part 5: Assembly & Embroidery
- D-Pad (The Gray Cross): On the left side of the controller, use Gray yarn. Stitch a vertical bar (about 5-6 stitches high) going over it 4 times. Then stitch a horizontal bar across the middle.
- Buttons: Use pins to place the 4 colored circles in a diamond shape on the right side. Sew them on using their yarn tails.
- Eyes & Face: Sew the eyes on the opposite side (or the back). Use Black yarn to stitch a tiny “U” shape for the smile.
- Cheeks: Using a little Pink or Red yarn, stitch 2-3 small horizontal lines just under the eyes.
- Keychain Loop (Optional): Attach yarn to the top center. Ch 80, then Sl St back into the same spot. Tie a double knot and hide the ends inside.
Tip for the creator
When sewing, try to keep your needle underneath the buttons so the messy stitches don’t show on the outside!
Now your plushie has finished.
Make the Details Work for You
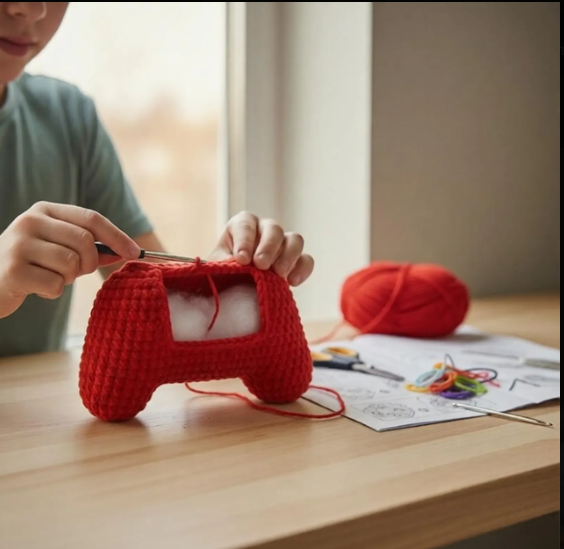
Use the stitch marker to keep the 36-stitch body rounds aligned, then pin the four colored circles before sewing so their diamond spacing looks balanced. On the face side, sew the eyes and embroider the white highlights before hiding the yarn tails. The pattern does not specify a finished size or gauge; the yarn and hook choice will affect the result, so avoid assuming a fixed measurement.
Crochet Game Controller Plushie FAQ
Is the full pattern available free here?
Yes. The two handles, joining bridge, 18 body rounds, colored buttons, eyes, embroidery and optional keychain loop are written on this page.
How do I join the two handles?
Chain six from Handle #2, work around Handle #1, crochet down one side of the bridge, around Handle #2 and back along the other side. Round 6 ends with 36 stitches.
Which hook should I use?
The pattern calls for a 4.0 mm hook with plush yarn or 3.0 mm with cotton for the body, plus a 1.9 mm hook for the buttons and eyes.
Can I turn it into a keychain?
Yes. The pattern includes an optional chain-80 loop attached at the top center. Secure it as instructed and consider the intended recipient before including the loop.
More Amigurumi Projects
If you enjoy small giftable projects, try the tiny crochet frog pattern or the crochet cat with a heart. Browse all the Amigurumi & Toys patterns for your next handmade character.
Did you make this controller? Share your colors and a photo of your result. Tell us if the handle join or any other step was unclear so other makers can learn from your experience.
Leave a Reply