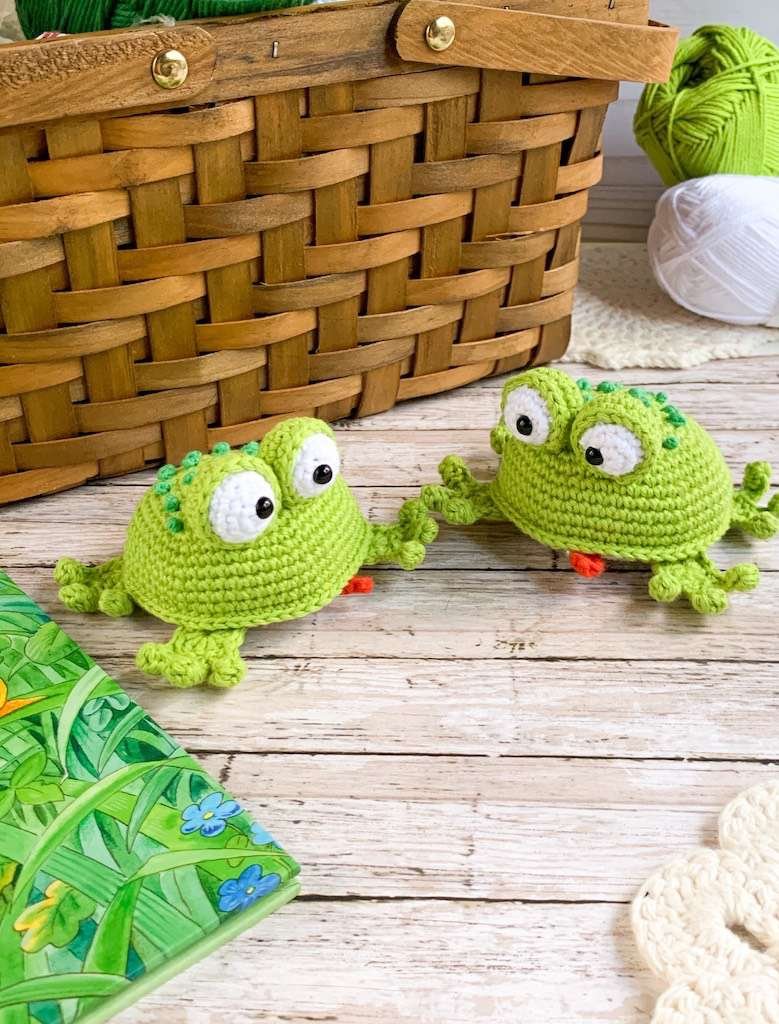
A Tiny Green Frog with a Sweet Little Face
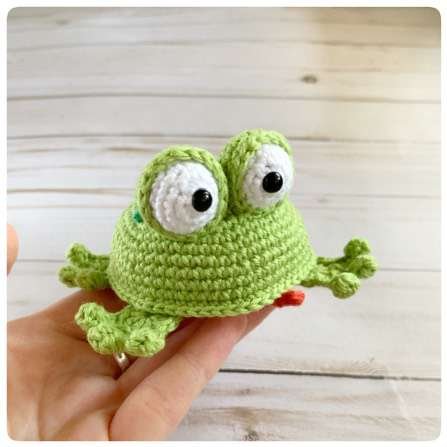
Meet the little frog shown in the original pattern photos. This illustrated guide introduces its materials, stitches, construction, and finishing details, with all 56 tutorial photos kept in their original order.
Pattern at a Glance
The stated size is approximate. Yarn, hook, and personal tension can change the finished measurements.
Materials and Tools
The source lists these supplies:
- Cotton DK yarn in lime green and white, plus small amounts of red and a second green
- 2.0 mm crochet hook
- Stuffing
- Two 6 mm safety eyes or black beads; embroidered eyes are safer for toys used by young children
- Yarn needle with a large eye
- Sewing pins
Stitches and Abbreviations
- ch: chain
- sc: single crochet
- dc: double crochet
- sl st: slip stitch
- inc: increase, usually two stitches worked into one
- dec: decrease, combining stitches into one
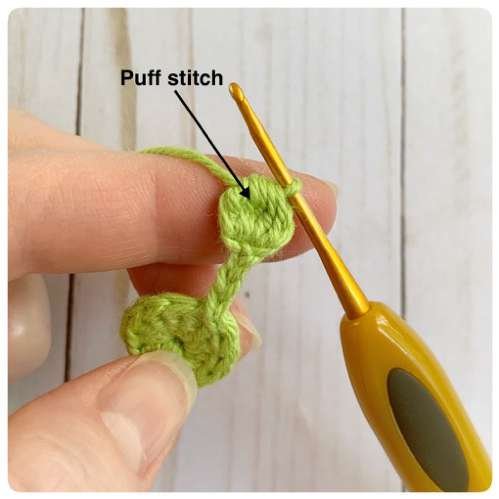
- puff stitch: the source describes a puff made from four double crochets joined at the top
- Magic ring: an adjustable loop used to begin a closed circle
Follow Along Step by Step
Move through the frog pattern one part at a time. Your place is saved in this browser.
The full written rounds and all original photos are also available below. Jump to complete pattern · Jump to photo tutorial
Complete Written Pattern
This section transcribes the complete stitch sequence from the supplied pattern in US crochet terms. Use the print button for a paper copy of the written instructions.
Abbreviations (US terms)
- ch: chain
- sc: single crochet
- dc: double crochet
- sl st: slip stitch
- inc: work 2 sc in the next stitch
- dec: decrease over the next 2 stitches
- puff: work 4 dc in the same stitch and join them together at the top
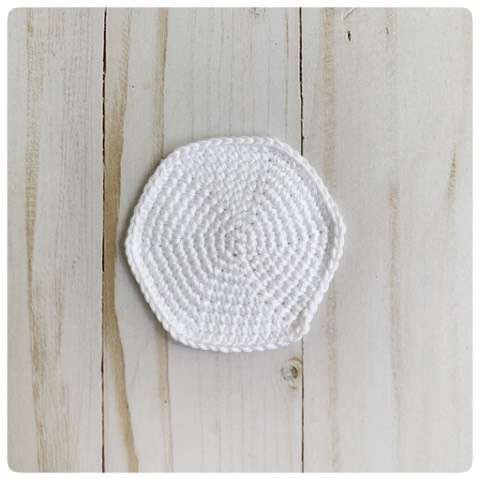
Belly (white yarn, make 1)
- Rnd 1: 6 sc in a magic ring (6).
- Rnd 2: 2 sc in each stitch around (12).
- Rnd 3: (1 sc, inc) repeat 6 times (18).
- Rnd 4: (2 sc, inc) repeat 6 times (24).
- Rnd 5: (3 sc, inc) repeat 6 times (30).
- Rnd 6: (4 sc, inc) repeat 6 times (36).
- Rnd 7: (5 sc, inc) repeat 6 times (42).
- Rnd 8: (6 sc, inc) repeat 6 times (48).
- Rnd 9: (7 sc, inc) repeat 6 times (54).
- Rnd 10: (8 sc, inc) repeat 6 times (60); sl st to finish. Fasten off and cut the yarn.
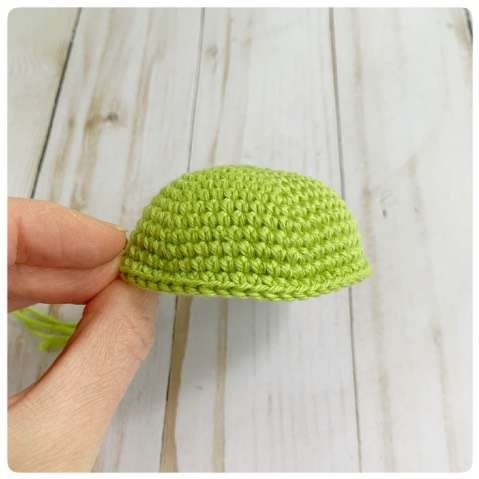
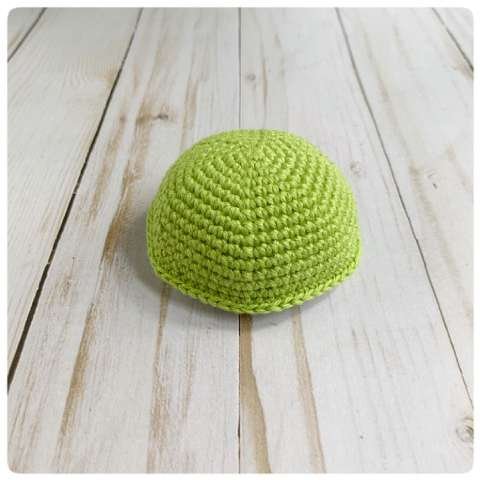
Back and body (green yarn, make 1)
- Rnd 1: 6 sc in a magic ring (6).
- Rnd 2: 2 sc in each stitch around (12).
- Rnd 3: (1 sc, inc) repeat 6 times (18).
- Rnd 4: (2 sc, inc) repeat 6 times (24).
- Rnd 5: (3 sc, inc) repeat 6 times (30).
- Rnd 6: (4 sc, inc) repeat 6 times (36).
- Rnd 7: (5 sc, inc) repeat 6 times (42).
- Rnd 8: (6 sc, inc) repeat 6 times (48).
- Rnd 9: sc in each stitch around (48).
- Rnd 10: (7 sc, inc) repeat 6 times (54).
- Rnd 11: sc in each stitch around (54).
- Rnd 12: (8 sc, inc) repeat 6 times (60).
- Rnds 13–14: sc in each stitch around for 2 rounds (60).
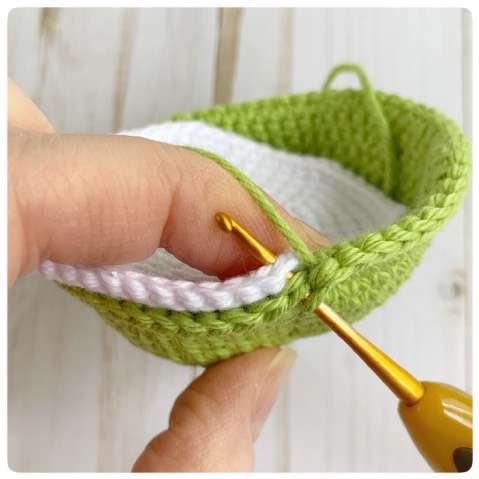
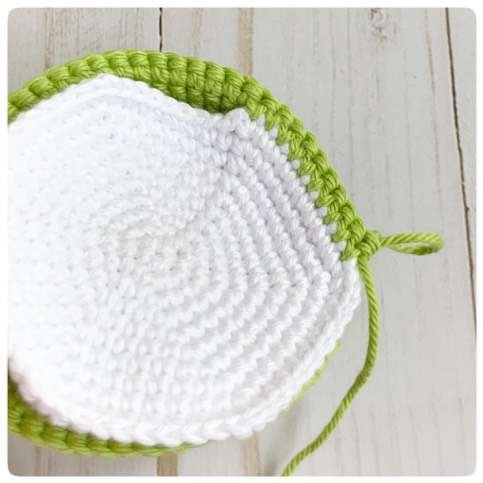
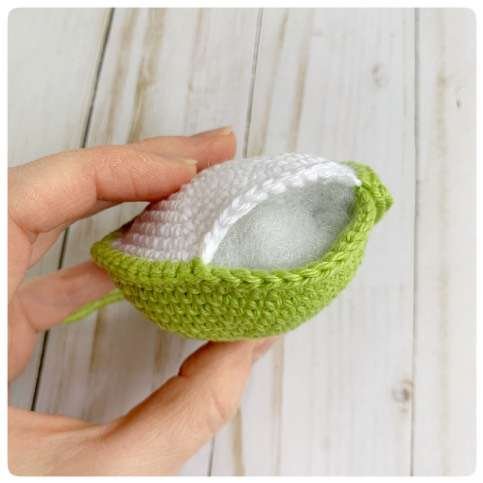
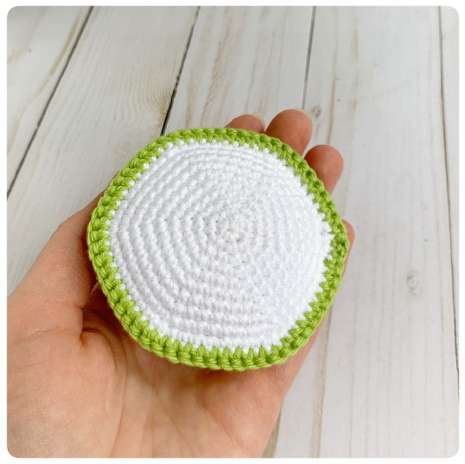
Do not fasten off. Place the wrong sides of the belly and back together. Insert the hook through both pieces and single crochet around the edge to join them. Add stuffing as you work around. Finish with a sl st, fasten off, and weave in the end inside the body.
Eyes (white yarn, make 2)
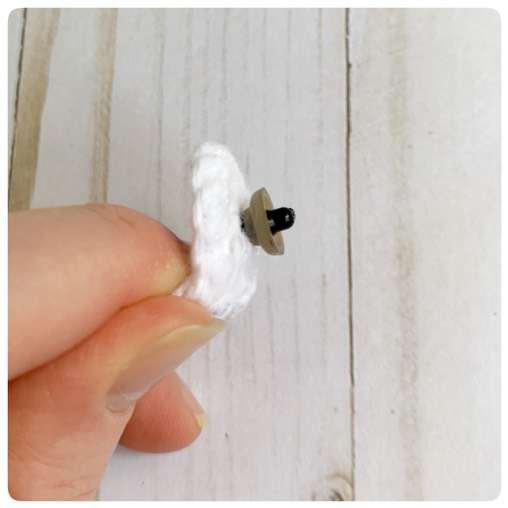
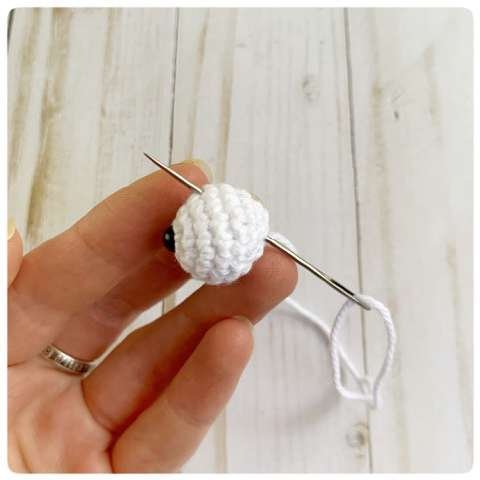
- Rnd 1: 6 sc in a magic ring (6). Close the ring enough to hold its shape, but leave room to insert a 6 mm safety eye.
- Rnd 2: 2 sc in each stitch around (12).
- Rnd 3: (3 sc, inc) repeat 3 times (15).
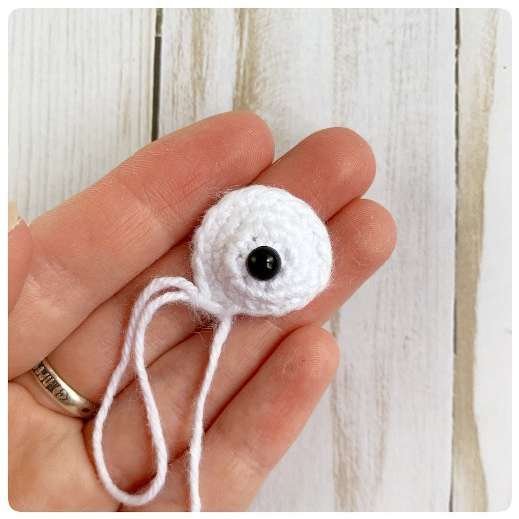
- Rnds 4–5: sc in each stitch around for 2 rounds (15). Insert a 6 mm safety eye through the center of the magic ring.
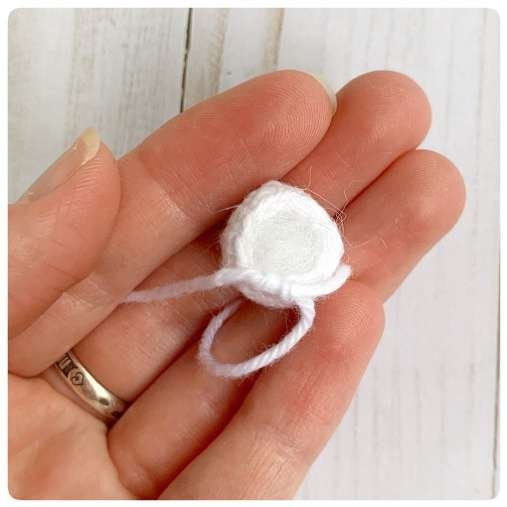
- Rnd 6: (3 sc, dec) repeat 3 times (12). Add a small amount of stuffing.
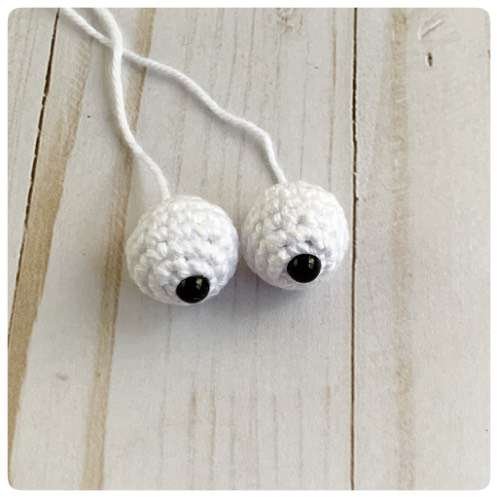
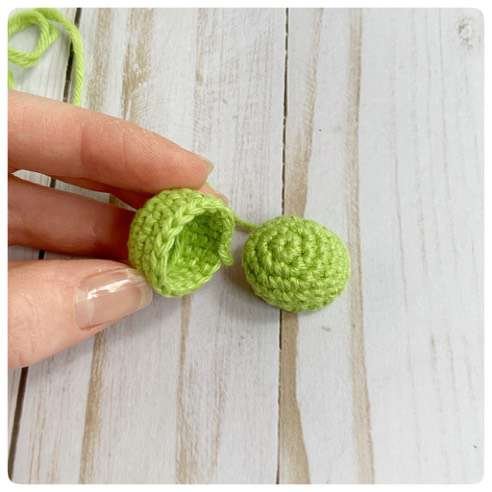
- Rnd 7: dec 6 times (6). Finish with a sl st. Fasten off, leaving a long sewing tail.
Eyelids (green yarn, make 2)
- Rnd 1: 6 sc in a magic ring (6).
- Rnd 2: 2 sc in each stitch around (12).
- Rnd 3: (1 sc, inc) repeat 6 times (18).
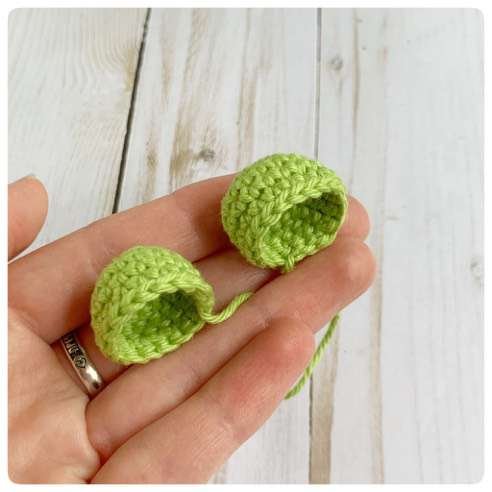
- Rnds 4–6: sc in each stitch around for 3 rounds (18). Finish with a sl st, fasten off, and leave a sewing tail.
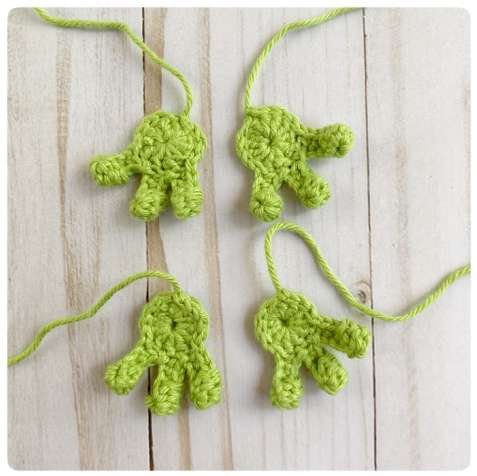
Paws (green yarn, make 4)
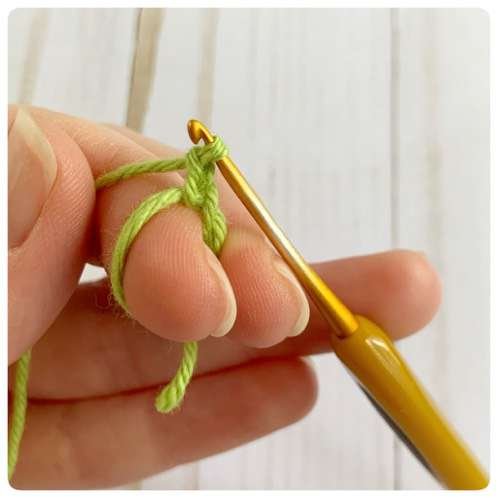
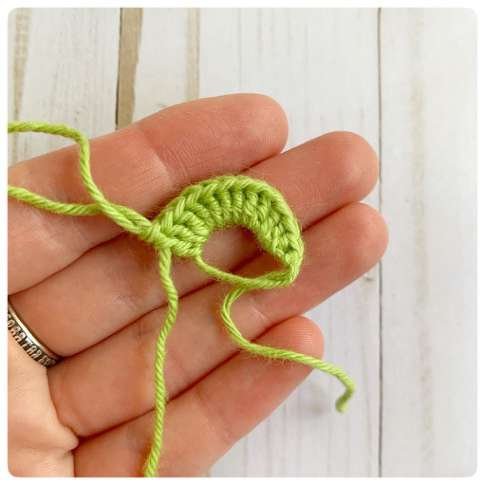
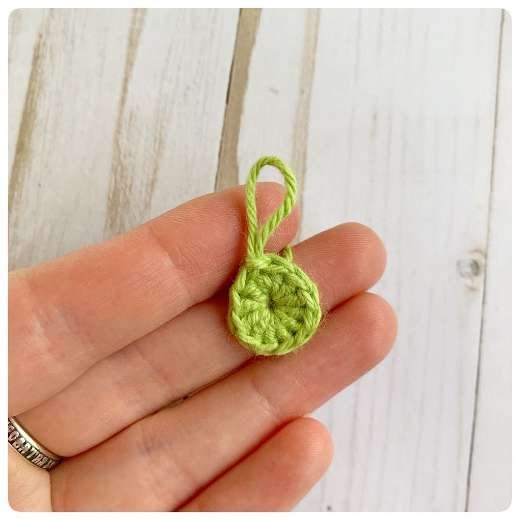
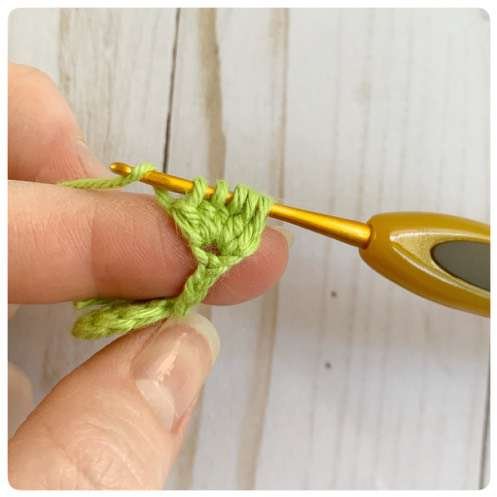
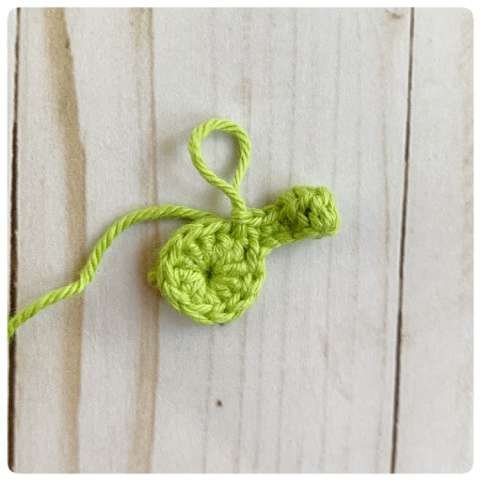
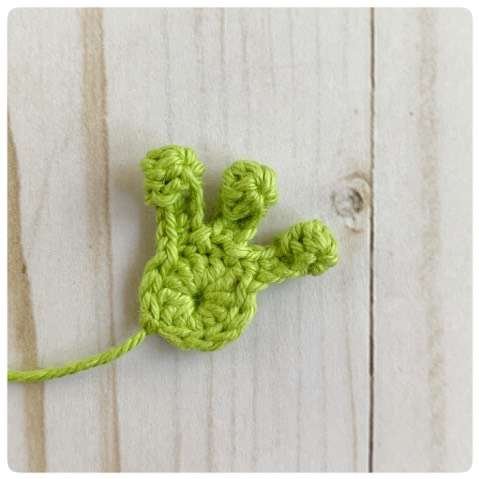
- Rnd 1: ch 2, then work 12 dc into a magic ring; join with a sl st (12).
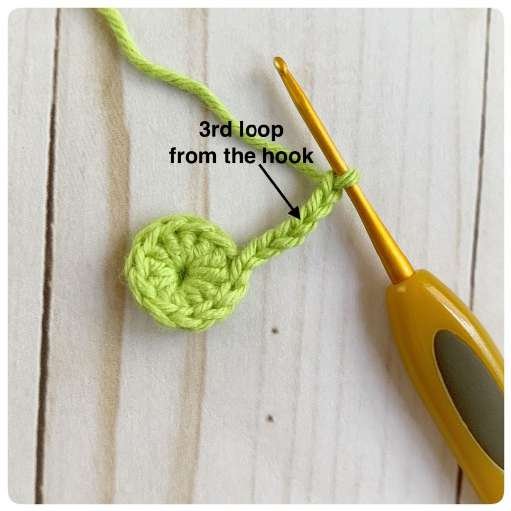
- Rnd 2: sl st in the next 4 stitches. For each toe, ch 6; make a puff in the 3rd chain from the hook, sc in the 4th, 5th, and 6th chains, then sl st into the next stitch of Rnd 1. Repeat this toe sequence 2 more times. Sl st in the final 4 stitches.
Fasten off, leaving a long tail for sewing.
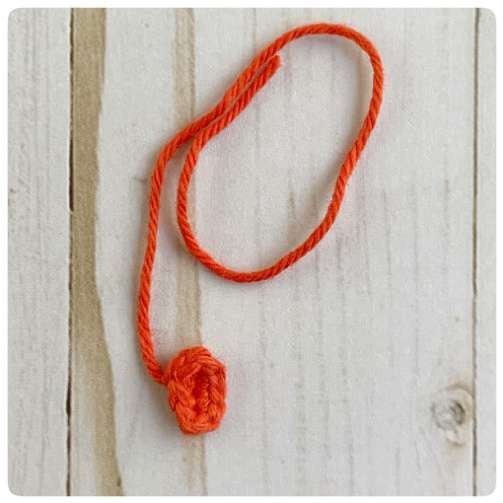
Tongue (red yarn, make 1)
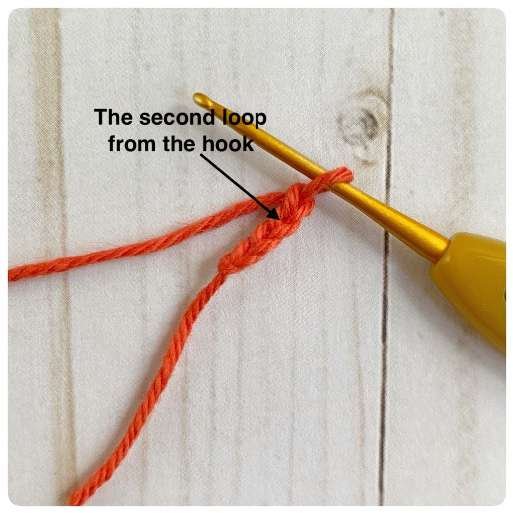
Ch 4. Starting in the 2nd ch from the hook, sc in the next 2 ch, work 3 sc in the last ch, then continue around the underside of the starting chain: sc in the next ch and inc in the final ch (8). Join with a sl st, fasten off, and leave a sewing tail.
Assembly and finishing
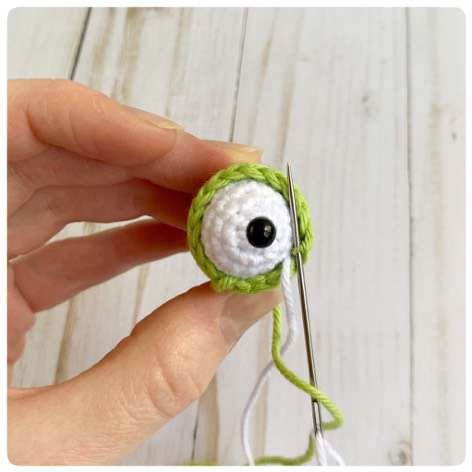
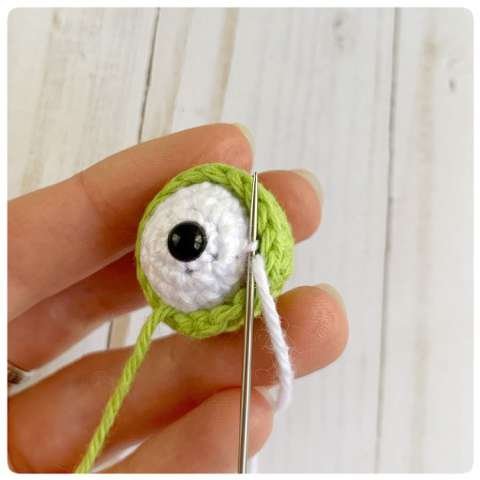
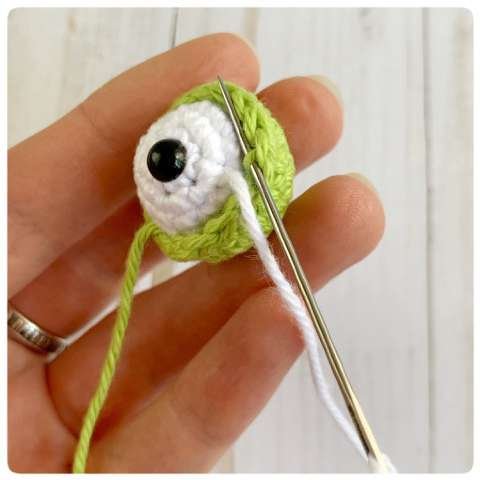
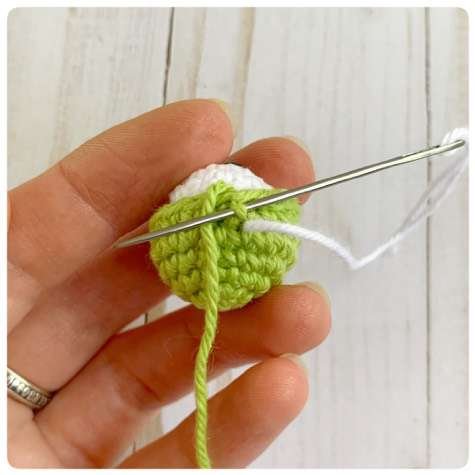
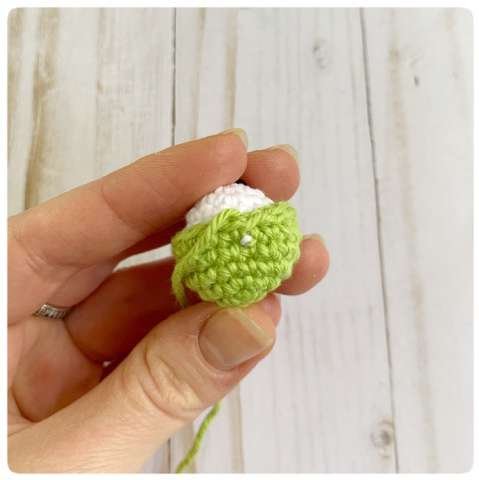
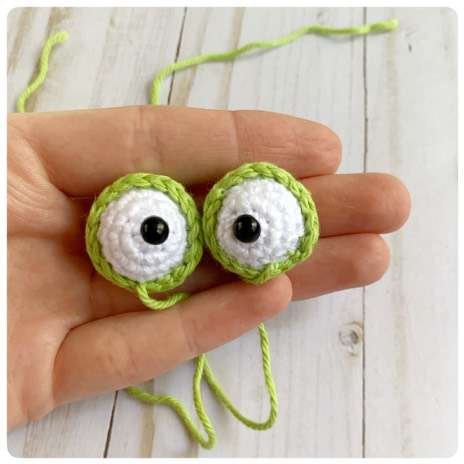
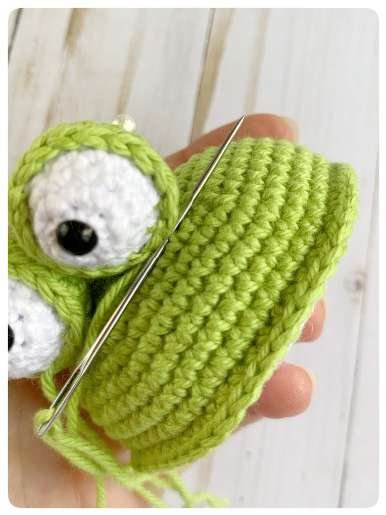
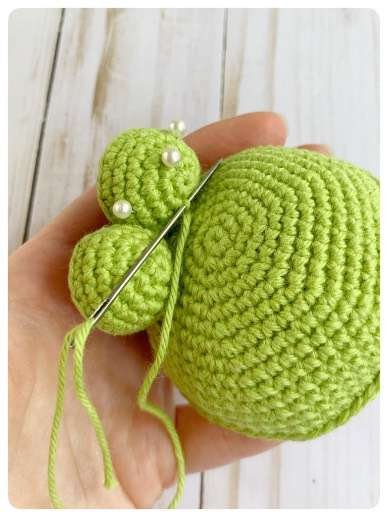
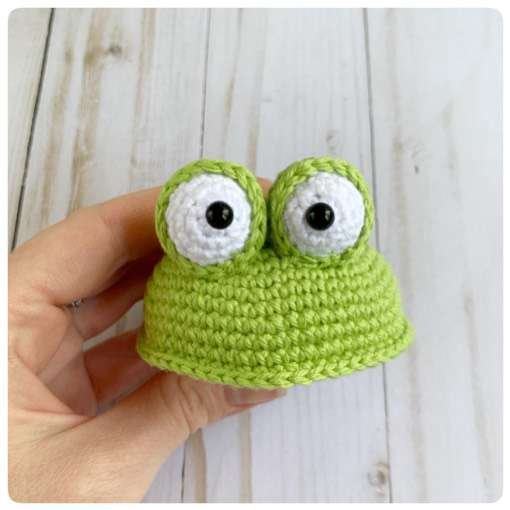
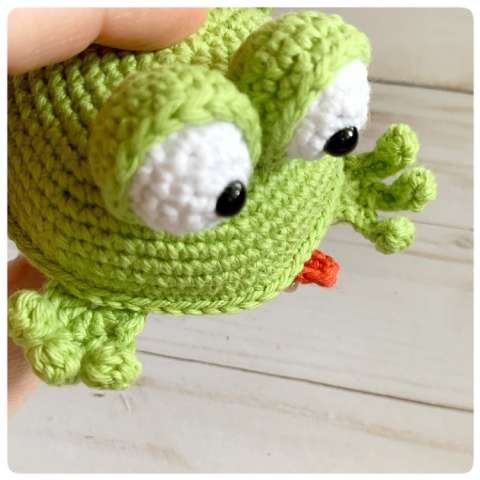
- Place each white eye inside a green eyelid and sew the pieces together. Secure the white yarn at the bottom of each eye.
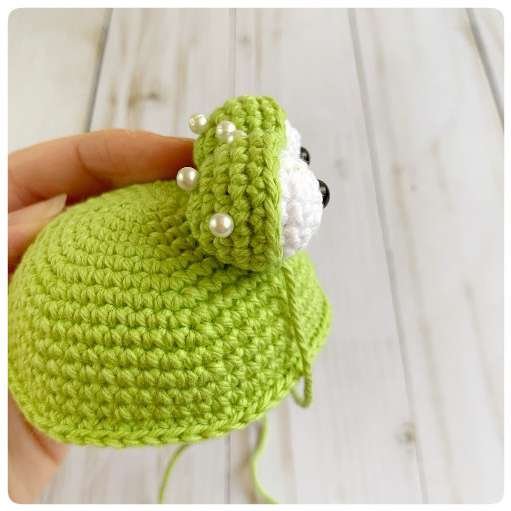
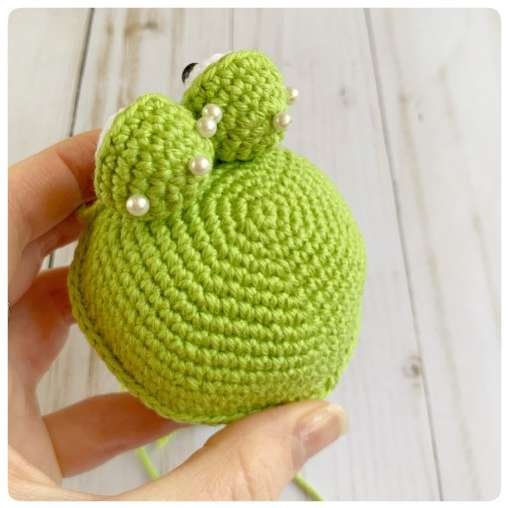
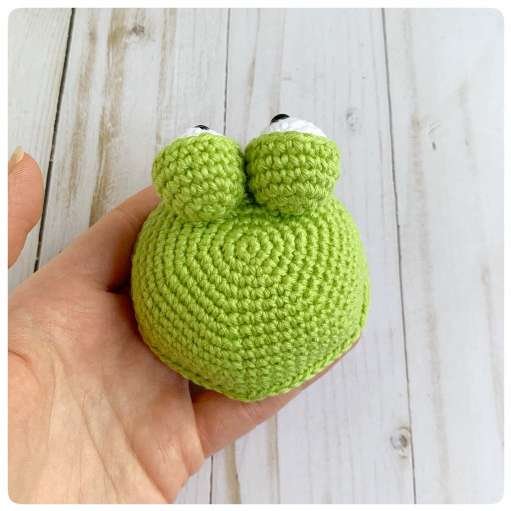
- Sew the eye assemblies onto the body between Rnds 4 and 8, using the photos to position them evenly.
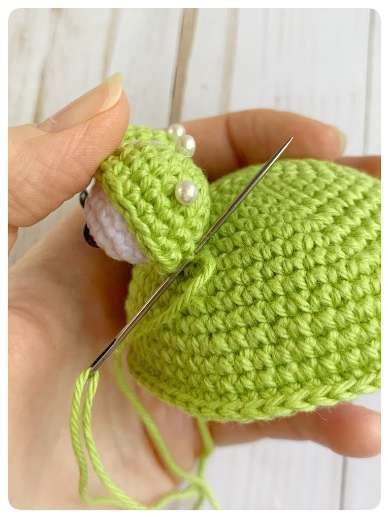
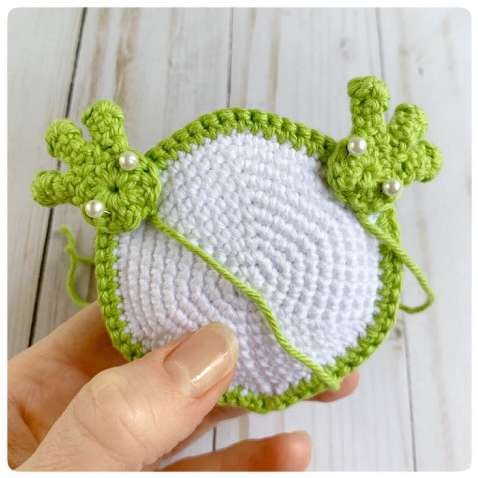
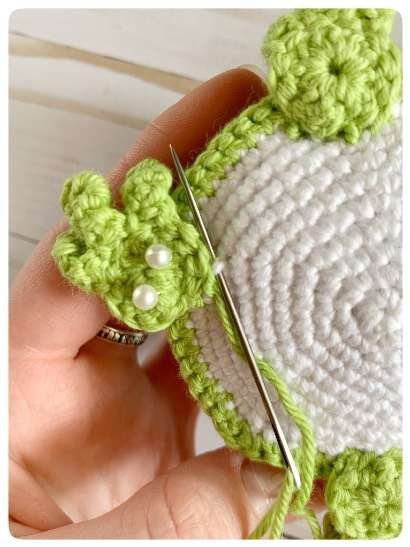
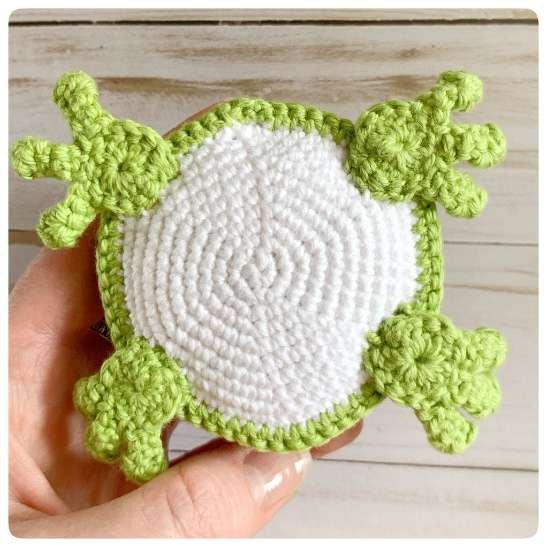
- Pin the four paws in place before sewing. Attach the front paws symmetrically on the underside, aligned with the muzzle.
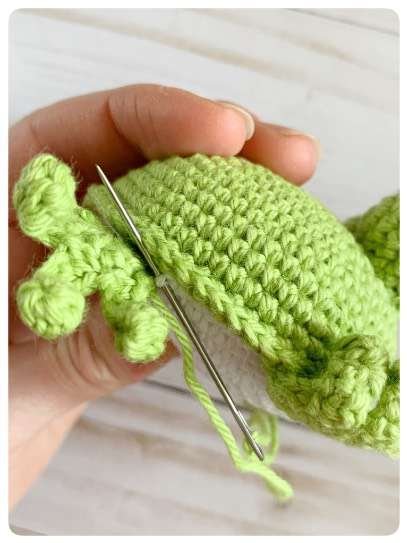
- Attach the back paws on the underside, matching the positions shown in photos 45–50.
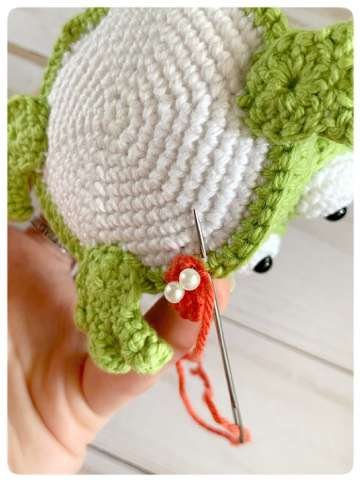
- Sew the tongue onto the muzzle.
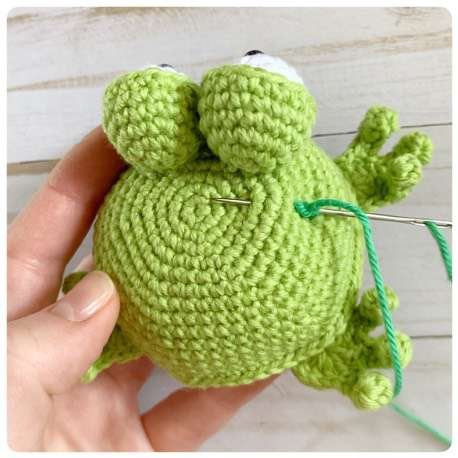
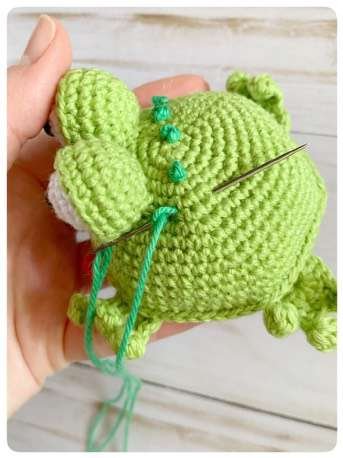
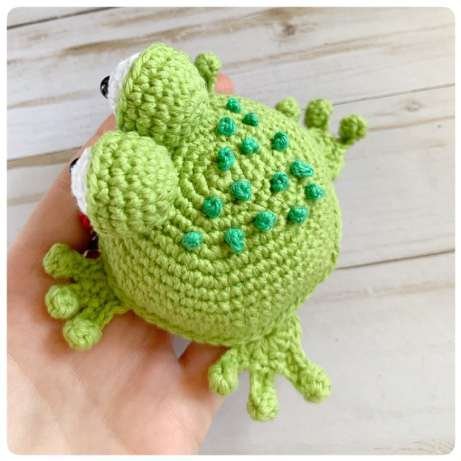
- Embroider French knots on the back using the darker green yarn, or add green beads if appropriate. For toys used by young children, avoid detachable beads and safety eyes; embroider facial features securely instead.
Finishing: Weave in and secure all ends. Your tiny frog is complete.
The original source specifies a 2.0 mm hook, cotton DK yarn, and an approximate finished size of 7 cm (2.7 in). Different yarn, tension, and hook choices can change the size. Pattern transcription checked against the supplied PDF; photos below remain in their original order.
Original Photo Tutorial
The complete written pattern appears above, followed by all 56 original tutorial photos in their supplied order. Use the written rounds and photo sequence together as you crochet.
Body Pieces and Joining
Follow the original photos in their supplied order. These images are reproduced with permission and have not been edited.
Eyes and Eyelids
Follow the original photos in their supplied order. These images are reproduced with permission and have not been edited.
Crocheting the Four Paws
Follow the original photos in their supplied order. These images are reproduced with permission and have not been edited.
Making the Tongue
Follow the original photos in their supplied order. These images are reproduced with permission and have not been edited.
Assembling and Attaching the Eyes
Follow the original photos in their supplied order. These images are reproduced with permission and have not been edited.
Attaching the Front Paws
Follow the original photos in their supplied order. These images are reproduced with permission and have not been edited.
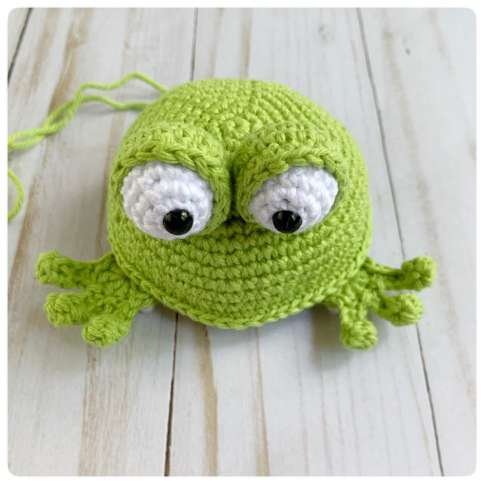
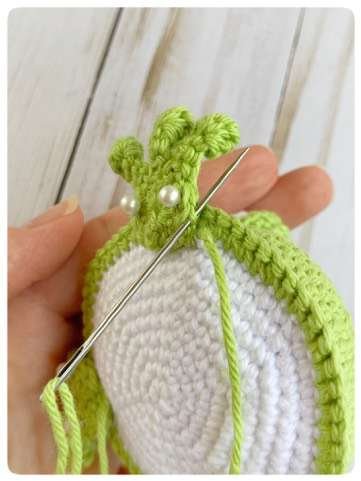
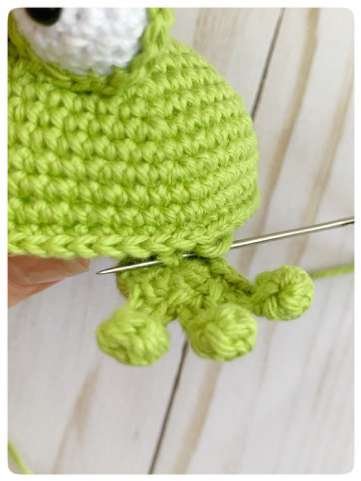
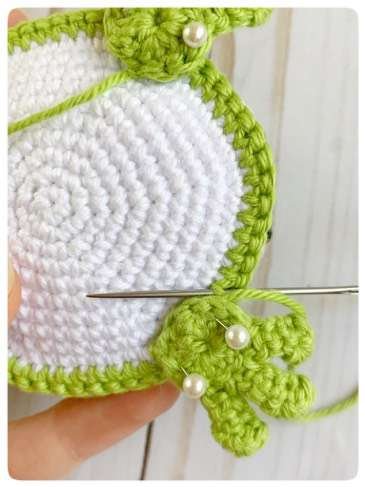
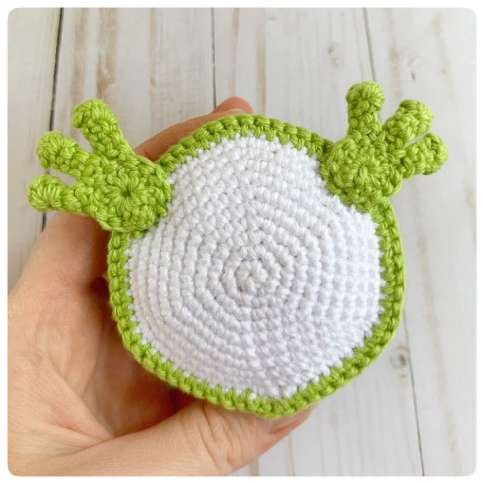
Attaching the Back Paws
Follow the original photos in their supplied order. These images are reproduced with permission and have not been edited.
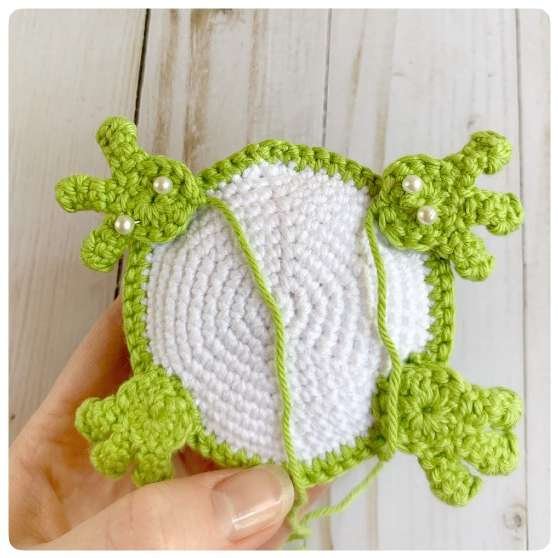
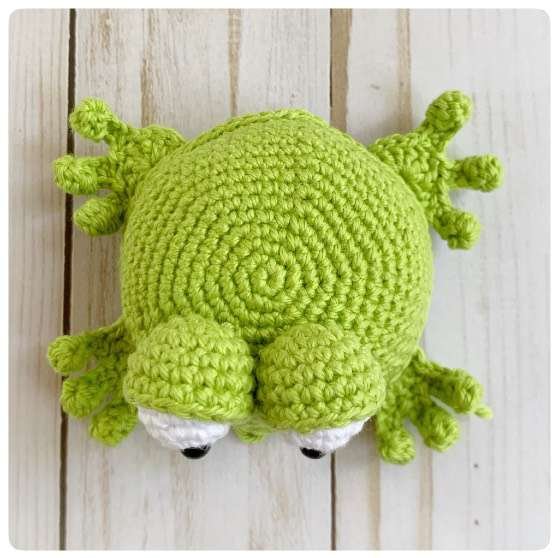
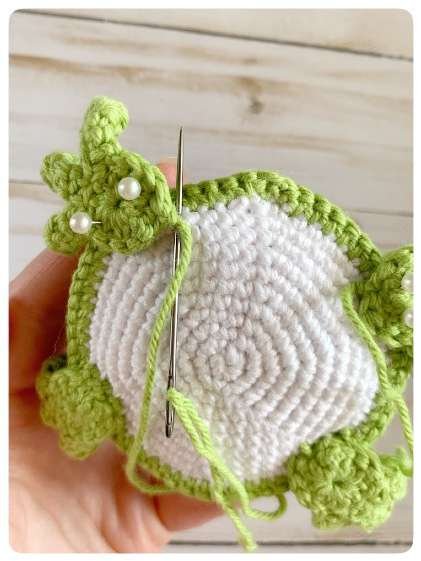
Tongue and Finishing Details
Follow the original photos in their supplied order. These images are reproduced with permission and have not been edited.
Helpful Tips Before You Start
- Keep the fabric firm. The pattern advises tight stitches so stuffing does not show through. If gaps appear, try a smaller hook after checking a small swatch.
- Count each round. Track increases and decreases and compare your stitch count with the count given in the pattern.
- Pin pieces before sewing. Check that the eyes and paws look balanced before attaching them permanently.
- Stuff gradually. Add filling as the body seam closes, keeping the shape even.
- Leave sewing tails. Keep enough yarn at the end of each small piece to attach it securely.
Frequently Asked Questions
How big is the finished frog?
The source estimates about 7 cm (2.7 in) with its suggested materials. Your finished size may differ.
Is this suitable for a beginner?
The source does not give a skill rating. The project uses spiral rounds, increases and decreases, stuffing, small parts, and sewing. Beginners may want to be comfortable with those techniques first.
Can I change the yarn or hook?
Yes, but a different yarn weight or hook can change the size and fabric density. Aim for a firm fabric so the stuffing stays covered.
Are the photos original?
Yes. The 56 numbered tutorial photos and cover image are reproduced with permission from the supplied PDF and have not been edited.
Leave a Reply